By Stevie Estler
My job is to make Pinterest dreams come true. My clients come to me with their ideas and inspirational photos. I massage their ideas, blend the concept with their color scheme and then build the perfect fit for their home. I’m Stevie Estler, owner of Built By Stevie in Nashville Tennessee. We are a full-time custom woodworking company focusing on built-ins and custom furniture. I used a miter saw for the first time 6.5 years ago when I purchased my first home and needed furniture. I googled “how to build a headboard” and jumped into the deep end of the pool. I love the process of learning and growing…I am literally living the dream!
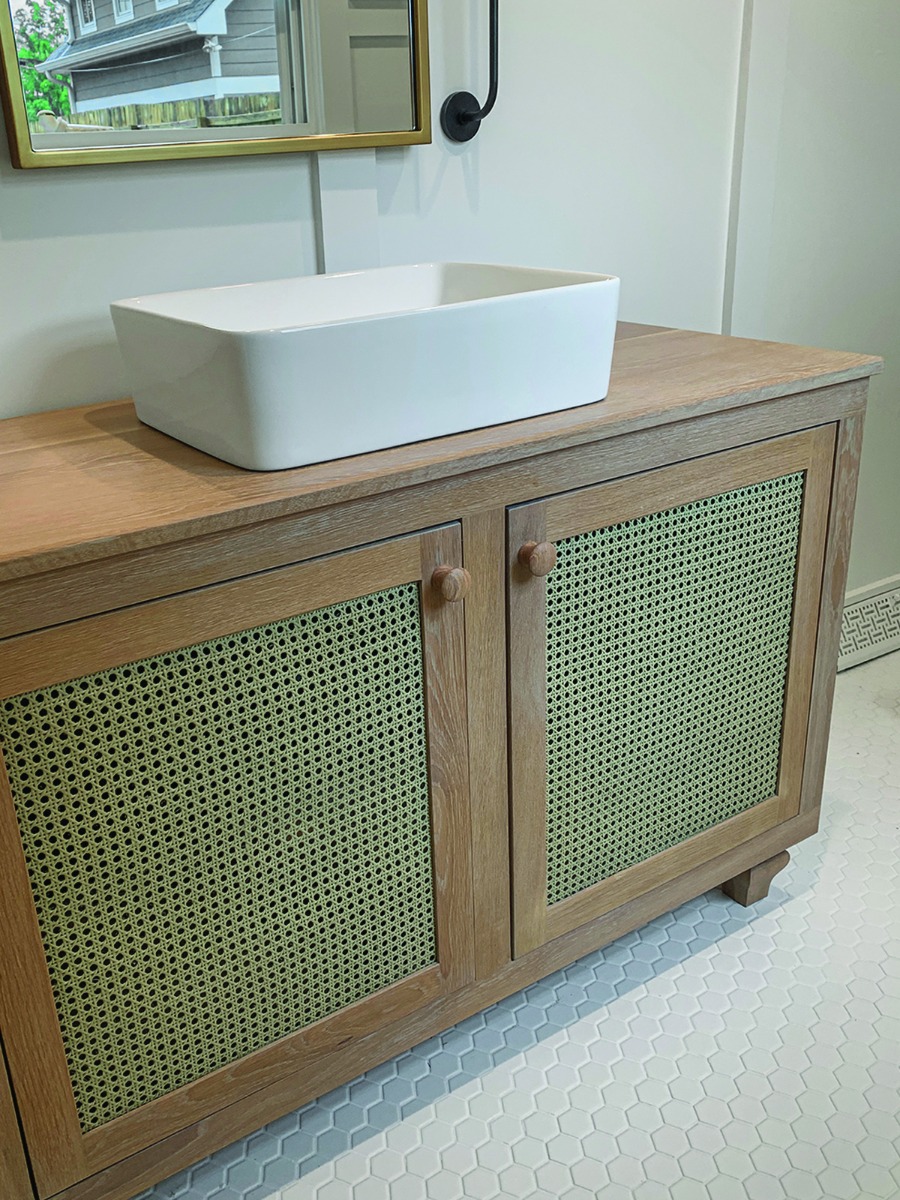
This project started when my client saw a vanity with cane-webbed doors and loved the look. I had never used cane webbing, but that hasn’t stopped me so far, so why should it now? The client chose a tall vessel sink to go on top, so I subtracted the height of the sink from the 36" standard vanity height and started laying out the vanity at 48” W x 30” H x 20” D. We settled on white oak for the material and I got to work.
One sheet of 3/4” white oak plywood would yield all the panels for the cabinet, but I bought a second sheet to be on the safe side. I bought 15 board feet of 1" thick white oak to be used for the face frame, doors, and the counter top. I used four white oak legs from Osborn Wood and had a local woodturner turn the door knobs and inside buttons to hide the screws for the legs.
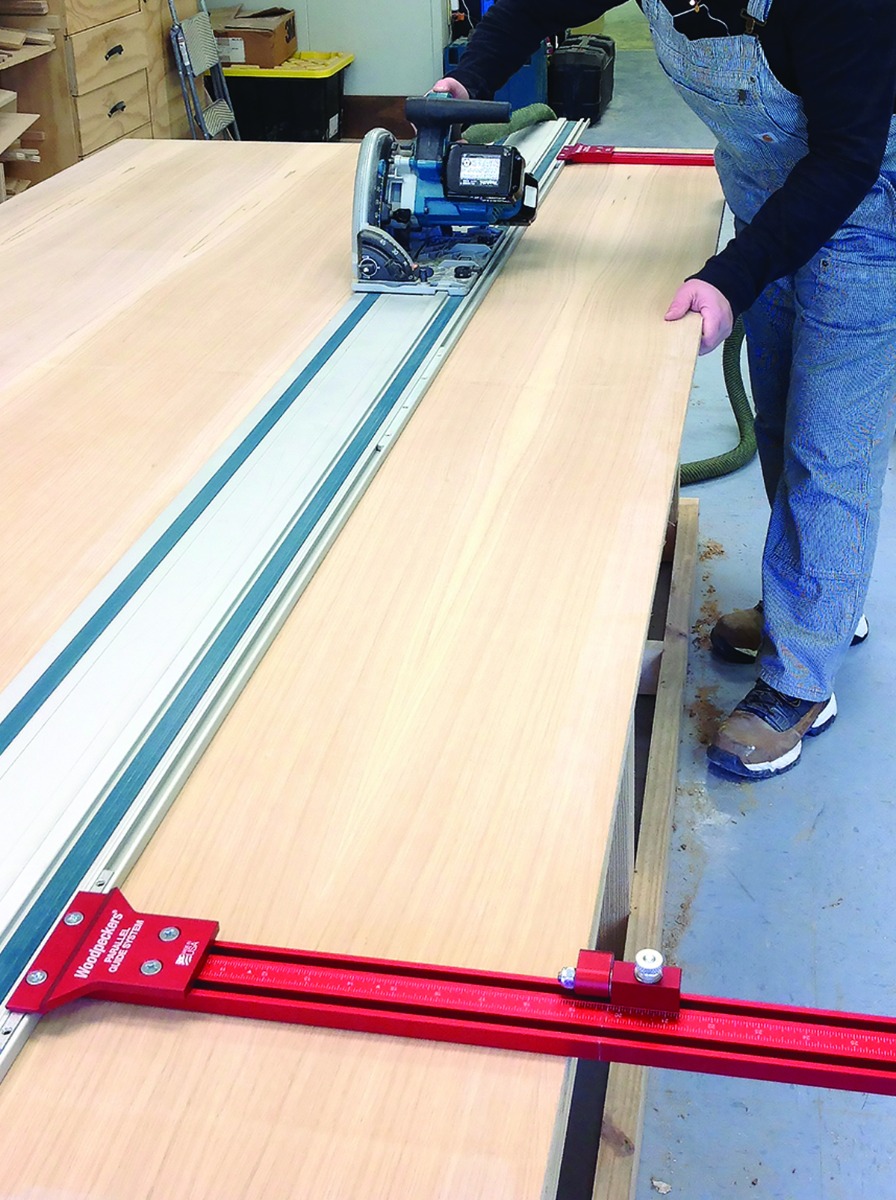
Parallel Guide System delivers accurate rip cuts.
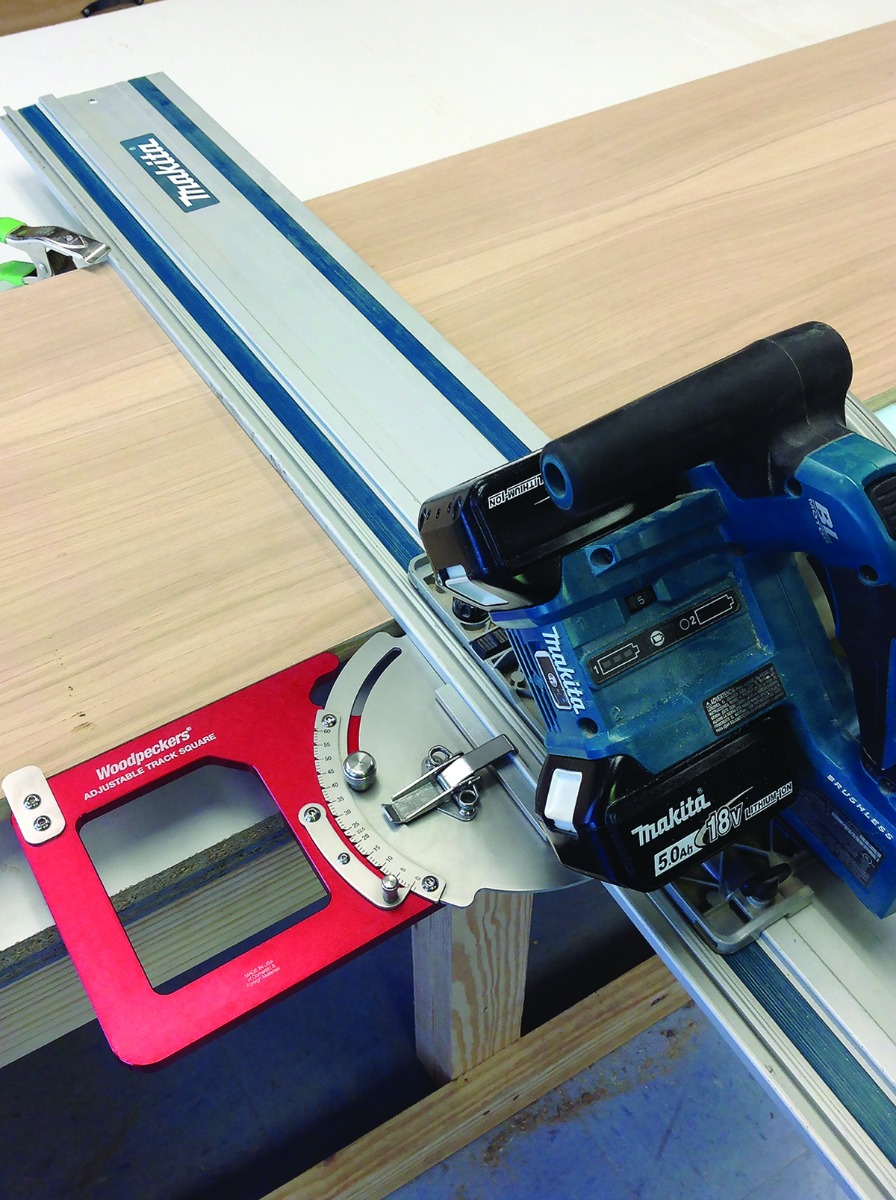
Adjustable Track Square delivers 90°
I started by breaking down the white oak plywood using my Makita track saw with Woodpeckers Adjustable Track Square and Parallel Guide System. My first cut was a full-length rip at 19 (add the 1" face frame and you’re at the planned 20"). The Parallel Guide System delivered accurate results with minimal fuss…my kind of tool. I used the Adjustable Track Square to make the cross-cuts on the panel yielding two sides 24-1/4" and the bottom at 47-1/4" and two 5” wide reinforcing members for the top.
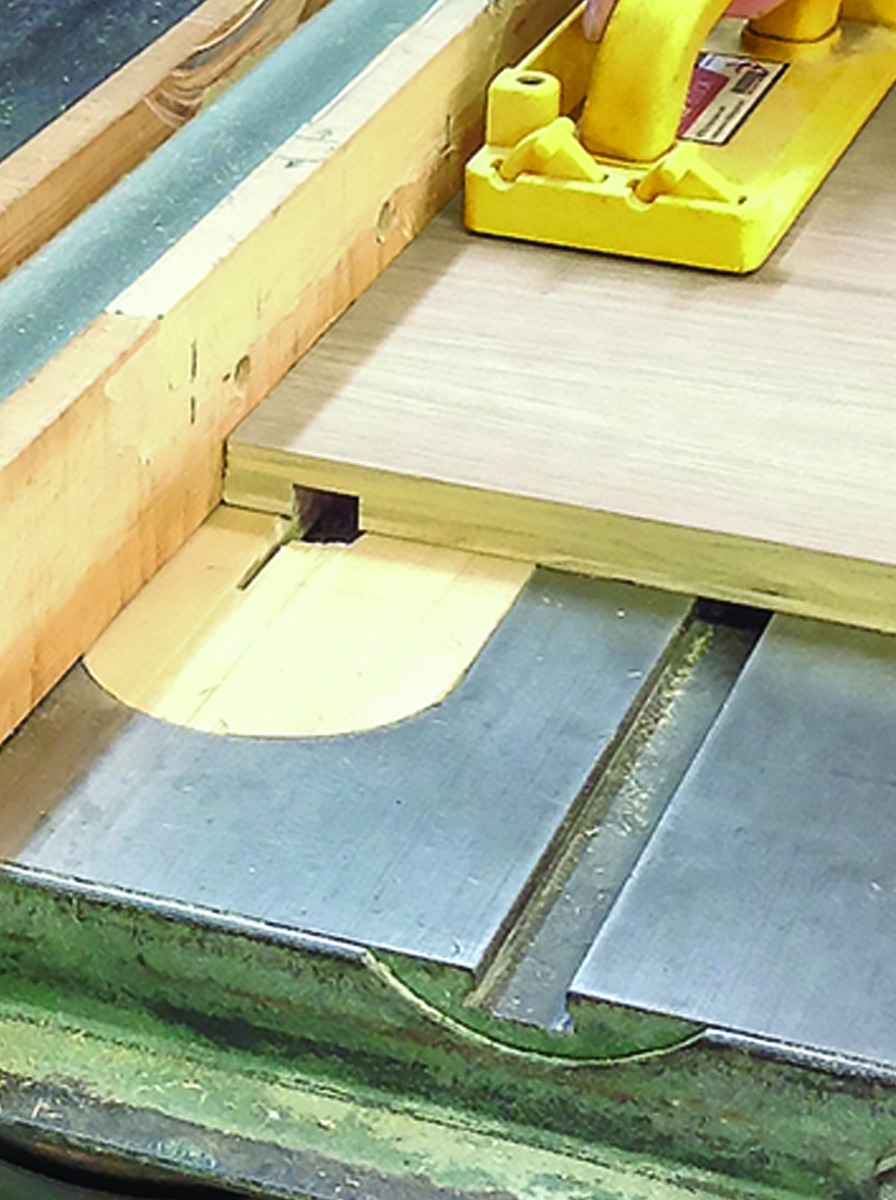
Fence to top edge of dado matches the width of the face frame material.
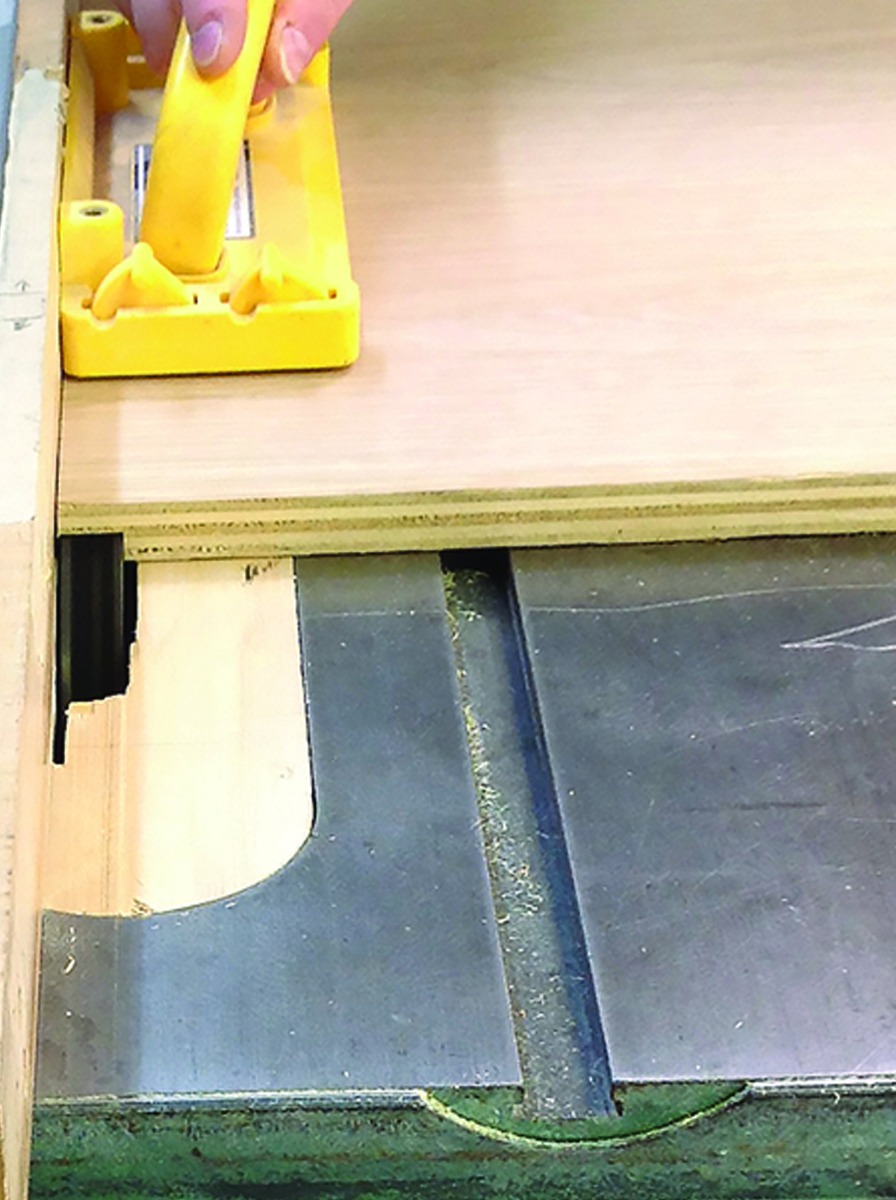
Rabbet at top of cabinet matches plywood thickness.
Next, I moved to the table saw to cut dadoes and rabbets. I think dado/rabbet joints are ideal for any type of plywood carcase. In fact, I use them so much that I have one table saw dedicated to the job. I have the dado stack dialed into the dimension of the plywood I use and rarely have to make any adjustments. I set the depth to 3/8", half the thickness of the material.
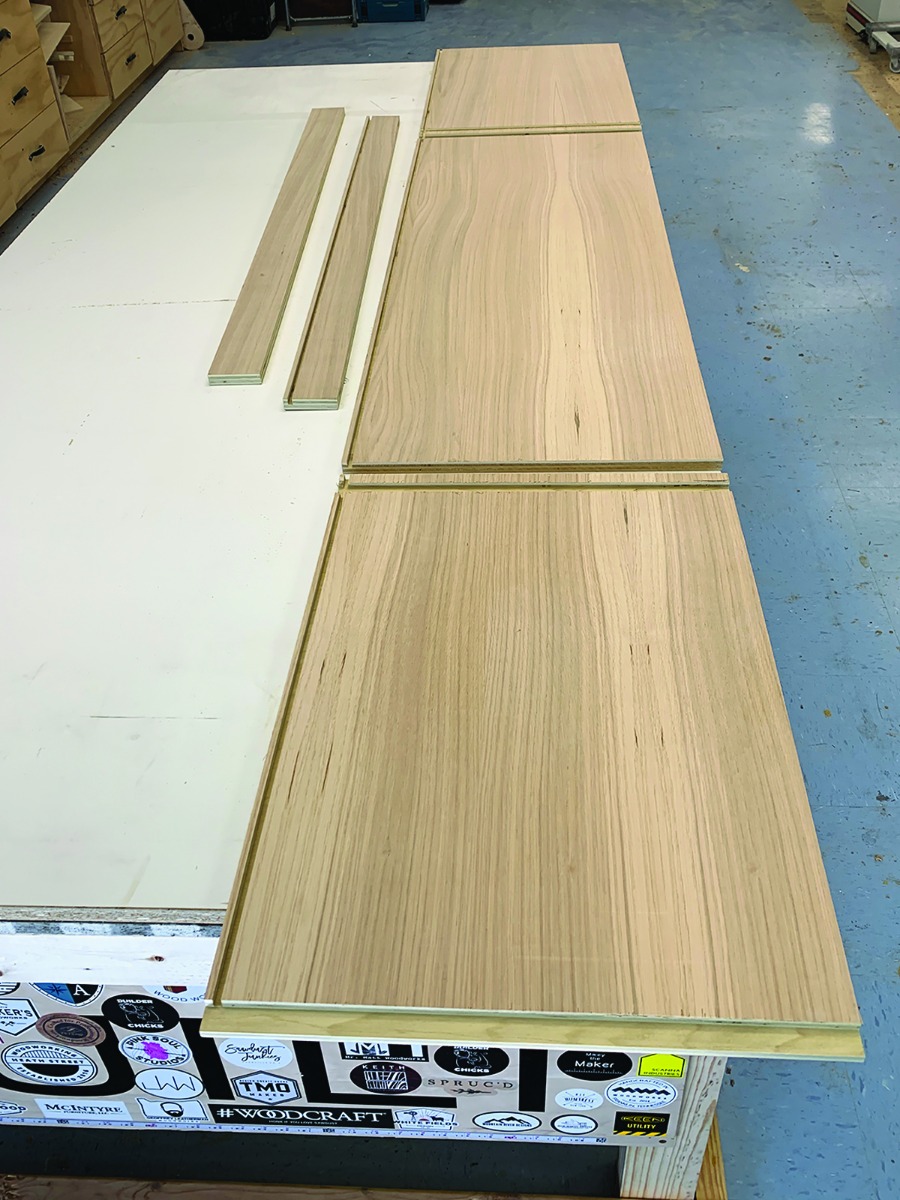
All rabbets and dadoes cut… cabinet is ready to glue up.
The two sides have a dado cut at 1-3/4" from the interior edge to the bottom. his makes the 1-3/4” face frame material flush with the inside of the cabinet bottom in the final assembly. There is a rabbet at the top of each side which will get the 5" wide plywood insert running along the front and back. This will provide an attachment point for the solid white oak top, and help square up the cabinet during final assembly. Last step in cutting the joinery is to cut a dado for the back, 1/4" wide and 3/8" deep on both sides, the bottom and the back-top brace.
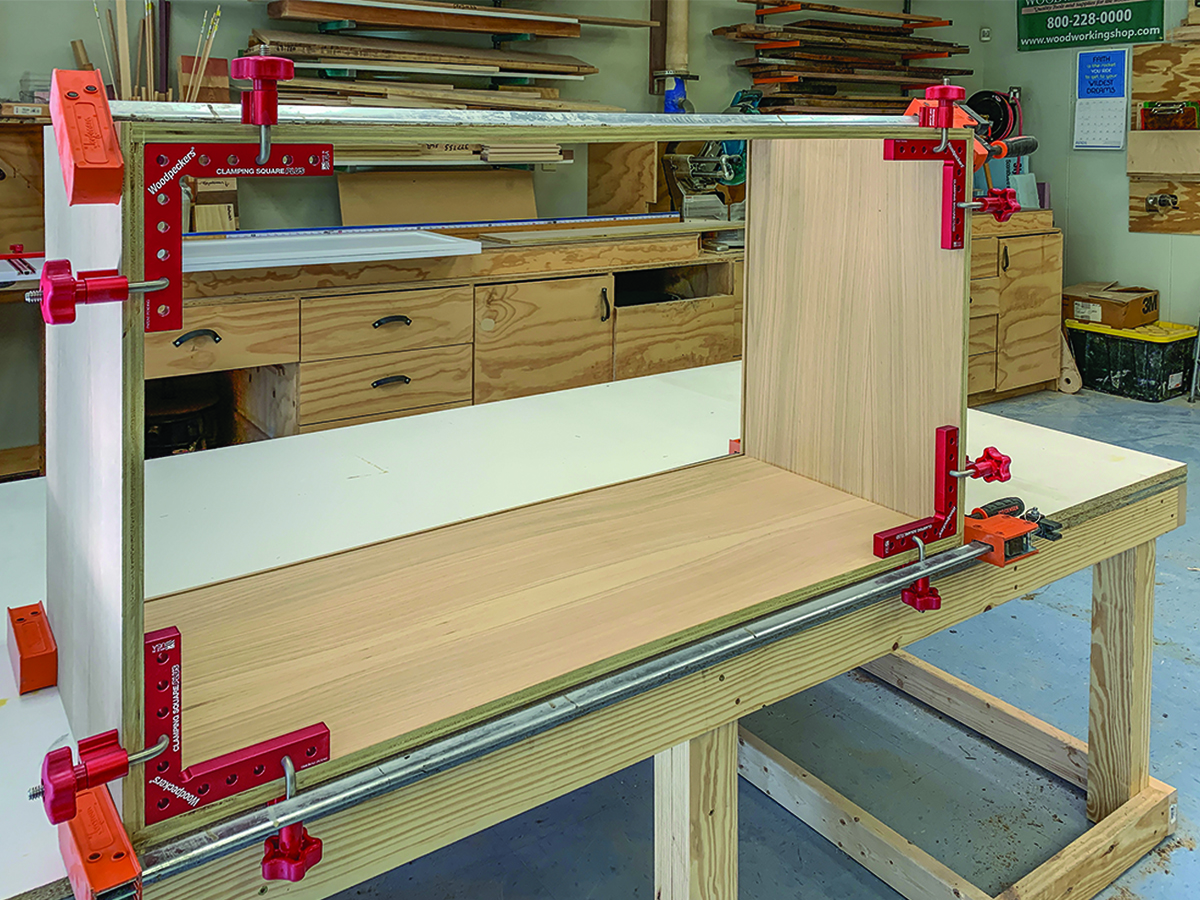
Woodpeckers Clamping Squares Plus and CSP Clamps keep the carcase square while getting parallel jaw clamps in place.
When it was time to glue the cabinet together, I got a sense of scale for the project. This was a large piece of work that was going to be awkward to assemble. I used Woodpeckers Clamping Squares Plus to make the job more manageable. They held the corners in place and square while I put the parallel jaw clamps on to bring the joints together. I glued the sides to the bottom and the front/top brace…but not the back one, yet.
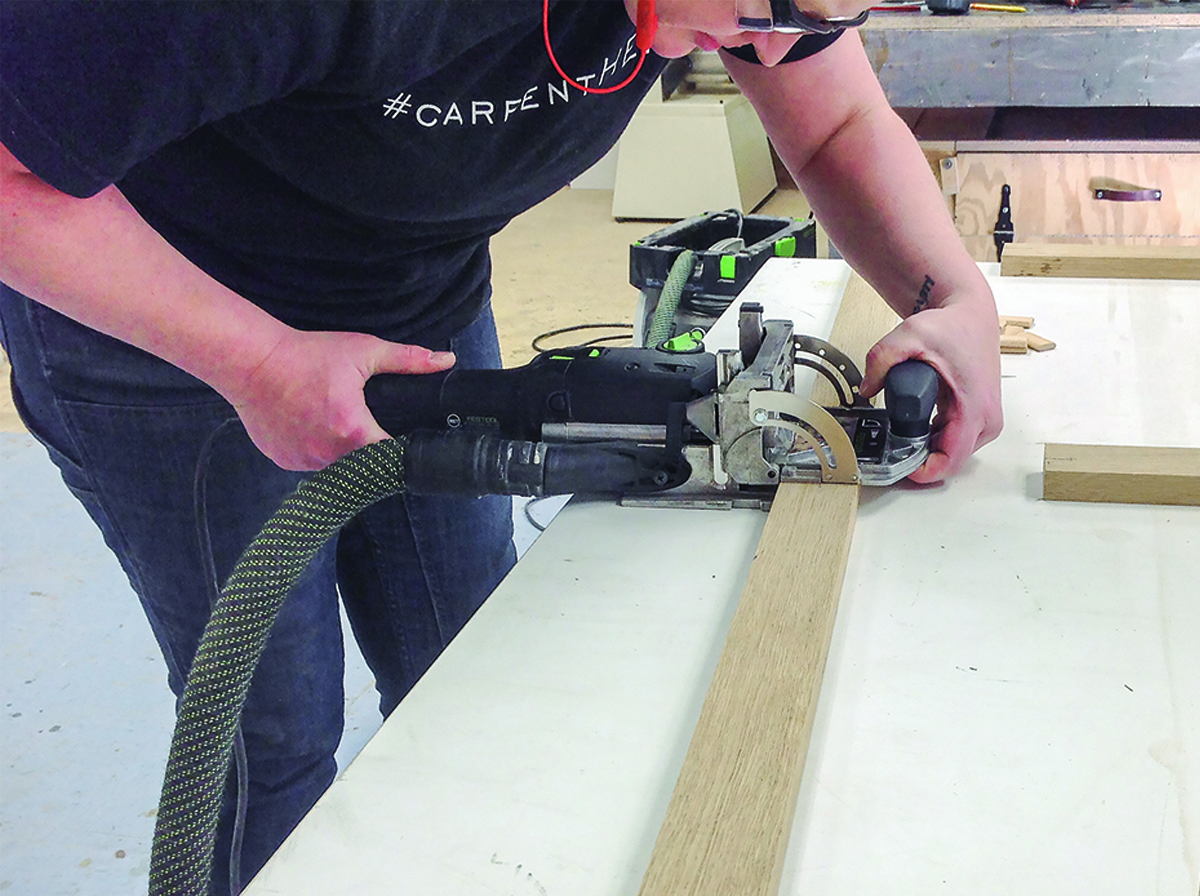
Face frame assembled with Domino loose tenons at all intersections.
While the glue was drying on the plywood cabinet, I started work on the face frame. 1-3/4" rails and stiles created just the look the client wanted…not too massive, but substantial. I used the jointer to create one straight edge on the face frame stock and then used my main table saw to rip everything to dimension. Then I moved to the miter saw and cut the frame pieces to length...two at 48" for the top and bottom and three at 20-3/4" for the ends and center. I used my Woodpeckers 641 Precision Square to layout the position of Domino mortises at every joint.
I assembled the face frame with Clamping Squares Plus in two corners providing alignment and parallel jaw clamps pulling the joints together. I used Woodpeckers 1281 Precision Square to check everything, then left the face frame on the bench overnight to dry.
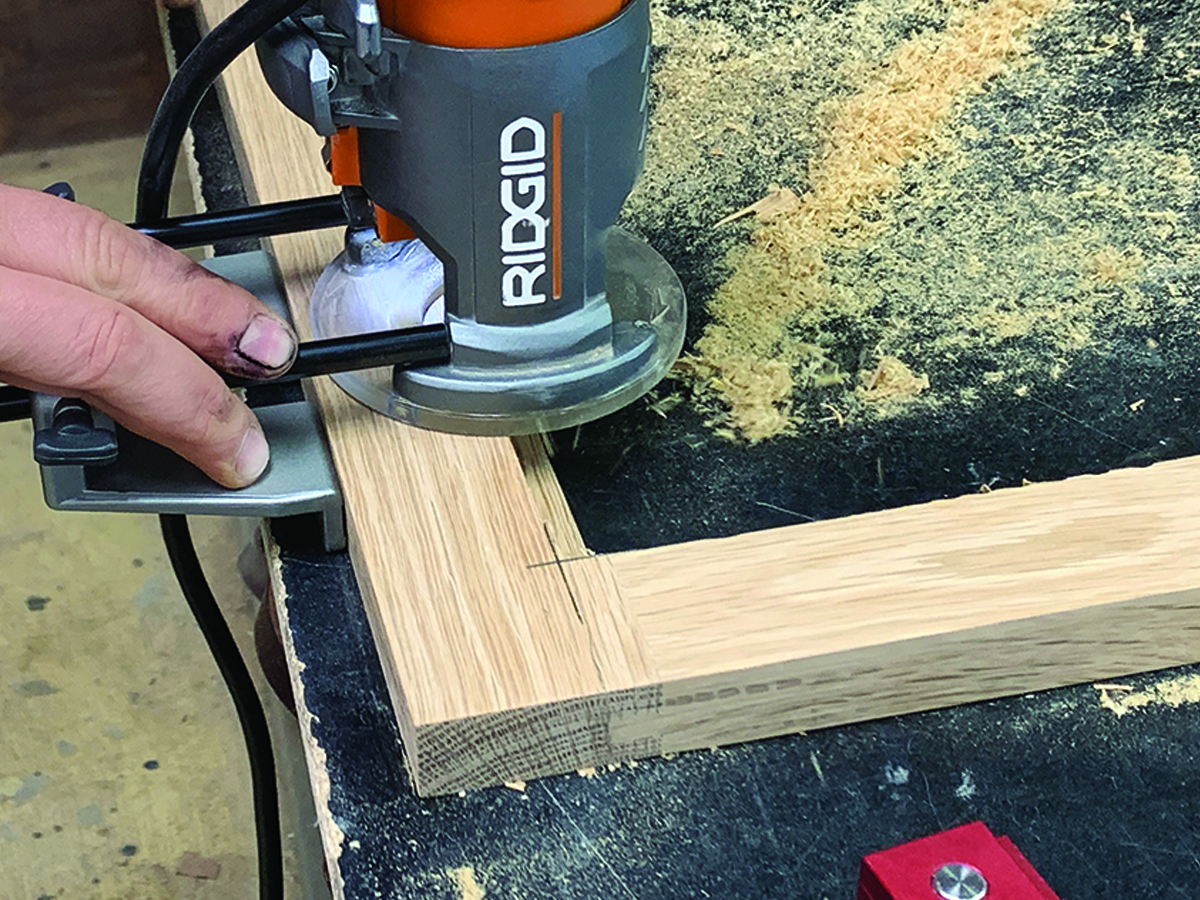 Cabinet doors starts as tongue and groove, then back of groove is routed away to create rabbet for cane webbing.
I sold the client on the clean look of inset doors. Now, I had to deliver with doors that perfectly matched the face frame…if either is out of square, “clean” is not the adjective you would use to describe them. I planned the door size based on the doors being 3/16" smaller than the opening, leaving a 3/32" reveal all the way around. I machined the door frame stock to size and cut tongue and groove joints on my router table. After gluing the frames together, I came back with a trim router and cut the lip off the inside edge of the door frame. Now I had a rabbet ready to receive the cane webbing.
While the cane webbing was on order, I sanded down the face frame and attached it to the cabinet. I used a portable pocket-hole jig to drill pocket holes in the cabinet sides, top brace and bottom, putting the pockets where they would not show. When it was all drilled, I carefully aligned the face frame to the cabinet and glued and screwed the frame in place.
Centering scale makes locating the feet simple, fast and accurate.
I didn’t want the ornate details of the feet to be lost under the cabinet, so I added 3/4" plywood strips around the perimeter of the bottom, giving me an attachment point that was close to level with the bottom of the face frame. I decided the easiest way to attach the feet was by putting threaded inserts in the feet and a bolt through the bottom of the cabinet. I calculated how far inset I wanted the feet from the sides, front and back, laid out the holes and drilled them.
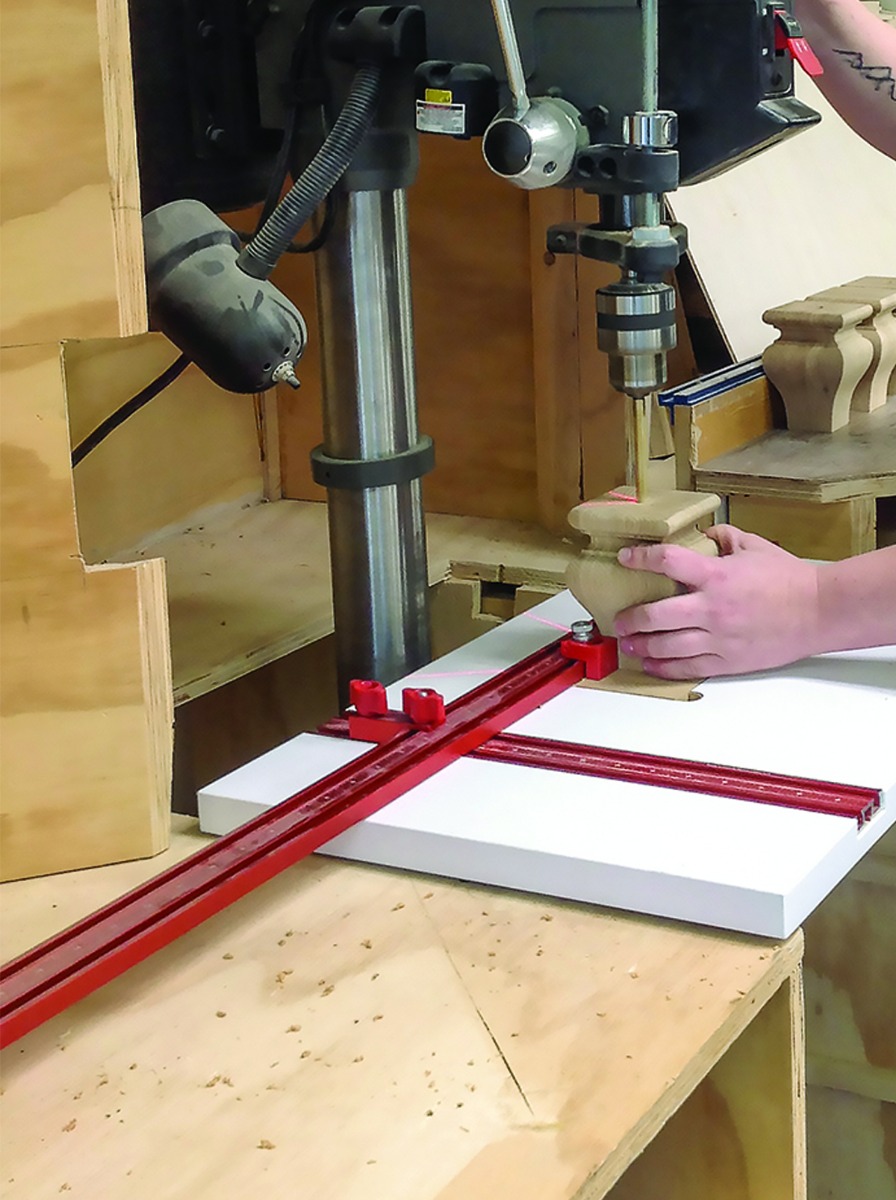
Fence and stop accurately position the moulded feet for drilling.
I used my drill press to drill holes in the feet for the threaded inserts. I recently added Woodpeckers Drill Press Table to my drill press, and it really proved its value on this job. I was able to slide the legs into place against the fence and stop and get perfectly centered holes on all 4 legs without guesswork. I used quick dry glue to set the threaded inserts.
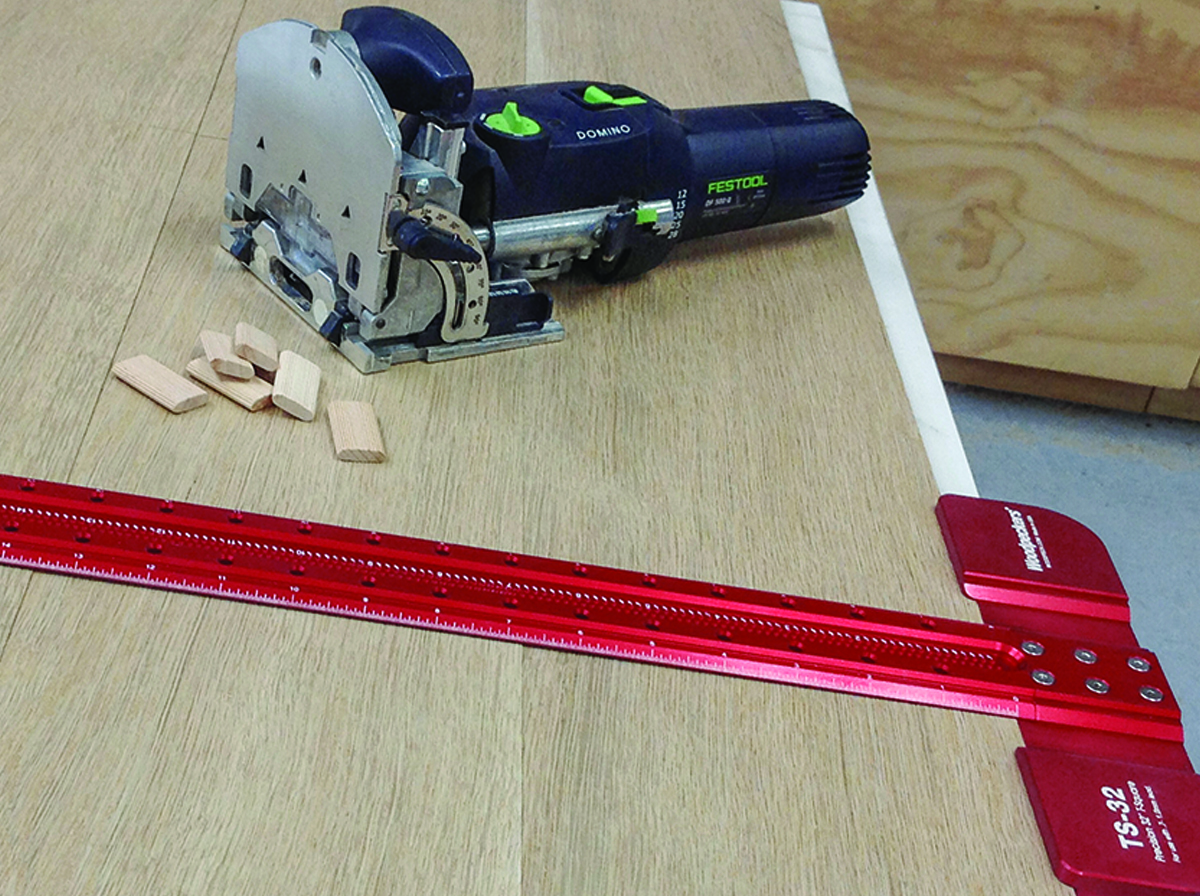
Dominoes located with Precision T-Square.
I selected three nice planks of white oak to glue up for the countertop. After deciding the most appropriate arrangement, I machined the edges on the jointer and table saw. I used the TS-32 Precision T-Square to mark the location of Domino mortises. The Domino joints don’t really add strength to an edge joint, but they really help keep the faces aligned while you’re gluing up.
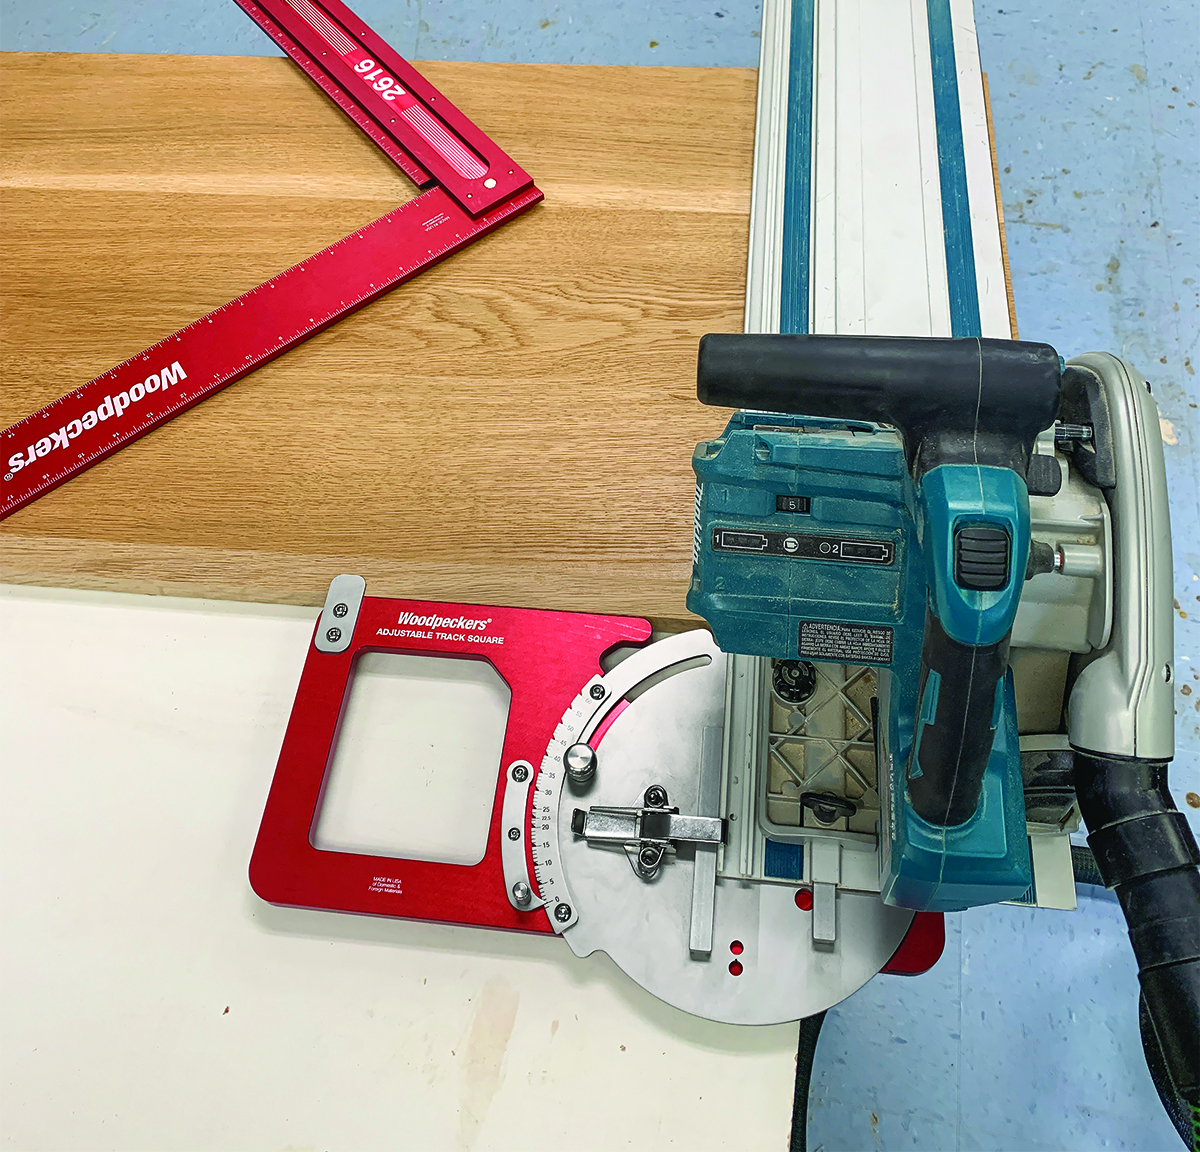
Adjustable Track Square used to trim top square.
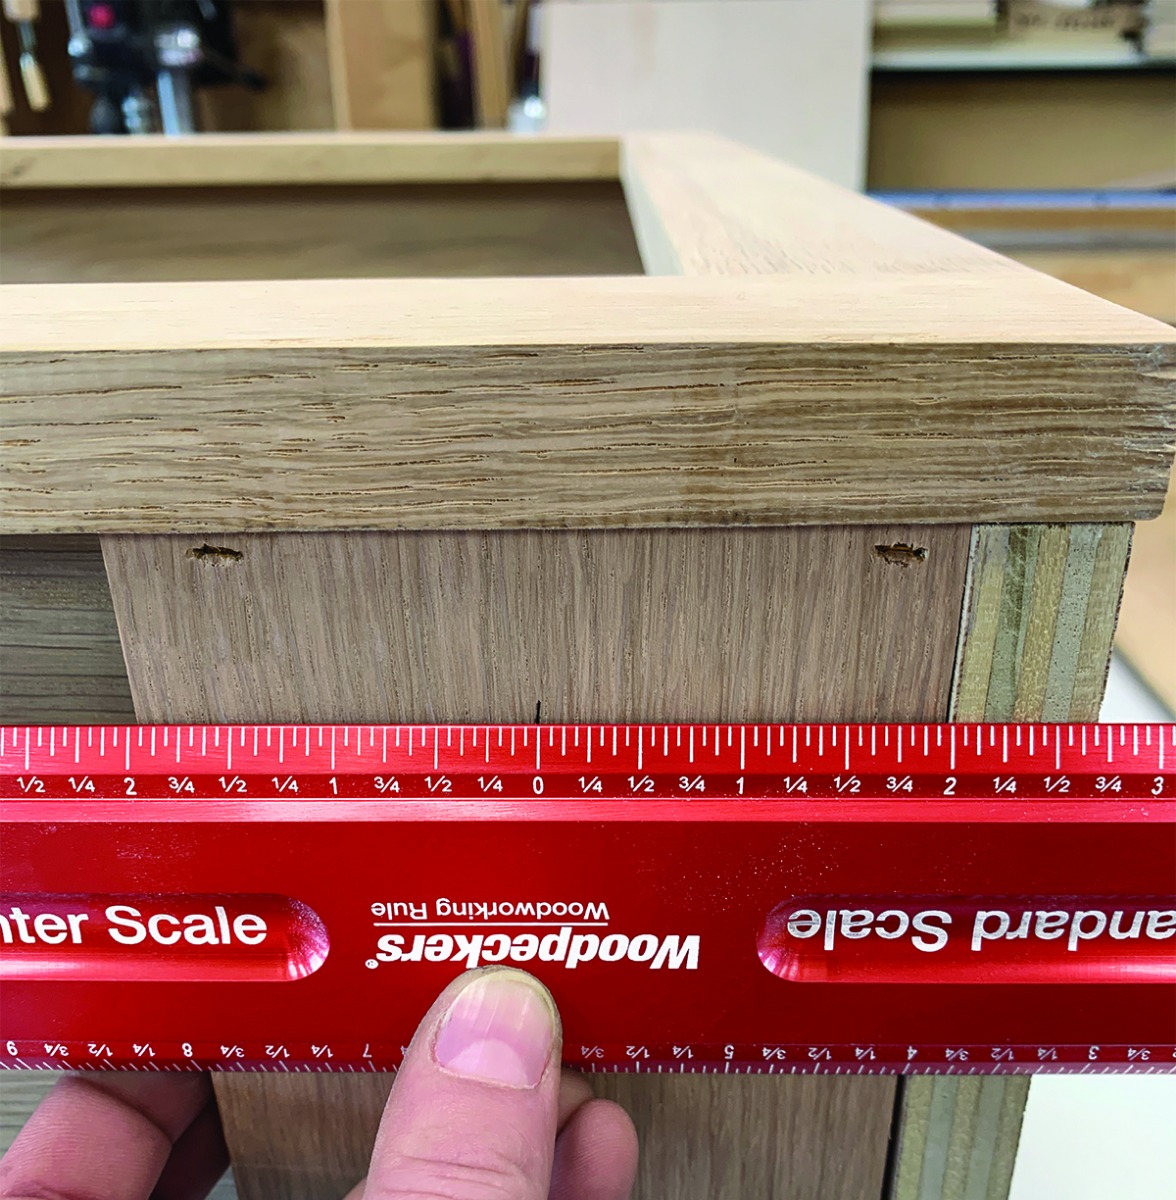
After sanding the top and cutting it to final size, I used my Paolini Pocket rule to set the overhang of the top over the cabinet and attached the top. Once the top was attached, it was time to stain. The client chose Rubio Monocoat Oil Plus 2C Cornsilk, a great color on white oak which made the grain pop while keeping the piece close to its natural color.
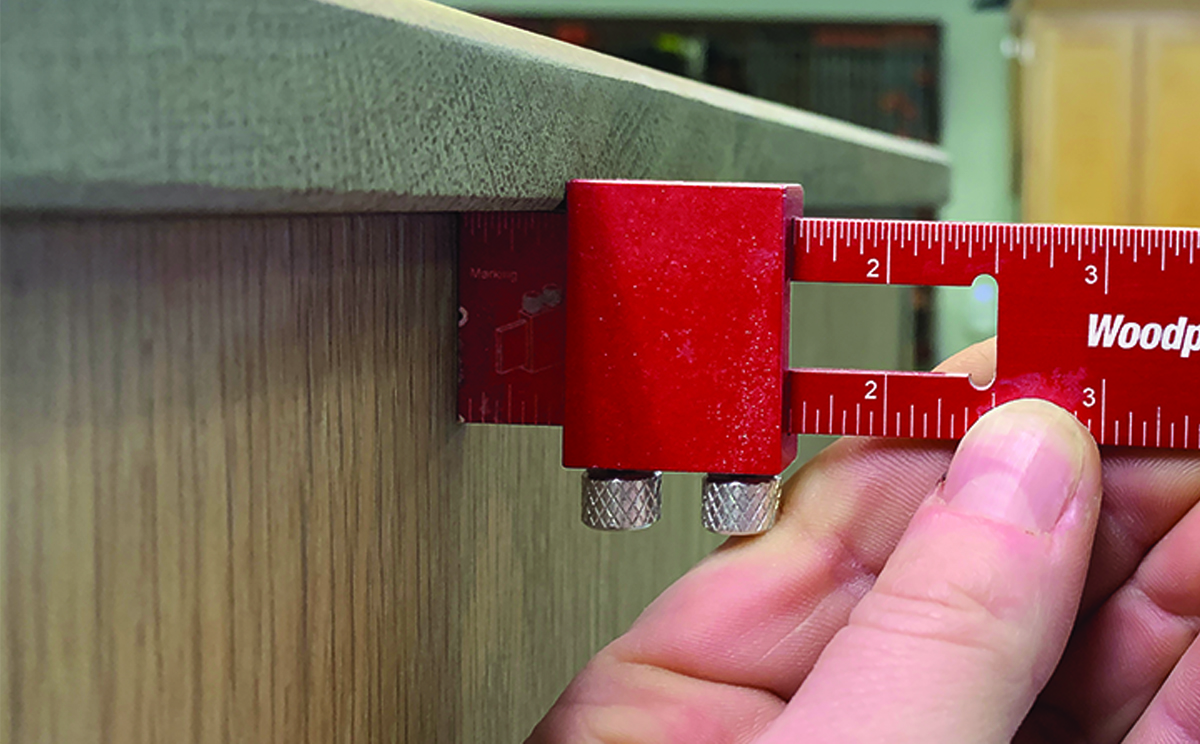
Setting the overhang with Paolini Pocket Rule.
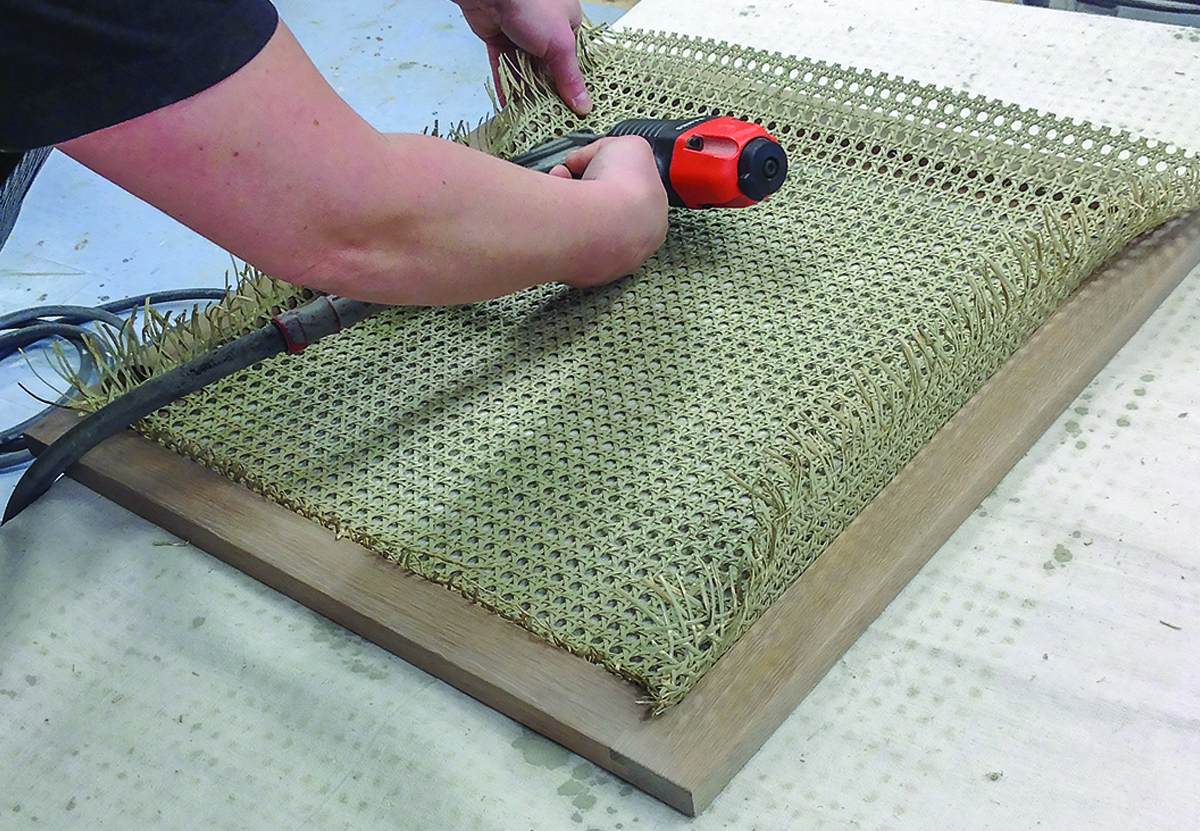
Cane webbing is first stapled into rabbet, keeping material taut across the door frame in both directions.
Before the cane webbing arrived, I researched installation methods and came up with two plans. When it arrived, I did some experiments with my two approaches and settled on one. I stapled the webbing every 3" to 4" around the perimeter, pulling it snug across the frame as I stapled. Then I stapled 1/2" x 1/2" strips into the corners, which tightened the webbing further and will keep the staples in the webbing from working out. Finally, I used a razor knife to trim the excess webbing flush with the trim strip.
I drilled the doors for soft-close cup hinges, then finished them the same way I finished the cabinet. The next day I finished up the shop part of the project by installing the custom-turned knobs and attaching the doors to the cabinet. Hopefully on the next project where I want custom-turned knobs I will have finally learned to turn and I can do it myself. I think they added a distinctive touch to the piece.
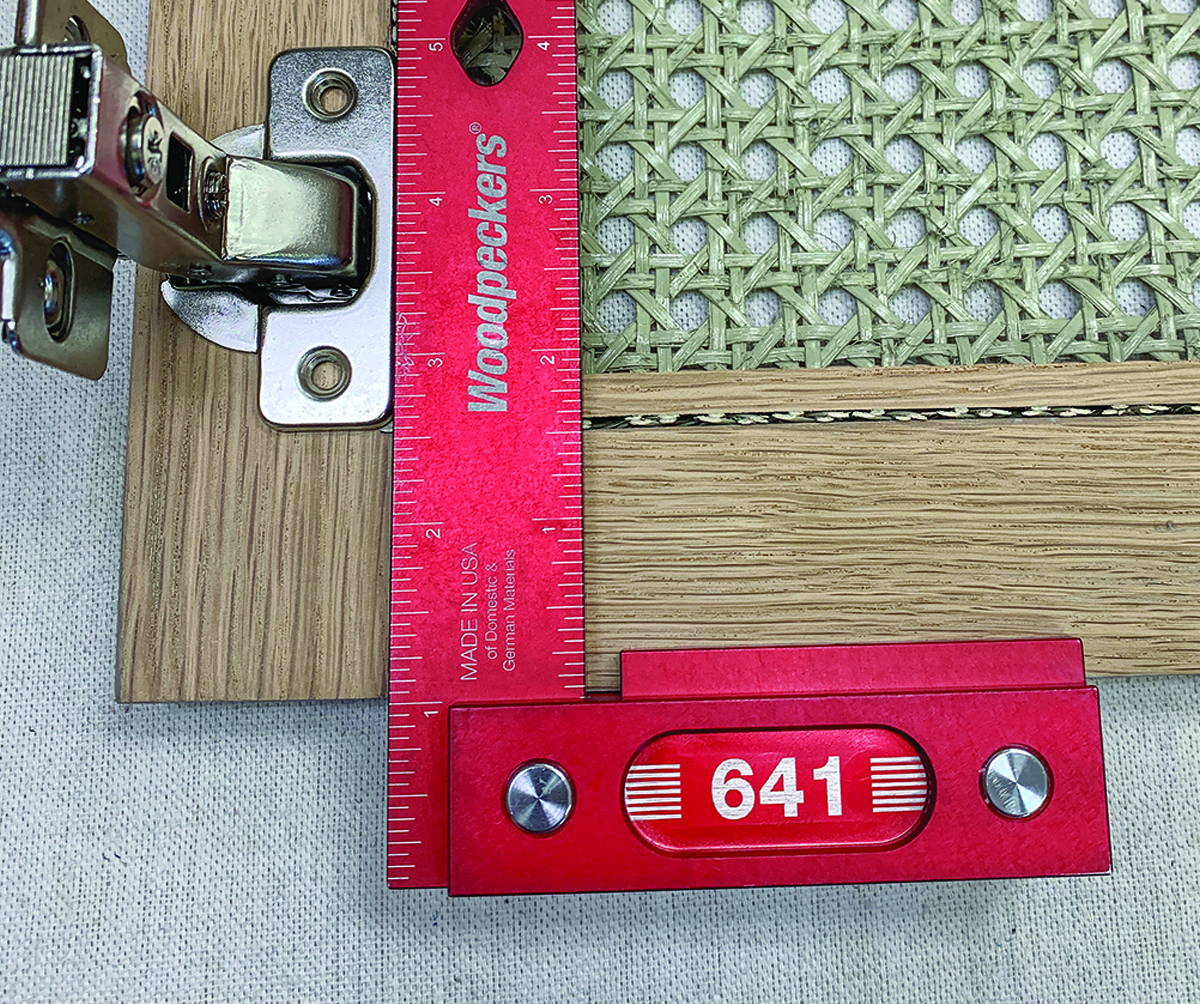
Small strip is stapled into corner, the excess cane webbing is trimmed flush with razor knife.
The shop part of the build was complete. We loaded the vanity up and drove it to its new home in Nashville’s 12 South District. It was a relatively simple install, without the high drama that can go along with making things fit in a space you didn’t build (what I’m saying is, to some carpenters, “square” is a mild suggestion).
To date this is one of my favorite builds. It’s a simple design without looking plain. The hardest part was waiting for the cane webbing to finally show up…and then figuring out how to install it. The clean lines and open feel provided by the cane doors completed the look my clients wanted to come to life.
Now, onto my next build!

