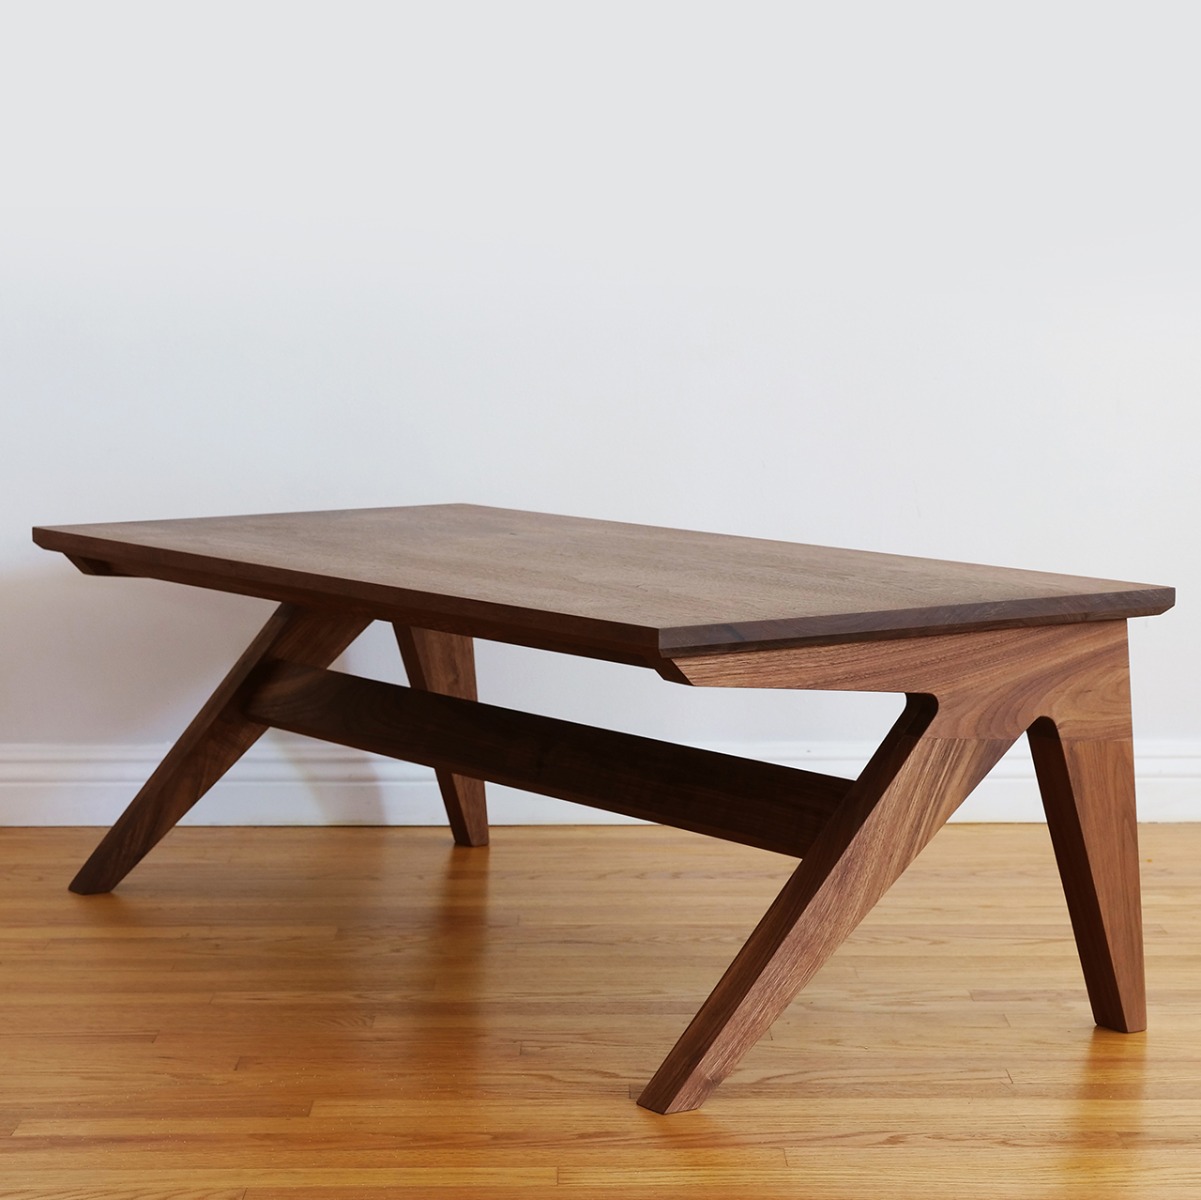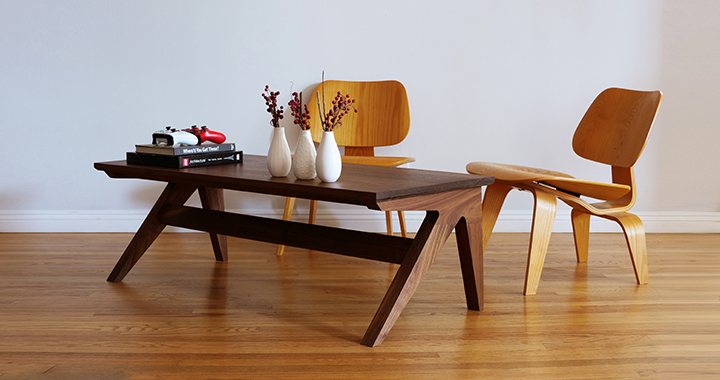
Table finished with two coats of penetrating oil on the legs and three coats on the top.
As a guy who doesn’t drink a whole lot of coffee, I’ve built a surprisingly large number of coffee tables. But, I suppose the same could be said for “bookcases built” vs. “books read”. Furthermore, I’ve built at least 2 changing tables, but rarely wear a diaper. In any case, in this article I’m going to walk you through building my Mid-Century Modern Inspired Coffee Table.
Now, I know there are a lot of angles going on here…and I know that angles can seem intimidating, but I promise, this is an easy to intermediate project that I’m positive you can handle. So, let’s dive in.
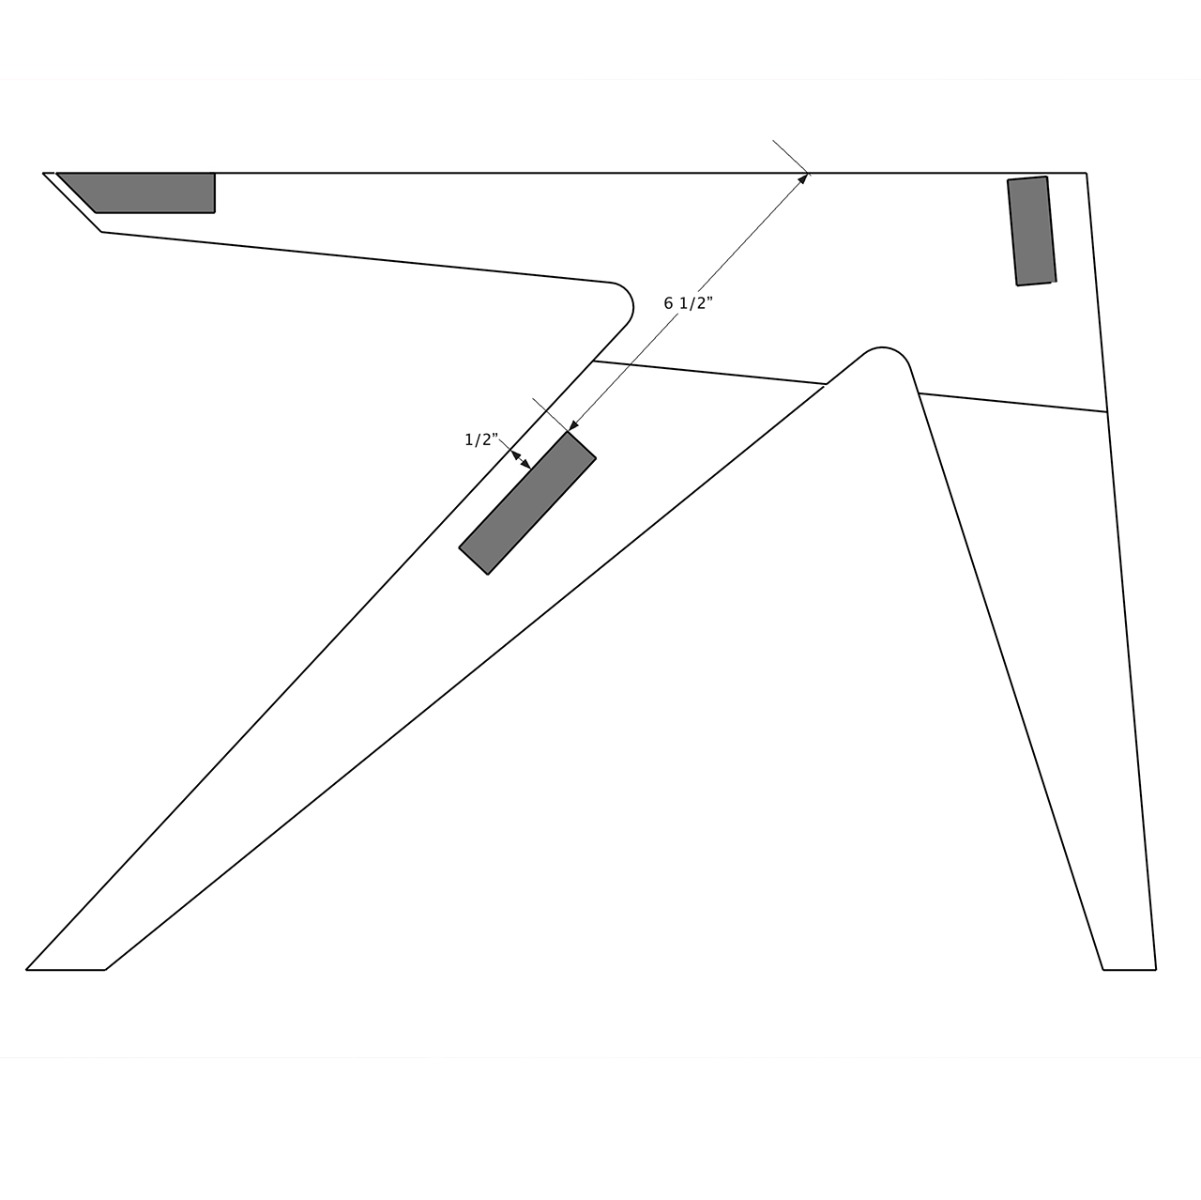
The hardest part of this project, for me, was figuring out the initial dimensions for the leg assemblies. As you can see, each leg is essentially a group of three pretty simple shapes that overlap to create the final, more complex shape.
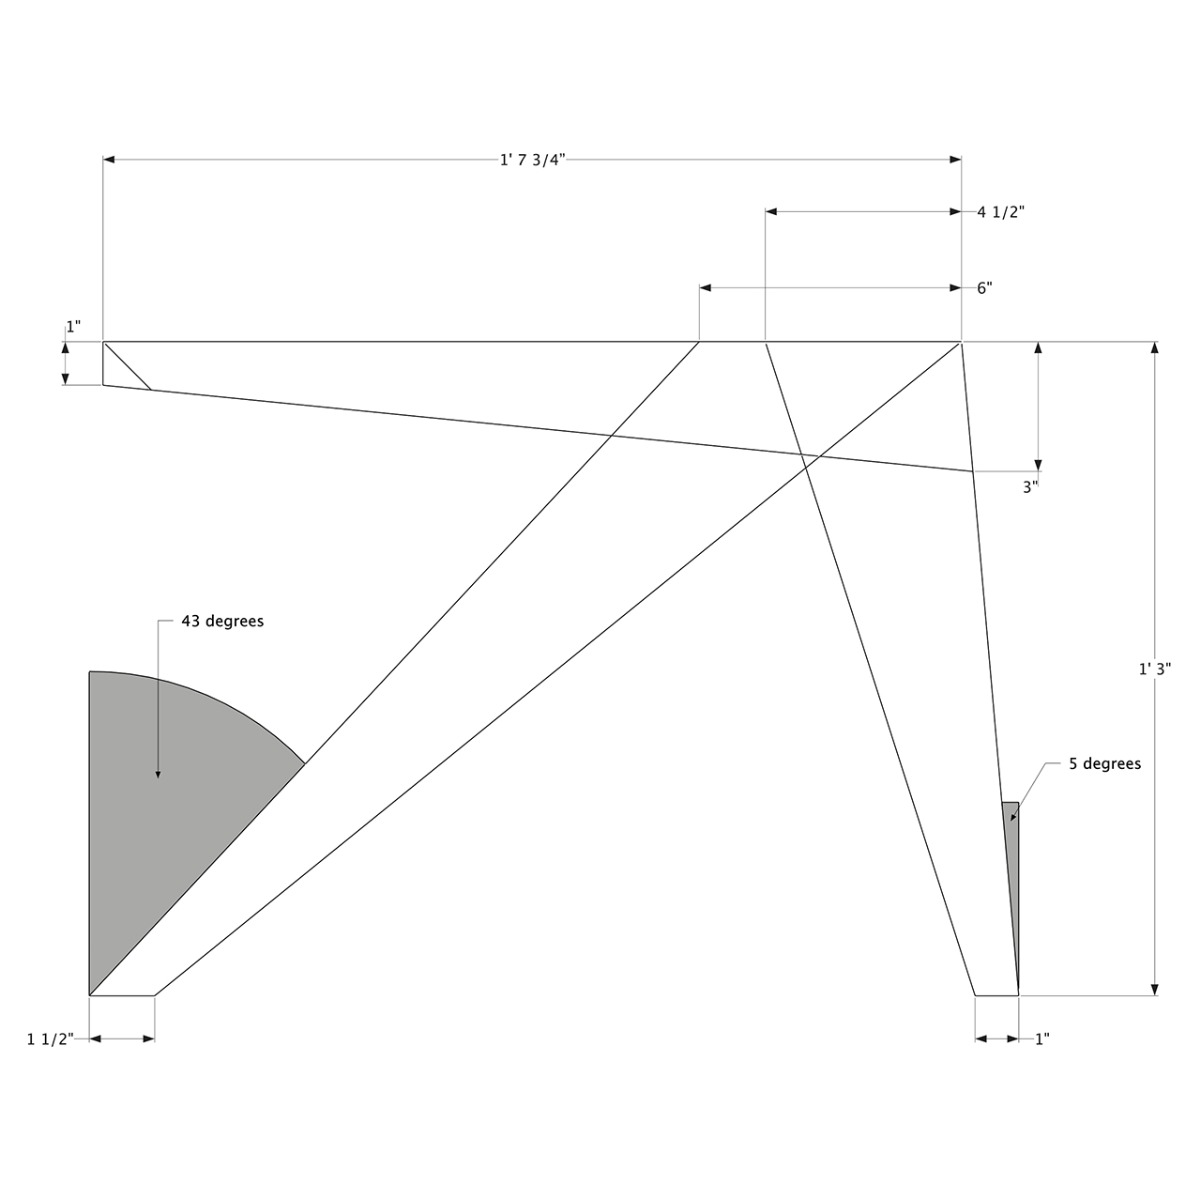
Starting dimensions of the leg assemblies. “25 cent” radius added to each inside corner.
The exact dimensions that I used for my legs are in the drawing. This should get you to a very similar shape. And the good news is, if you’re a little off, it really doesn’t matter, because for the most part, this is purely aesthetic at this point.
After I made my drawing, using Sketchup, and I was happy with the shape. I used lots of rulers and marking tools to transfer the dimensions onto a piece of 1/2” MDF which I’ll use as a template to cut the leg assemblies to their finished shape.Because I’m ultimately going to be using a router and a flush trim bit, I know the inside corners will need to be rounded. To do that I used a really cheap tool that you can get for about 25 American cents.

Transferring the dimensions from the computer to 1/2" MDF to make the template.
With everything marked up, I could begin making the template. To do this I used a combination of my track saw and my band saw. To refine the inside corners I used rasps and sand paper. And again. If you’re a little off here. Don’t stress, it’s purely aesthetic. When I had the template as true as I could make it, I roughed out another piece of 1/2” MDF and used the refined first one, my router and a flush trim bit to make a duplicate template. Why do you need two? One needs to be cut into the three separate components, and the other needs to remain complete.

I cut all the straight lines with a track saw and Woodpeckers Adjustable Track Square.
To make the 3-piece template, I struck a line across the legs parallel with the lower edge of the top section and down about an inch from the intersection point of the legs. I cut the legs off at that line using my track saw.
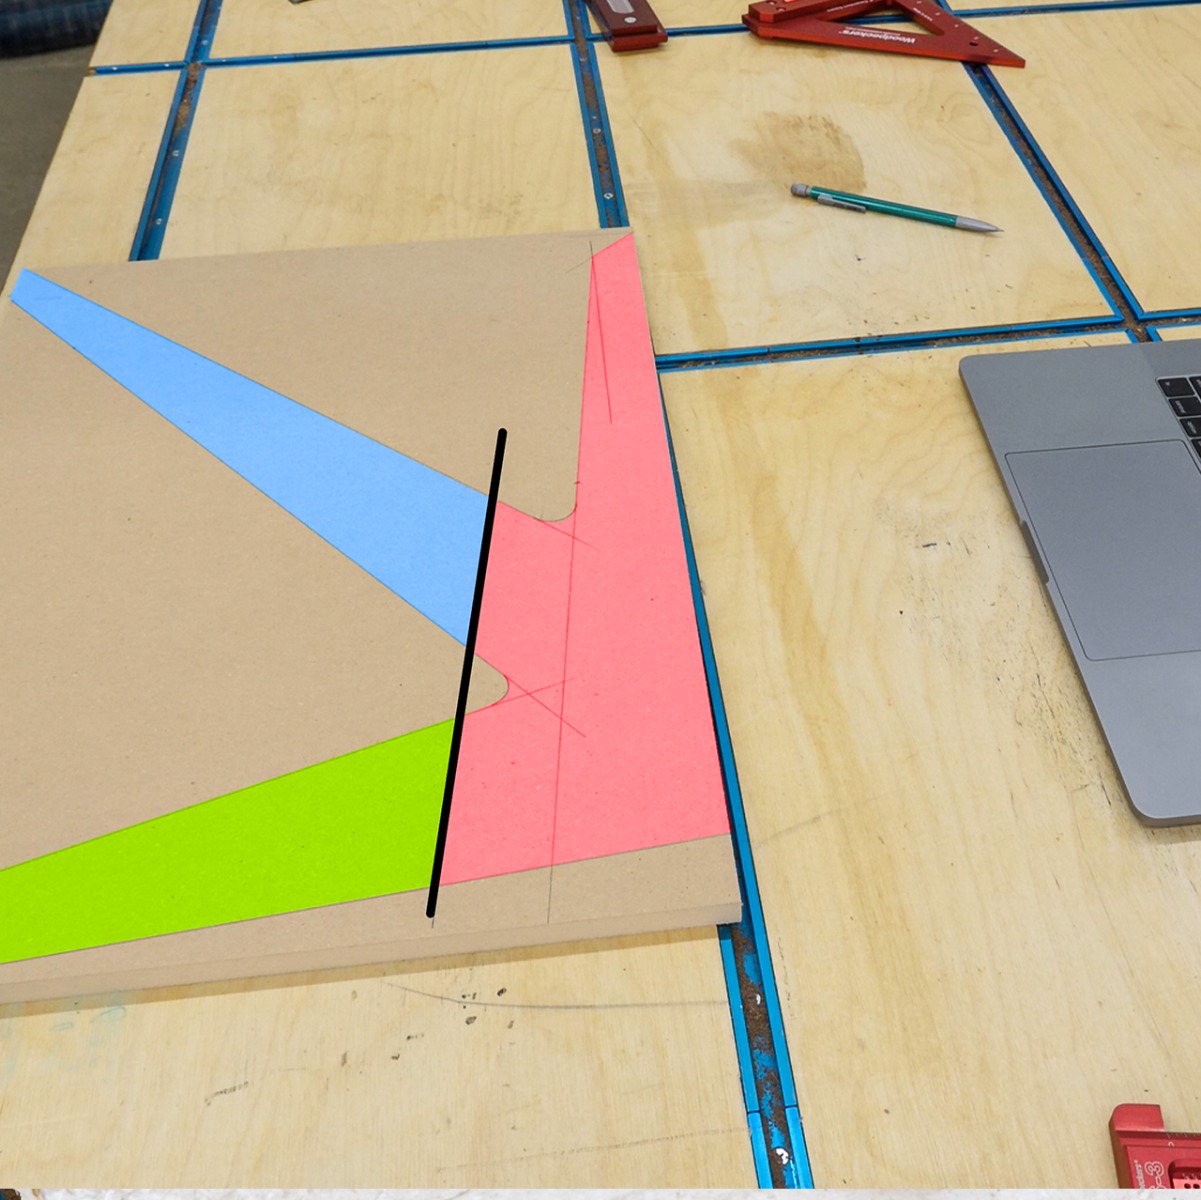
Black line indicates the joint between the top section of the leg assembly and the lower legs.
Next I used the top section template to trace its shape onto two pieces of 8/4 walnut. Then I used my bandsaw to cut them out. Make sure to stay proud of the line so you have a little wiggle room when you’re setting up for the template routing.

After cleaning up the template and making a twin, I cut one off and marked out two top sections.
With the pieces roughed out, I used some double-sided tape to temporarily attach the top section template to the rough-cut stock. Then I used a router with a flush trim bit to refine the shape. Because this wood is so thick, I did this in two passes, first having the bearing ride against the template, and next by having the bearing ride against the portion of the wood that has already been trimmed. I think it’s also safer to do this in a few passes removing smaller amounts of wood, which makes it less likely that the router will grab.
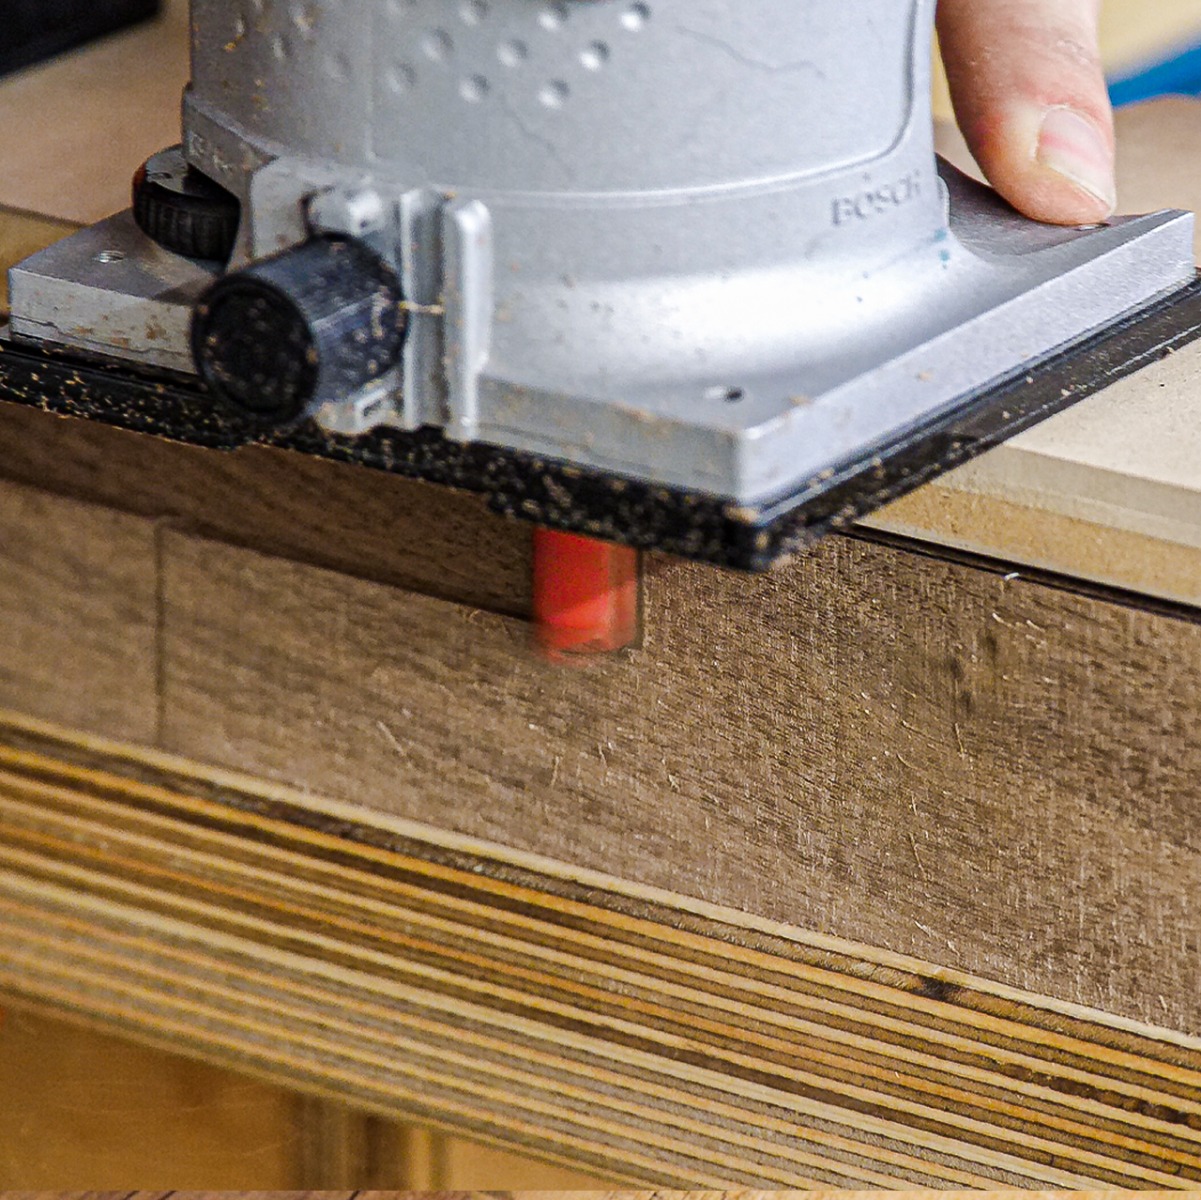
I trimmed to the template along the top and bottom, but not on the ends or joint areas.
The other thing to note here is that didn’t cut the two ends or the sections where the legs will join. I’ve had bad experiences with routers and end grain and I wanted a crisp, clean cut on the area where I’ll be doing the joinery, so I cut them on the table saw using a nifty trick with the template that I will share with you in a paragraph or two.
For the legs, I quite literally “roughed them out”. I left well over half and inch of material on all sides. My only concern was to get the right edges of both legs (figure xx) parallel to the finished edges. I did this using my track saw and some careful alignment. I used the table saw template trick (coming soon) to cut the joining ends.
For those areas where you’re going across end grain and places where joints will be coming together, I prefer to make the cuts with a table saw. Rather than try to transfer all the odd angles in these legs to a miter gauge or taper jig, I just made a temporary table saw sled and used the templates to line up the cuts.
To make the sled, I took a piece of scrap plywood, locked my table saw rip fence, made a cut, and then didn’t touch my fence again until I was done using the sled. I took each of the three component templates and aligned the edge I wanted to cut with the cut edge of the sled.
Then I screwed on scrap blocks to create fences at the critical edges of the template. Then I just replaced the templates with my stock and made the cuts. For me, this seems safer and more accurate. Just be sure you cut both of the matching components before you break the sled down for the next set-up. I cut the two ends of the top section, the leg joint area of the top section, and the joining ends of both legs. I didn’t cut the legs to final length, though. We’ll do that once the entire leg assembly is glued up and trimmed.
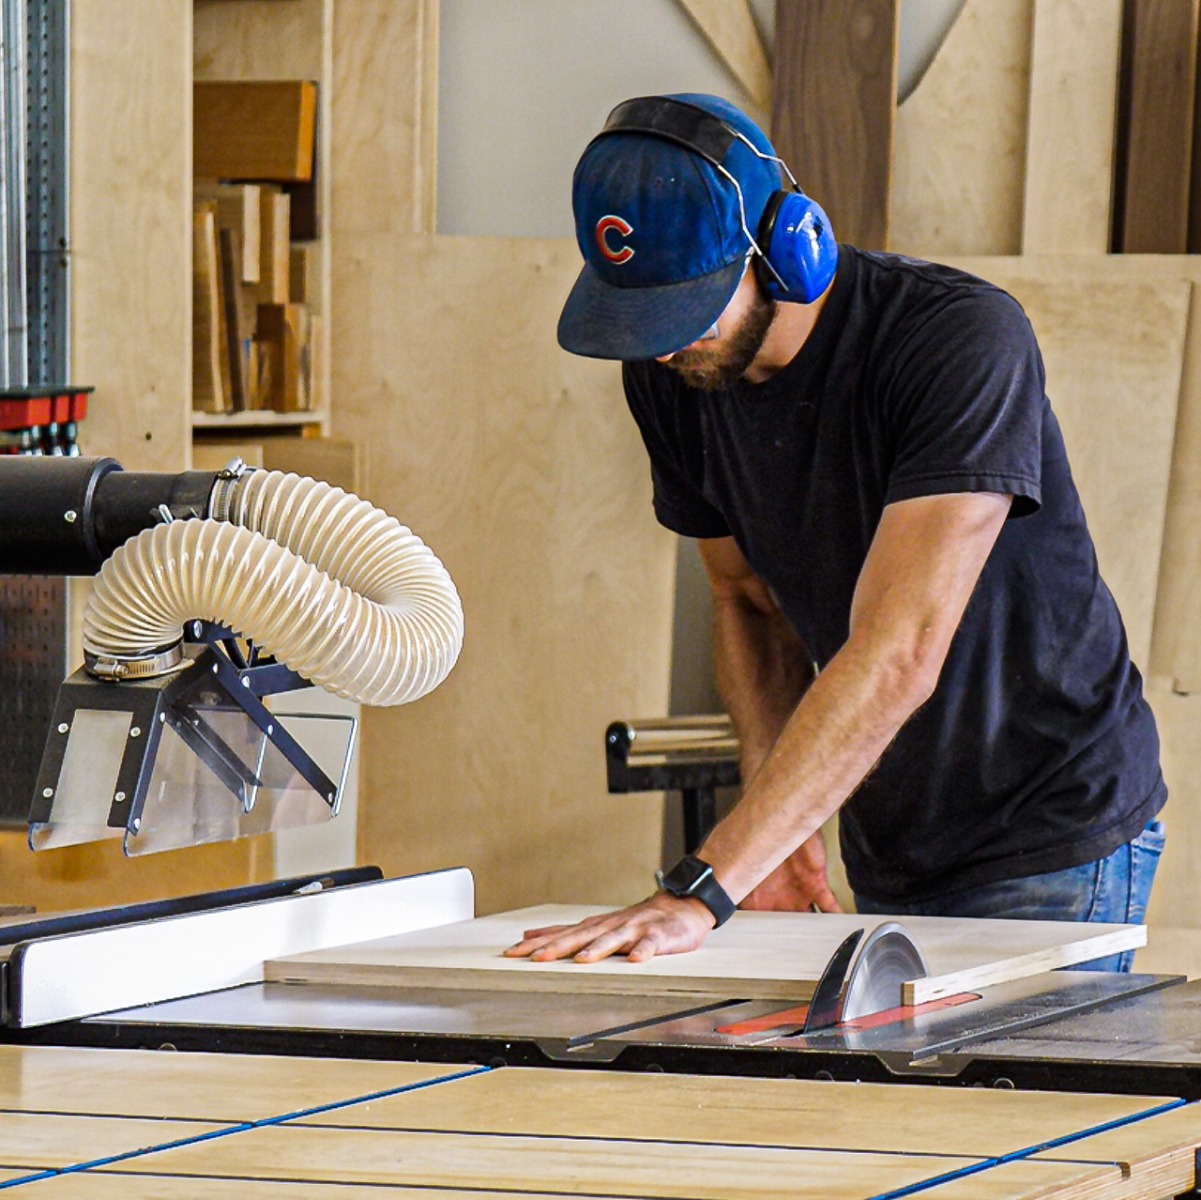
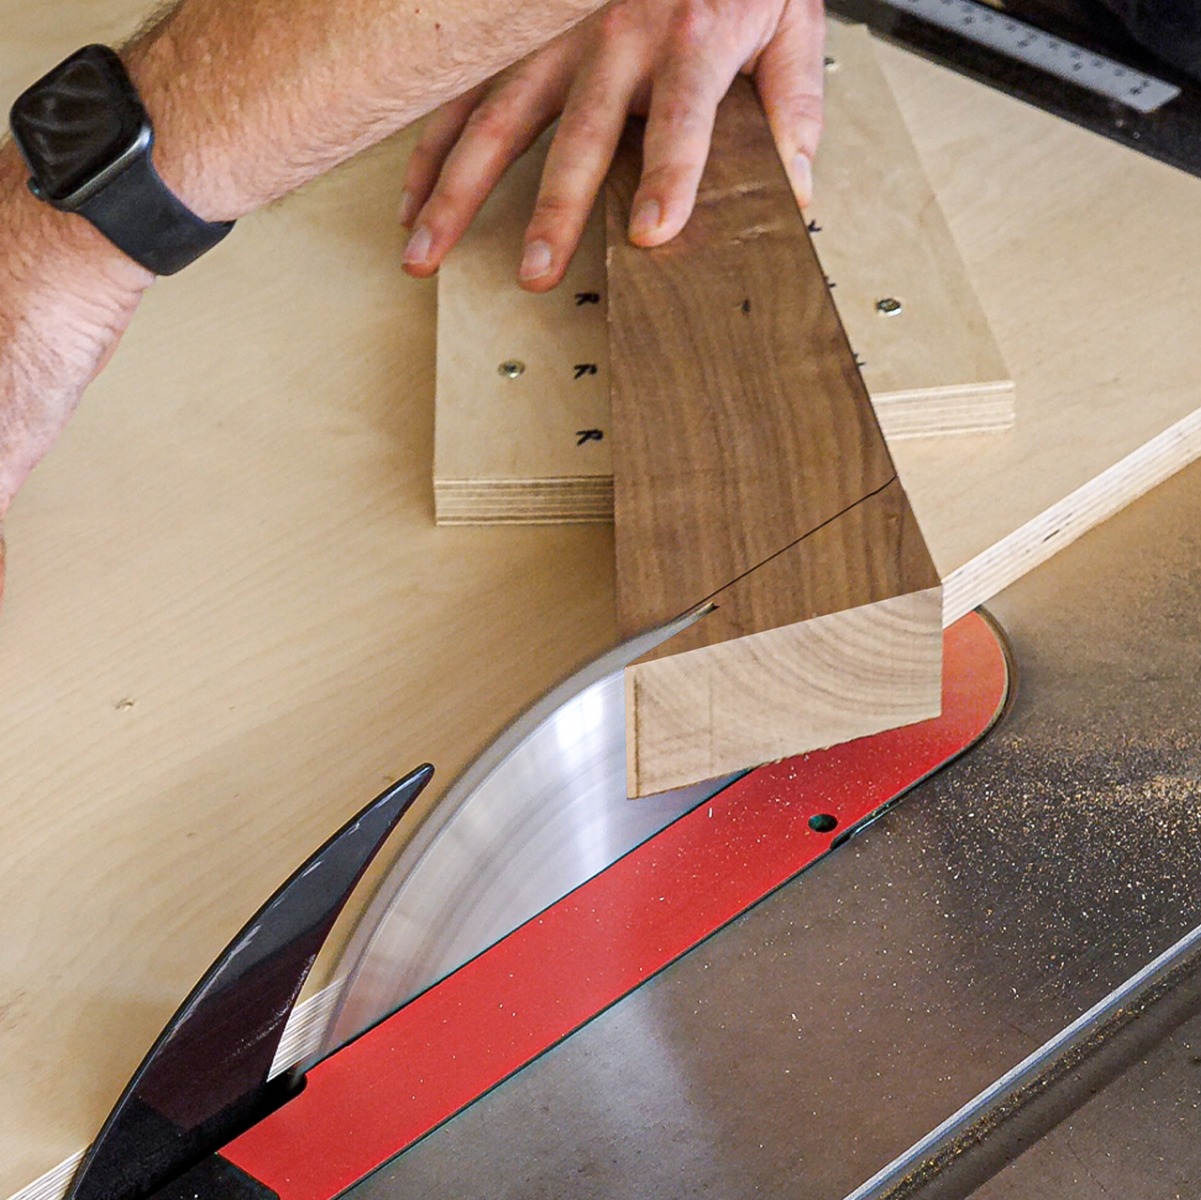
My temporary sled starts by trimming a piece of appropriately-sized plywood and then leaving the rip fence alone until all the components are cut.
At this point I was ready to put the leg assemblies together. To do that I mortised in some Dominos at each joint. If you don’t have a Domino, some dowels would work just as well. The only out of the ordinary part of this glue up was, I had to make a quick little clamping jig in order to get pressure on the more angular leg. See (fig. 19). The clamping jig compensates for the angle so the clamp is pulling straight across the joint.
After the glue dried on the fully assembled leg sections, I attached the full template and routed the legs…except for the ends. For those, I set the rip fence using the template as shown in the image. Then I could cut the ends of the legs perfectly parallel to the top of the leg assembly.
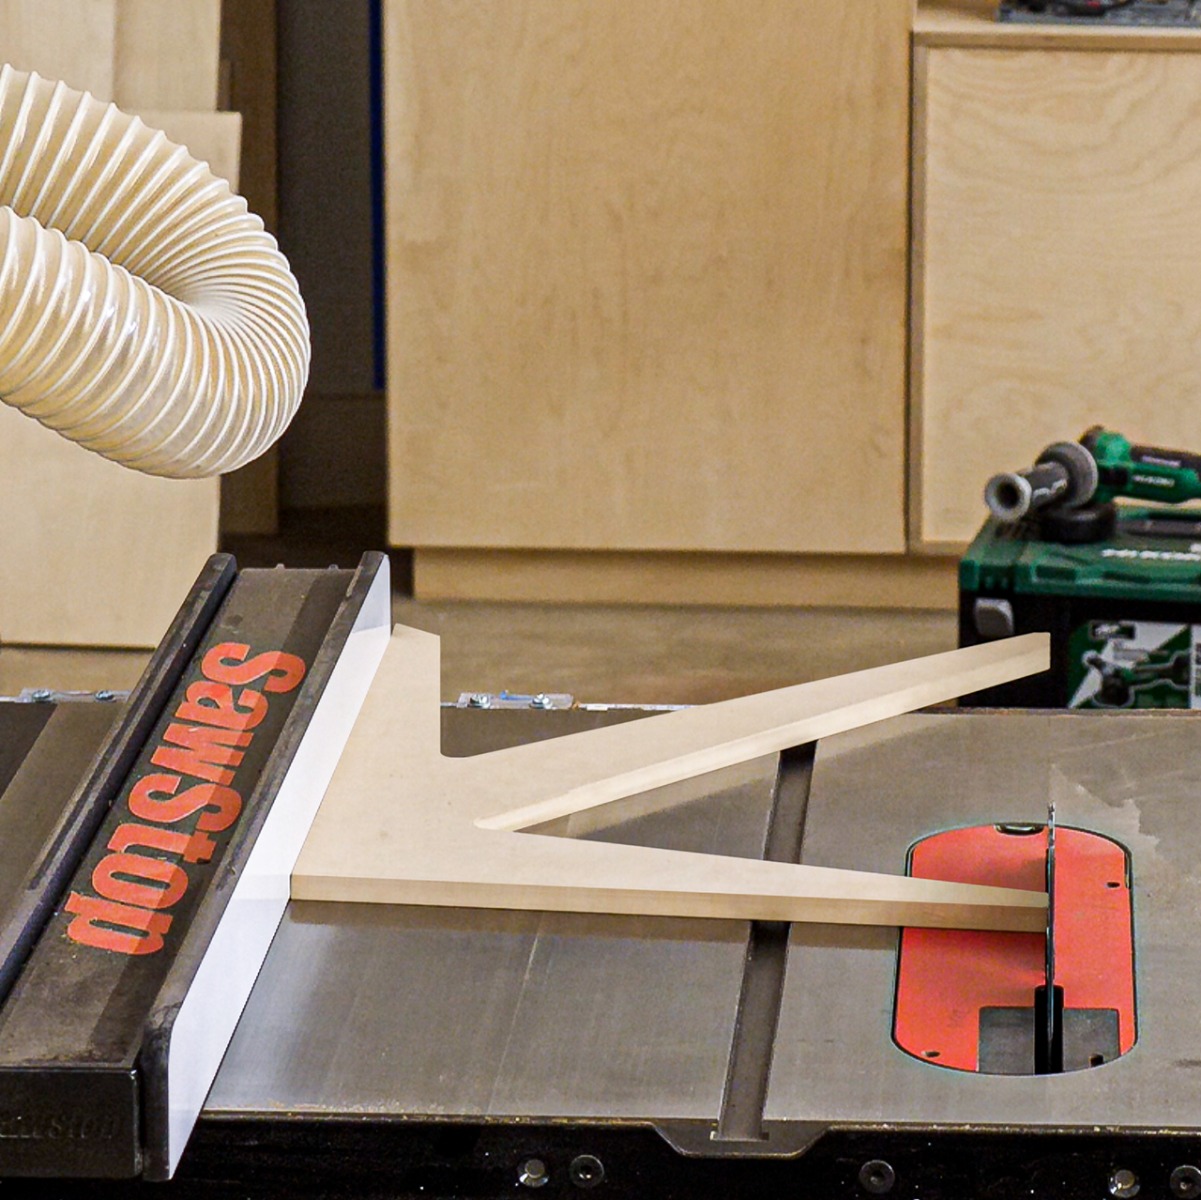
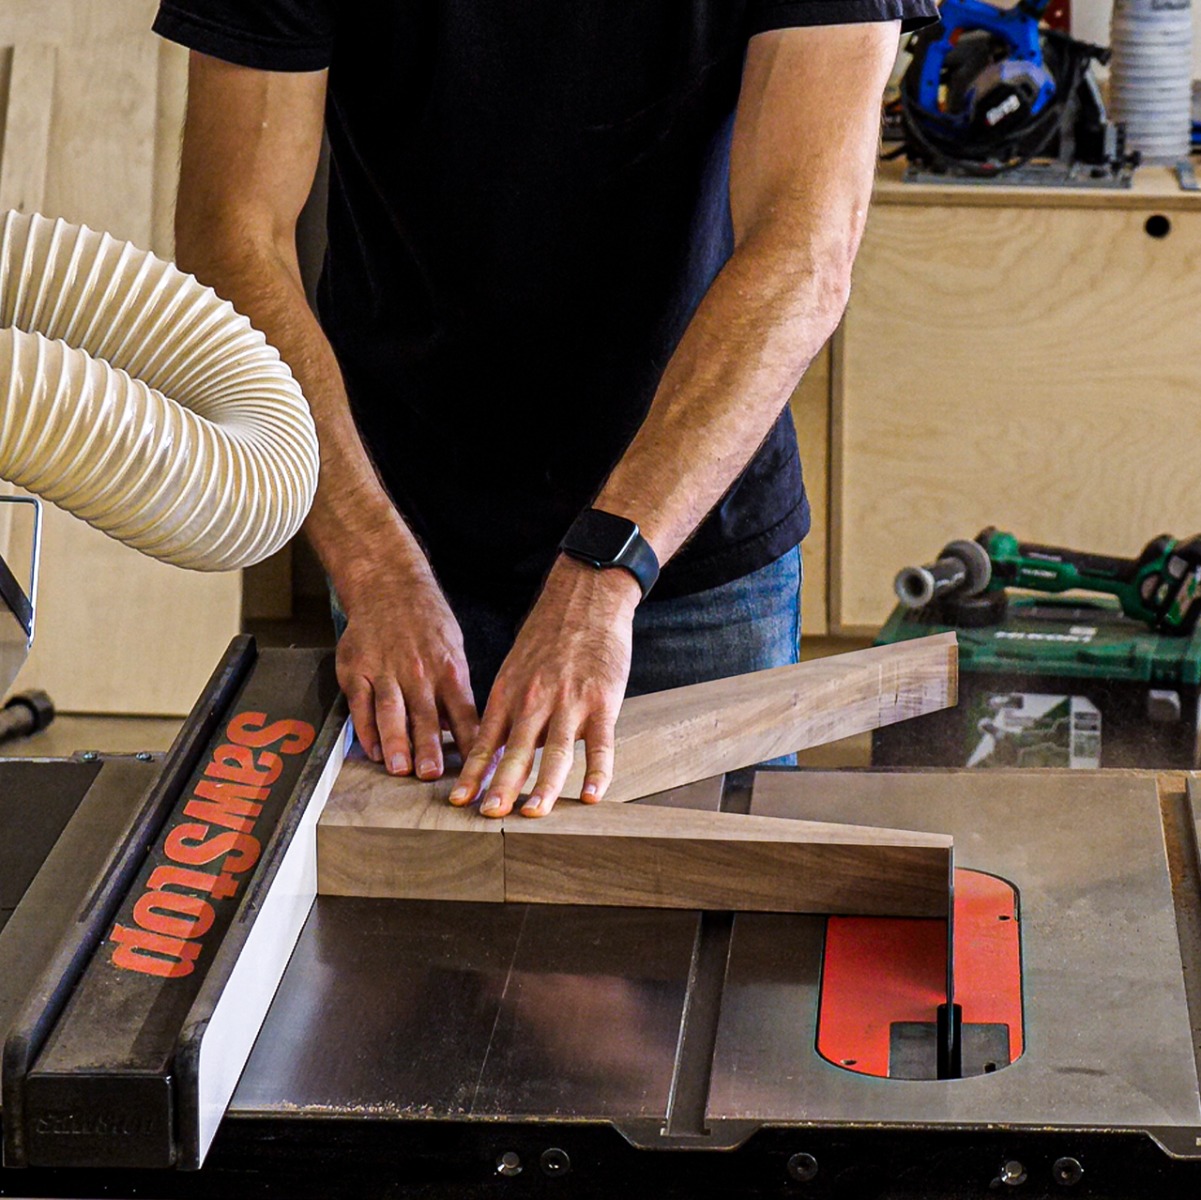
I used the template to set the rip fence to cut the legs parallel to the top.
Last step on the legs is to cut the ends parallel.
To make the table top I started with two boards of 6/4 walnut that were just a little over 8' long. The finished dimensions of the top should be 48” long, 22” wide, and 1” thick. I roughed out four pieces, inspected each for cup or twist, flattened one face on my jointer then ran it all through my planer to bring everything down to a nice even thickness of 1”. I prepped the stock for edge gluing with my table saw and jointer and glued up the table top.
At that point it was slightly oversized…about 1” wider, and 4” longer than the finished dimensions. Once the glue was dry, I cut it down to its finished dimensions.In total I needed to remove 1” of width, but rather than ripping off 1” with one pass, I cut 1/2” off of each side, maintaining the symmetry of the boards within the panel. Cutting to length made me appreciate my sliding table, but it can be done accurately with a track saw or even a circular saw against a straight edge.
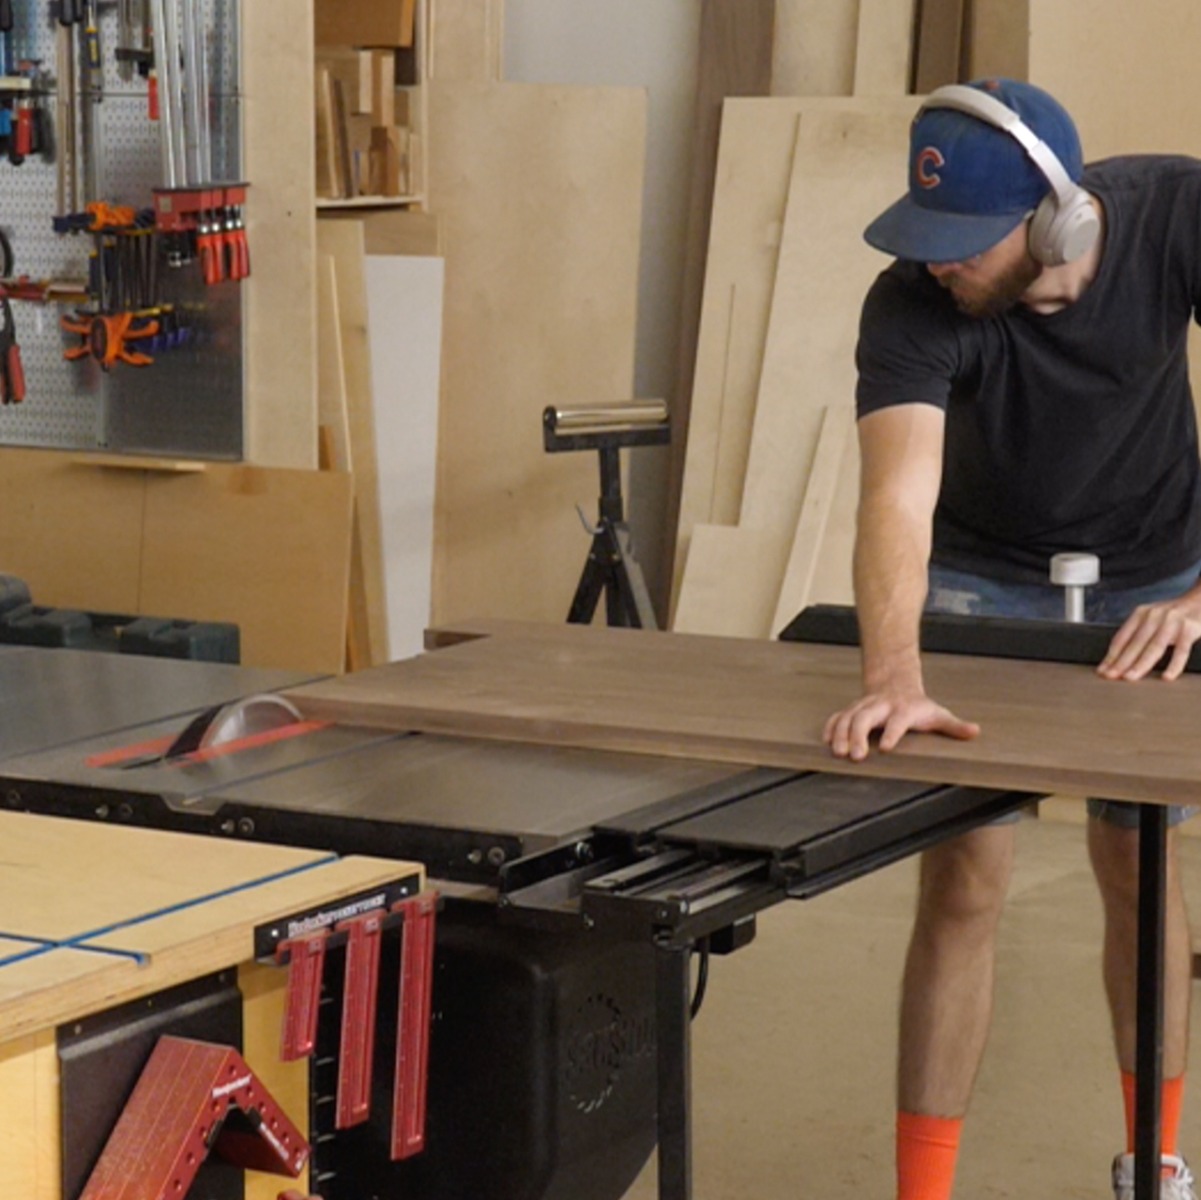
Cutting the 48" wide top can be a challenge with a normal table saw. The sliding table helps, but it could also be done with a track saw or a circular saw and straight edge.
The last thing to do to the top was route a chamfer into the underside. This is obviously optional, but I feel like it lightens the top just a bit, for a nicer finished look.
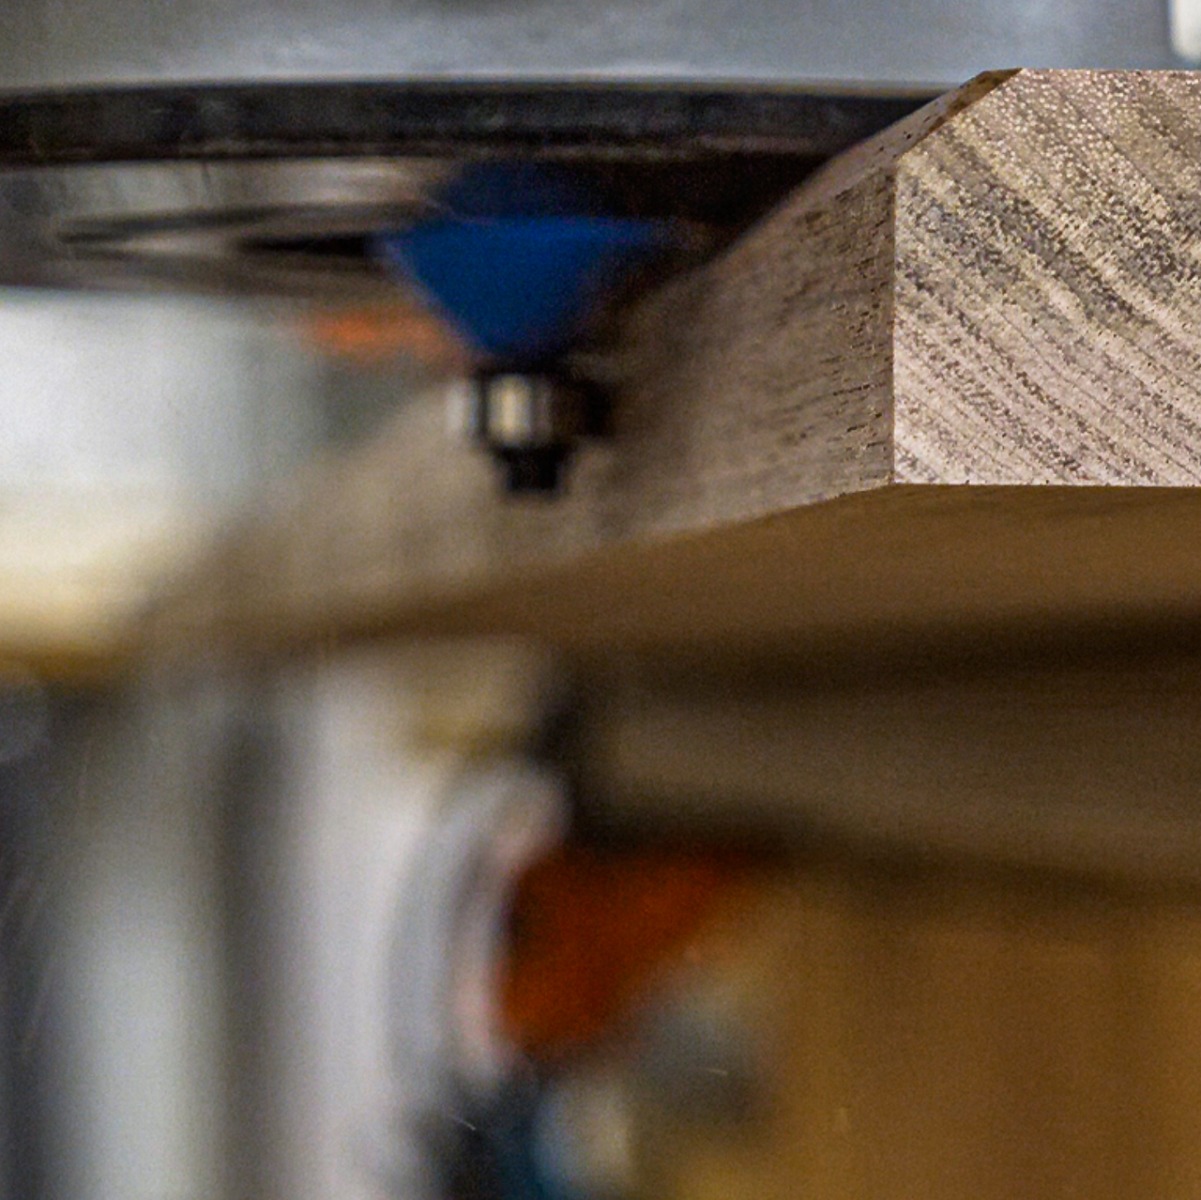
Table top turned upside down and chamfer cut made on the lower edge.
Next I made 3 stretchers to connect the two leg assemblies. I started by milling some walnut stock down to 3/4” thick. Next I crosscut the pieces to 43” long, and then ripped two pieces 3” wide, and one piece to 2” wide. I set my blade to 45 degrees and beveled one edge of one of the 3” pieces. The image shows the approximate position of the stretchers.
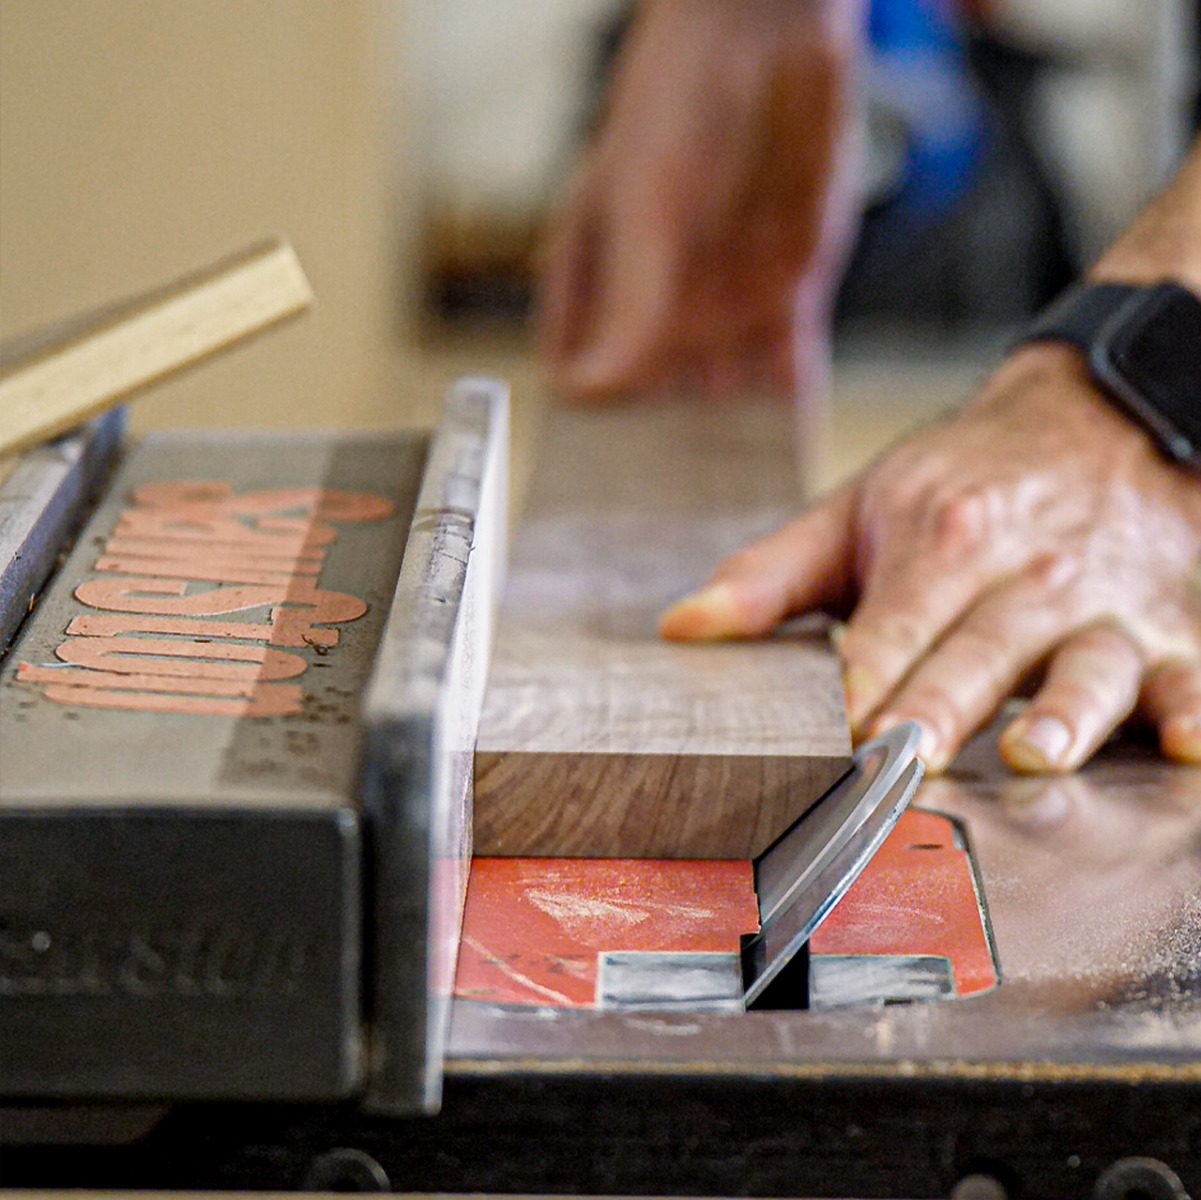
Bevel ripped on one stretcher to match the end of the top.
Approximate position of the stretchers. Exact location isn’t critical, but make sure you cut the mortises for the lower stretcher the same in both legs.
To attach the stretchers, I used pocket screws for the top two, and Dominos for the bottom one (since you’d be able to see the pocket holes on that piece). Because of the way I attached the lower stretcher with Dominos, it’s important to get the joints centered. Exactly where you put the stretcher isn’t important, but make sure you position your mortise exactly the same in both leg assemblies.

Domino mortises cut into the lower stretcher.
Next I did a dry assembly starting with the “Domino stretcher”. I put a band clamp on it to keep the whole assembly upright while I positioned the two pocket-hole stretchers and used more band clamps to make sure it all came together. I marked a few layout lines on both leg assemblies, which really helped align the joints that don’t have a mechanical “fit”.
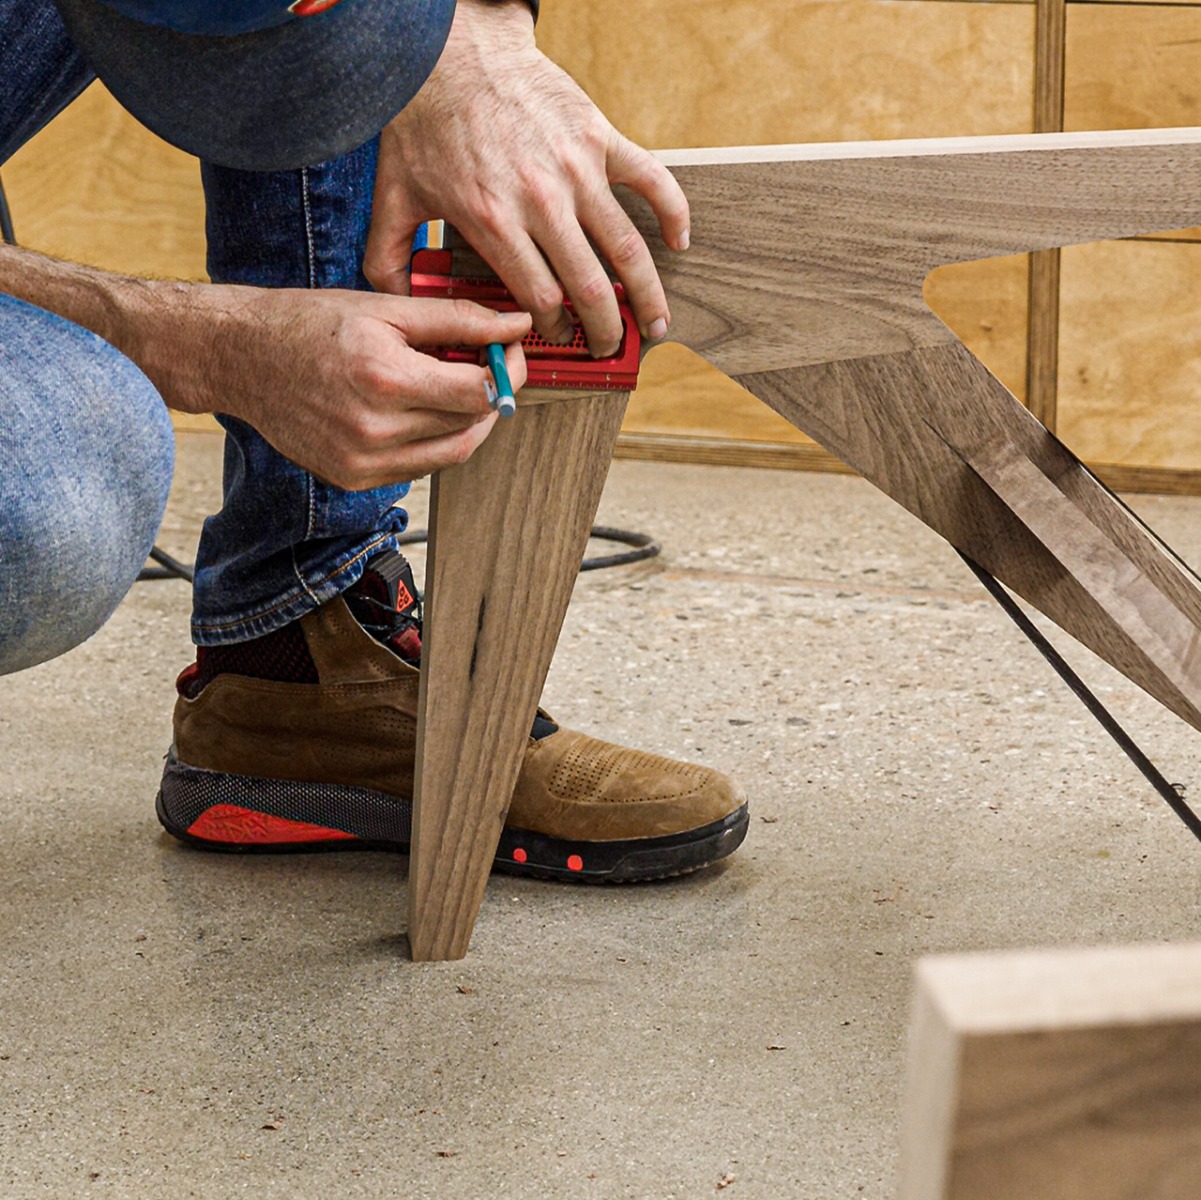
The pocket-hole stretchers get some layout marks to be sure they’re clamped in the right spot before driving the screws.
After that, I took it all apart, sanded everything up to 220 grit, and then did the final assembly with glue in the “Domino” joint, and screws in the pocket hole joints. To attach the base to the top, I used a Forstner bit to mortise in some “figure 8 desktop fasteners”

“Figure 8” table top fasteners allow wood movement.
To finish the table, you can use any product that you like. I personally like using penetrating oils, and I put two coats on the base, and 3 on the top.
…and that’s it! We’re done! So, this may not be the table that’s perfect for everybody. It all depends on what you need out of a coffee table. If you need lots of storage, or your kids eat, and play on the table…maybe this isn’t the one for you. But if you just need a simple place to set a few things, I think this is a pretty good option.
I know the angles can seem intimidating, but remember. They don’t actually have to be perfect…at least not in this application. I can guarantee that the template I made, and the 3D model I based it off of are not actually the same. They just look very similar. So if you do decide to build this, don’t stress over that. In fact, don’t stress over anything woodworking related - especially if you’re doing this as a hobby. Enjoy it! Like a cup of coffee.
