By Guy Dunlap
My wife has been asking for a new kitchen for about 10 years. When she started peppering the pleas with jokes about the Cobbler’s children’s lack of footwear, I decided I really did need to pay attention. The new cabinets are done and we had a new floor installed. About all that’s left is to replace the island so it matches our new cabinetry. I observed how we both use the kitchen and discussed with my wife what she liked and didn’t like about the old island. We finally settled on features and then I drew it up in Sketch Up. Once the plans were approved by the boss, it was time to get to work.
I built the base unit using white oak plywood with flat sawn white oak for the drawer fronts and legs. I built the drawers using soft maple. The process started with picking the lumber and milling it to dimension. I started the build like I always do, with the legs.
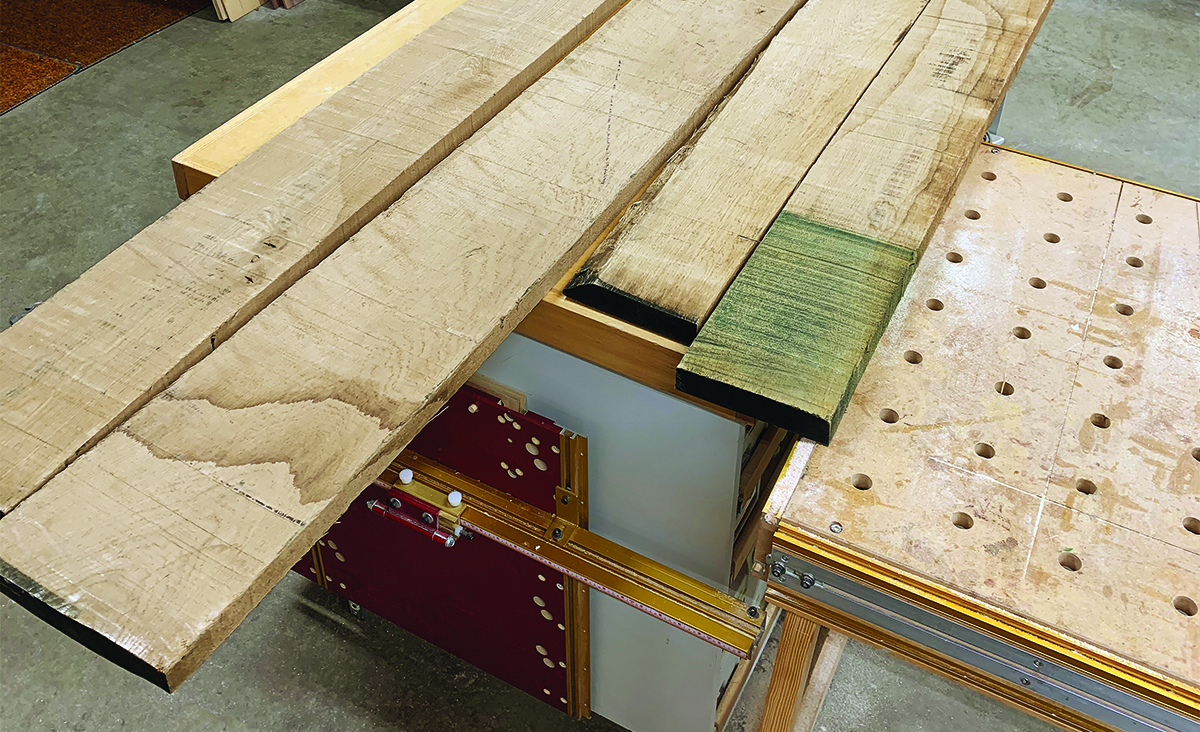
Rough saw White Oak used for the legs and drawer fronts of my new kitchen island.
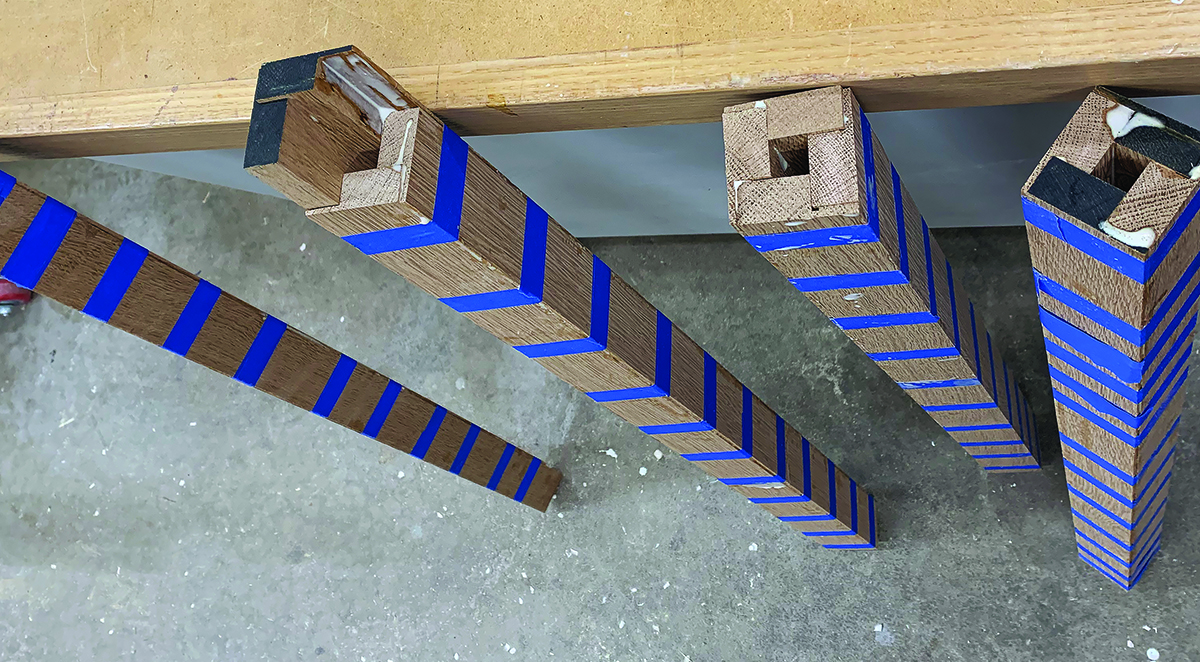
Overlapping rabbet joints at each corner of the leg leaves a hole in the middle. I ran power into the island with a supply line coming up through one leg.
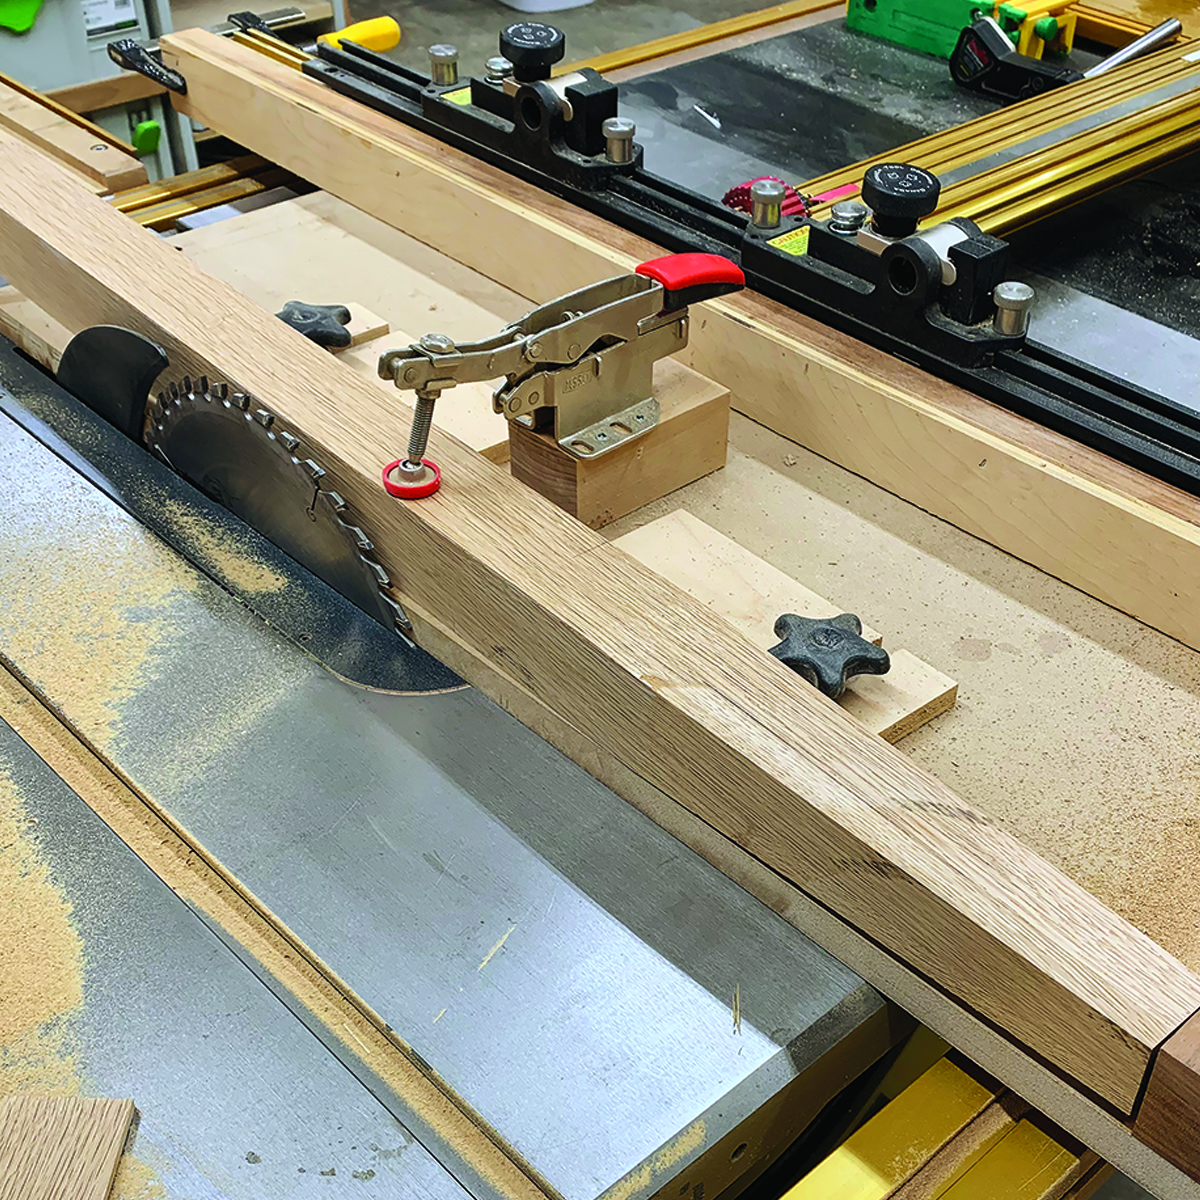
I used my homemade taper jig to cut a taper on the leg that starts at the bottom of the cabinet and runs to the floor.
Cabinet ends and sides glues into stopped dadoes on the legs.
At least one of the legs needed to be hollow to form a conduit for electric wiring to run up into the island. I decided it would be simpler to make them all the same. I used a dado stack on my table saw to rabbet the material for the legs. I assembled each leg from four pieces with a corner fitting into a rabbet. The offset of the rabbet created a little better than 1/2" hollow in the center. I glued them up, tightly wrapping each leg assembly with blue painter’s tape and set them aside to dry. After they dried, I cleaned up the glue lines and cut them to final length. Then I tapered all four sides of the lower 12" using a shop-made tapering jig.
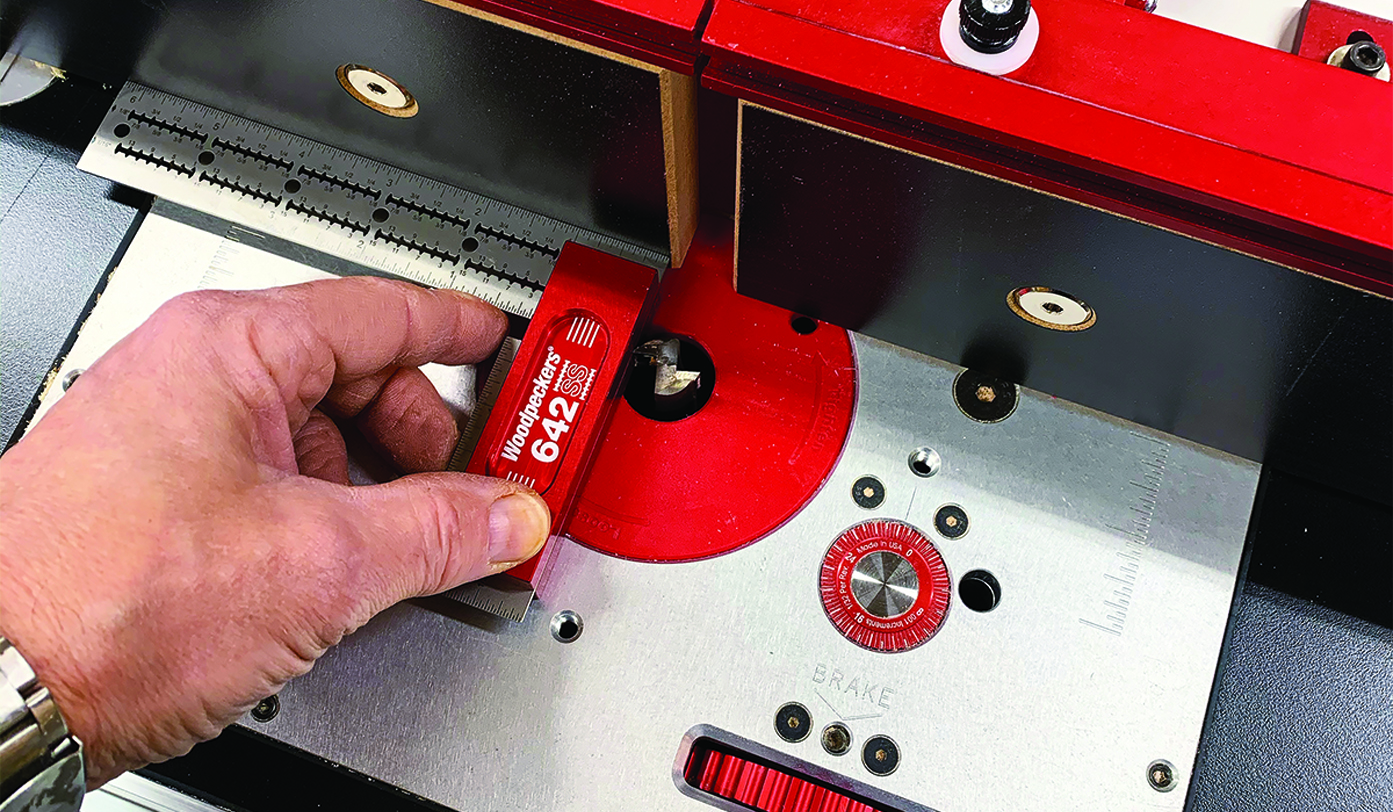
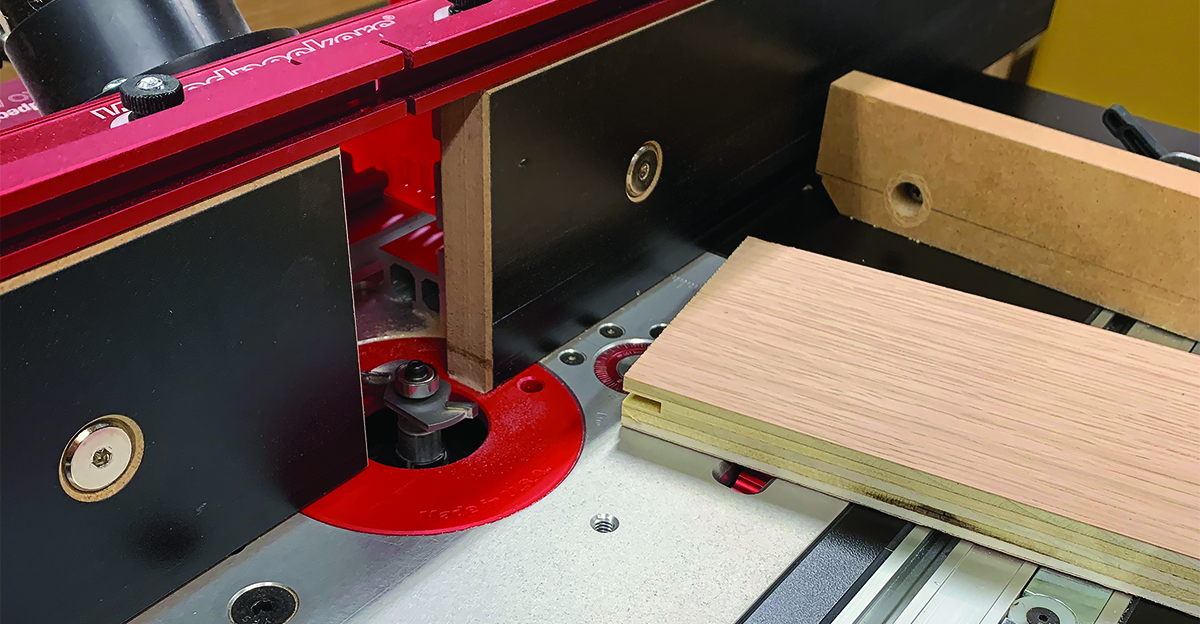
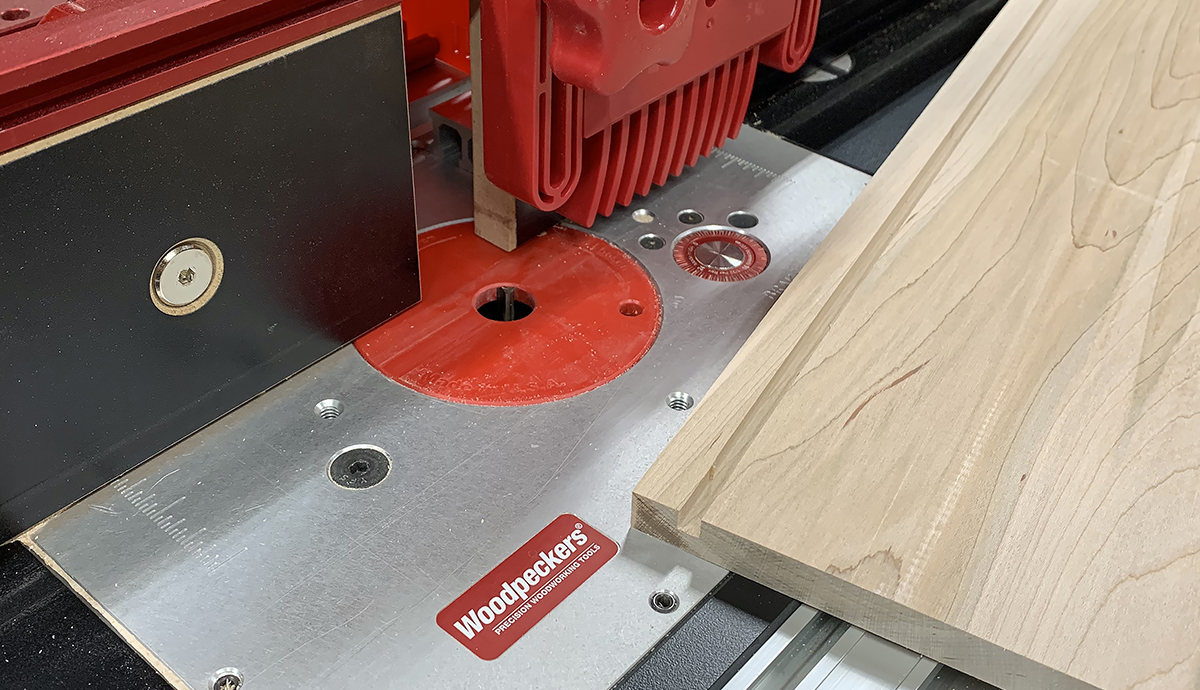
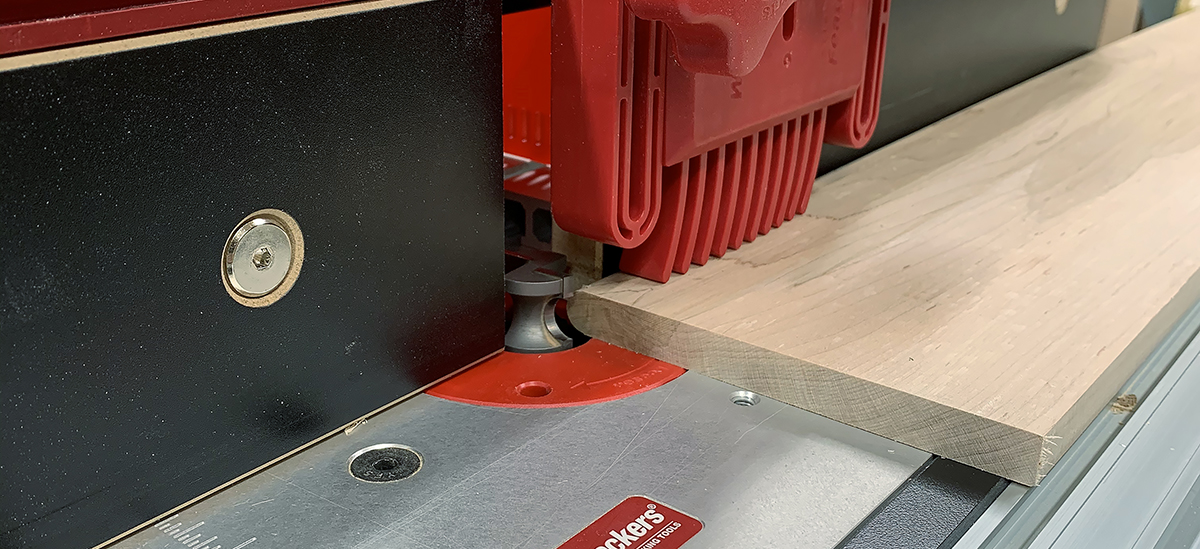
I matched the edge of the auxiliary fence to the leading edge of the router bit to give me a start and stop point for the dadoes.
I marked the stop point on each leg, then ran that to the edge of the auxiliary fence.
The cabinet sides fit into stopped dadoes on the legs. My Woodpeckers Router Table was the perfect tool for the job. I mounted a 3/4" straight bit into the router, set it to cut 1/2" deep and positioned the fence for the dado to start 1/2" from the edge of the leg. I adjusted the sliding sections of the split fence so they marked the leading and trailing edges of the bit. This enabled me to start and stop the dadoes at the appropriate points.
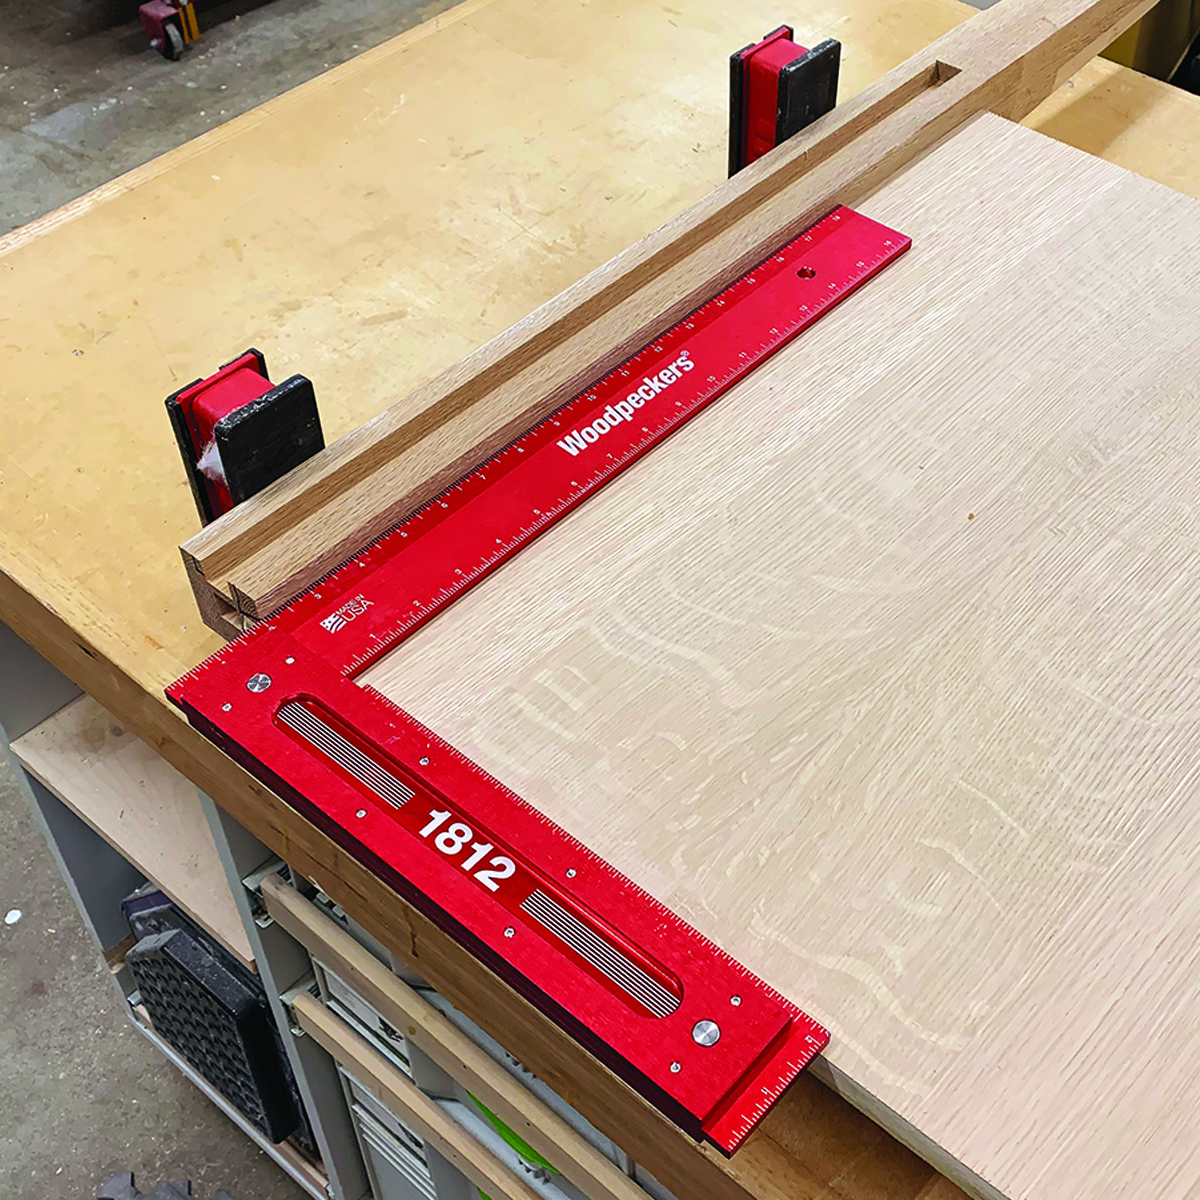
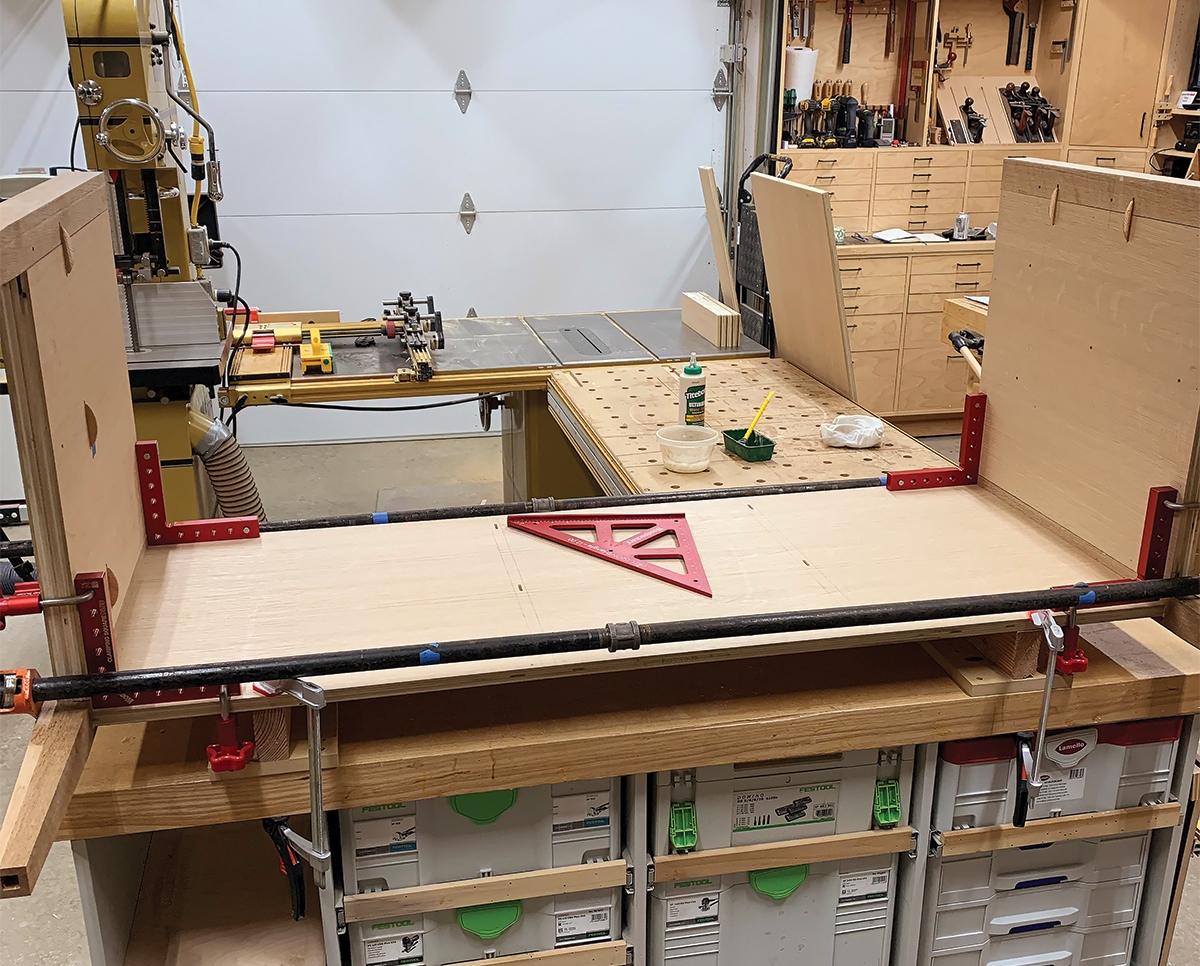
Next it was time to start breaking down all the plywood for the island. Even though I have a table saw sitting right in the middle of my shop, I prefer to use my track saw for most of the critical dimensioning of plywood components. I lay the full sheet down on a sheet of foam insulation and use Woodpeckers Adjustable Track Square and Parallel Guide System in tandem to cut the panel components of my cabinets.
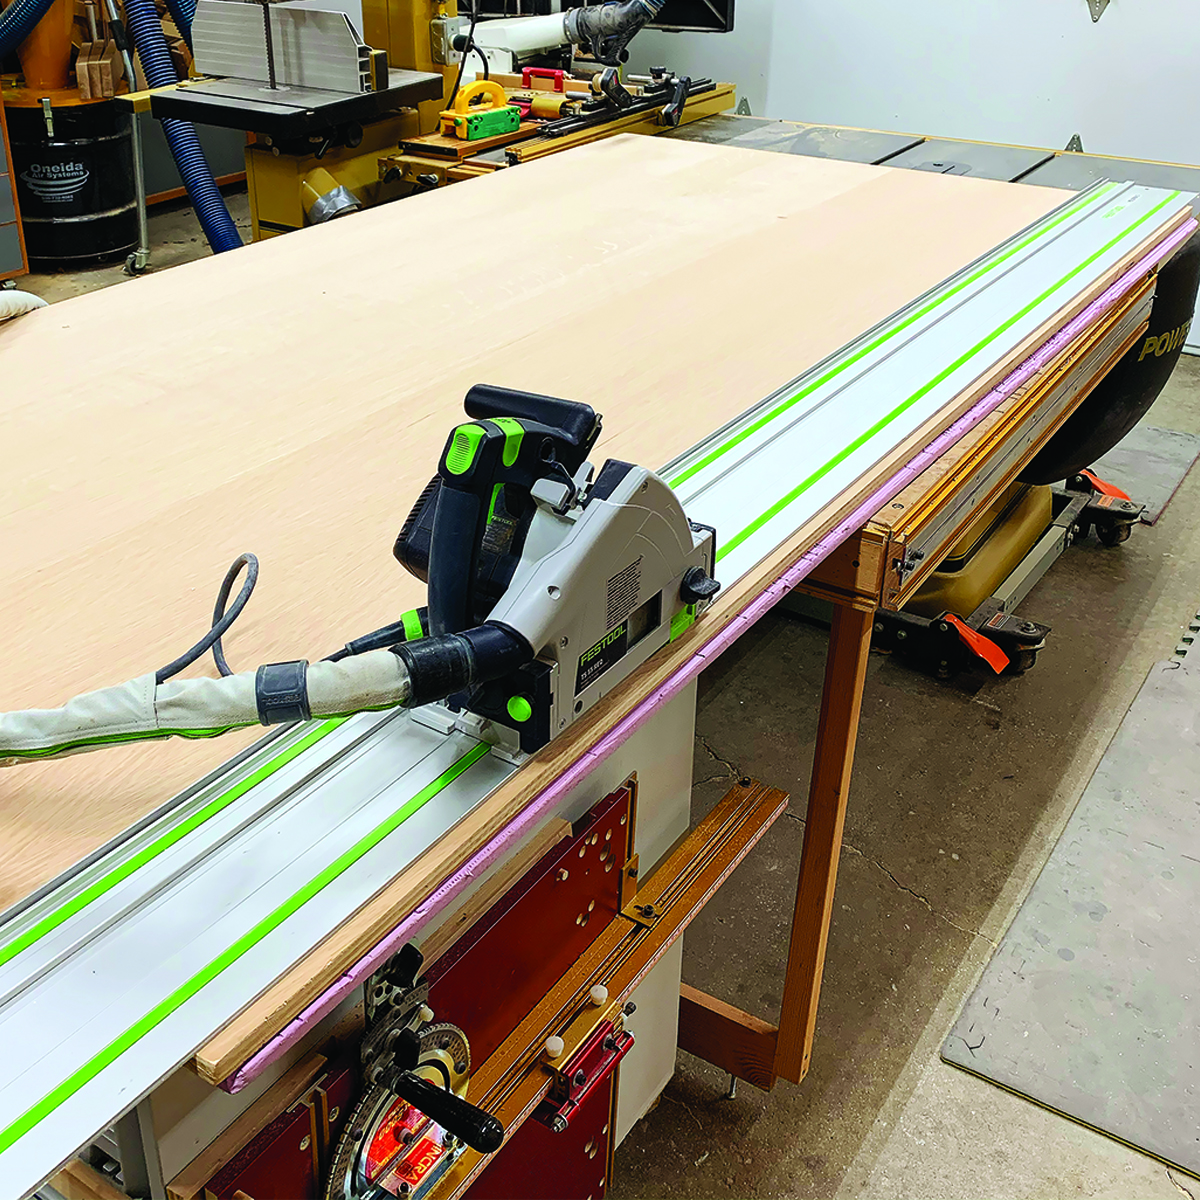
I prefer cutting plywood cabinet panels with my track saw. I always start by taking off the factory edge, eliminating handling scars and giving me a known straight line to start.
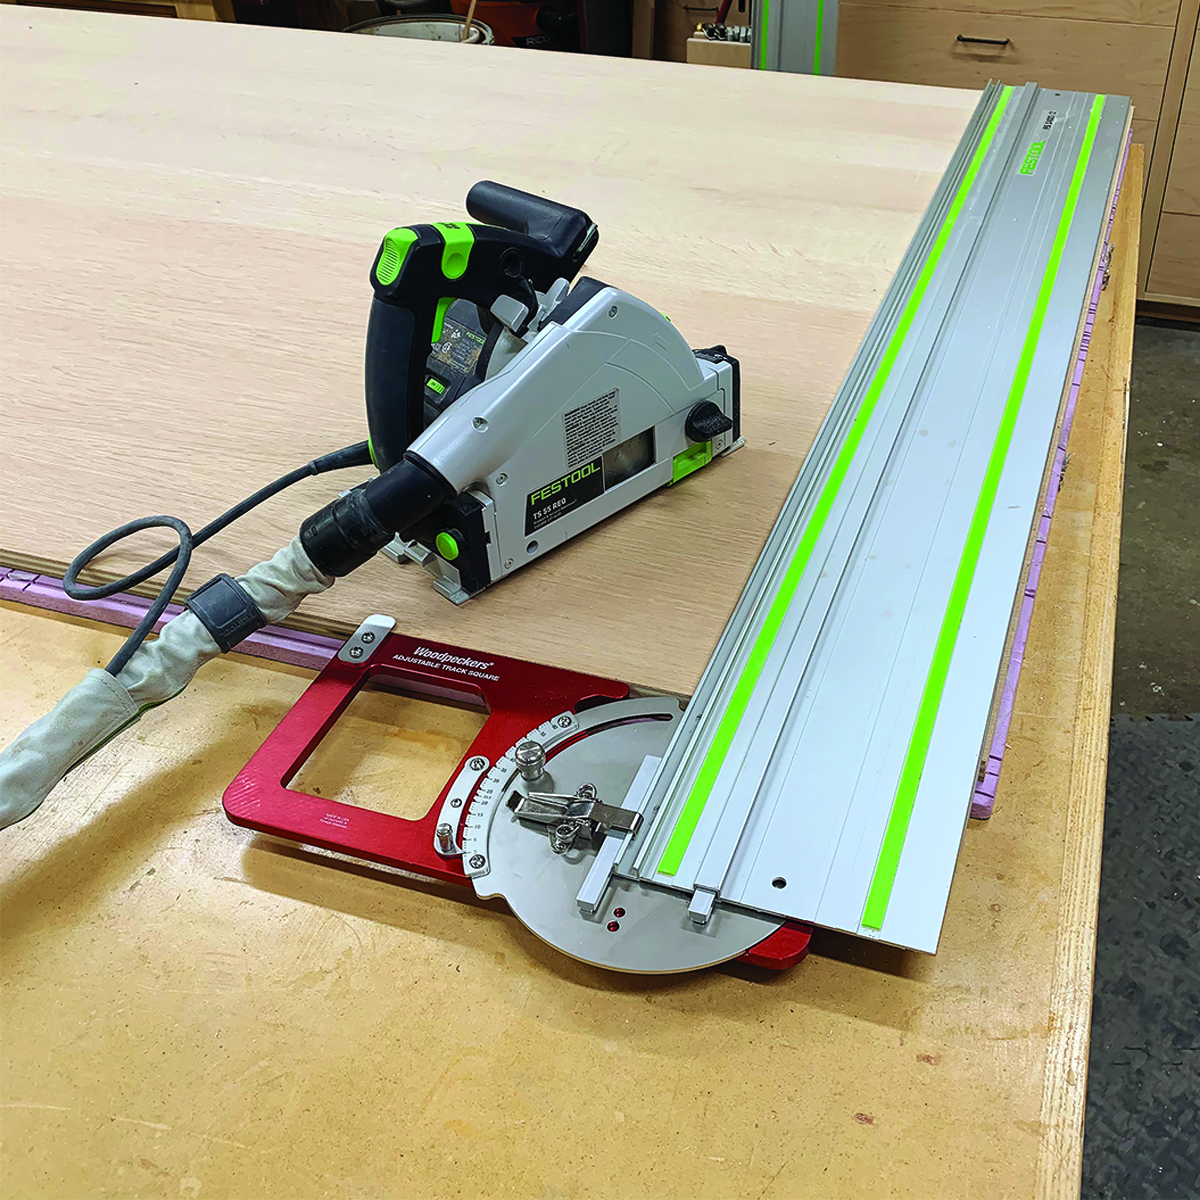
Then, I cross-cut the panel with the Adjustable track Square yielding a perfectly square corners from which to start cutting panel sections.
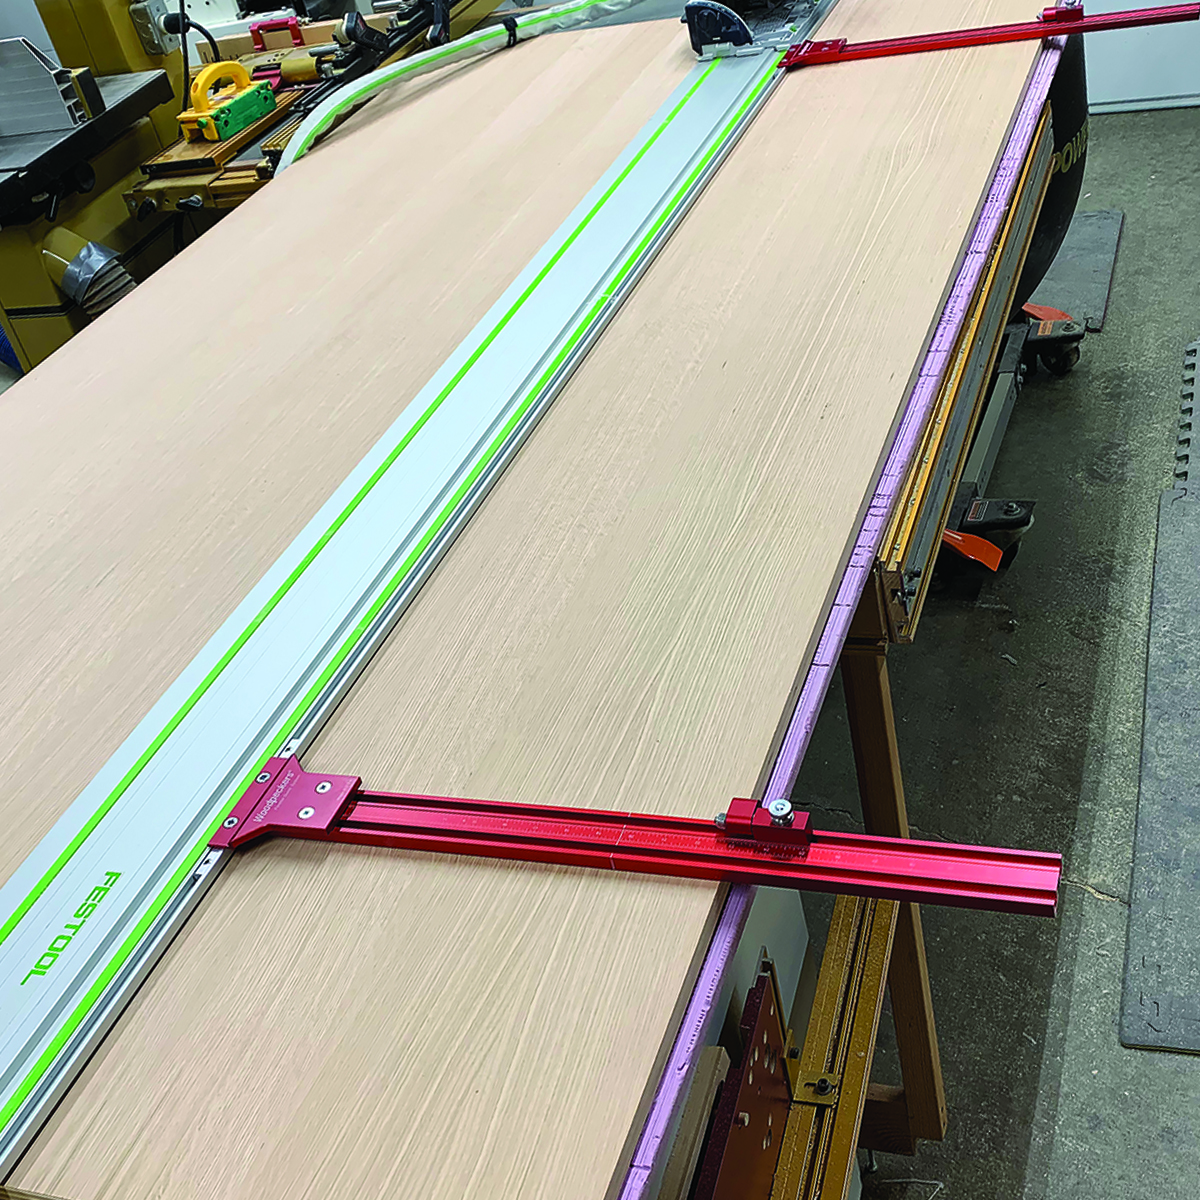
Next, I added the Parallel Guide System to rip to width and then finally cut each slide to length.
With the cut list derived from my plans, I set to work. I started by cutting off the factory edge with the track along the 8' length, added the Adjustable Track Square to the track and squared the end of the sheet. Then I mounted the Parallel Guide System to the track and started ripping the sheets to the specific widths needed. The great thing about using the Parallel Guide System is that I can set the dimension needed for my finished pieces and the first cut is the last cut. This is not a rough cut that has to later be refined at the table saw. This has dramatically smoothed out my workflow.
After I made the rip cuts, I cross-cut everything to final dimension with the Parallel Guide System, adjusting the dimensions as needed. It's so nice to be able to get all this plywood to a consistent final dimension using a single system!
I started assembly by gluing and clamping the end panels into the leg dadoes. I set the two ends aside to dry and turned to the middle dividers. The middle dividers will join the back with Domino loose tenons. I use my large square to mark out where they will go, and use my Story Stick Pro to mark out the positions of the dominos. After laying the dividers on the marks I had made and clamping them in place, I can use my Domino to cut the mortises in the dividers and the back using a single mark. The bottom joined the back and sides with pocket screws, so I marked out their locations and cut the pocket holes.
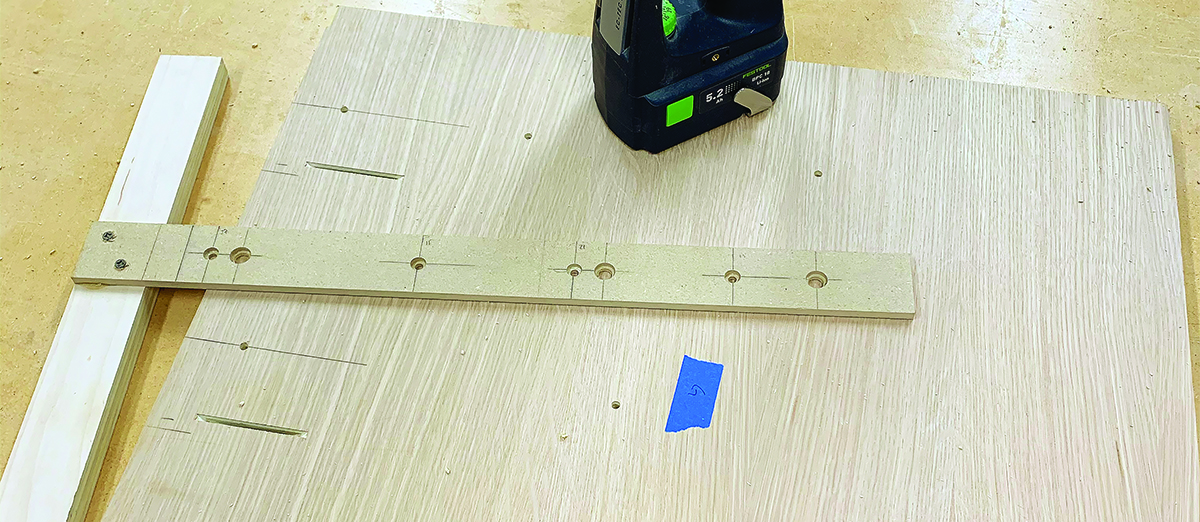
My homemade spacing jig to locate the holes for drawer slides. It’s easier to drill before assembling the cabinet.
I like to drill the holes for my drawer slides before gluing up the cabinet. It’s easier to keep things precise. I made a jig to space out the 5mm holes for all the drawer slides. Again, the Story Stick Pro was a great tool to have to get these positions all laid out consistently.
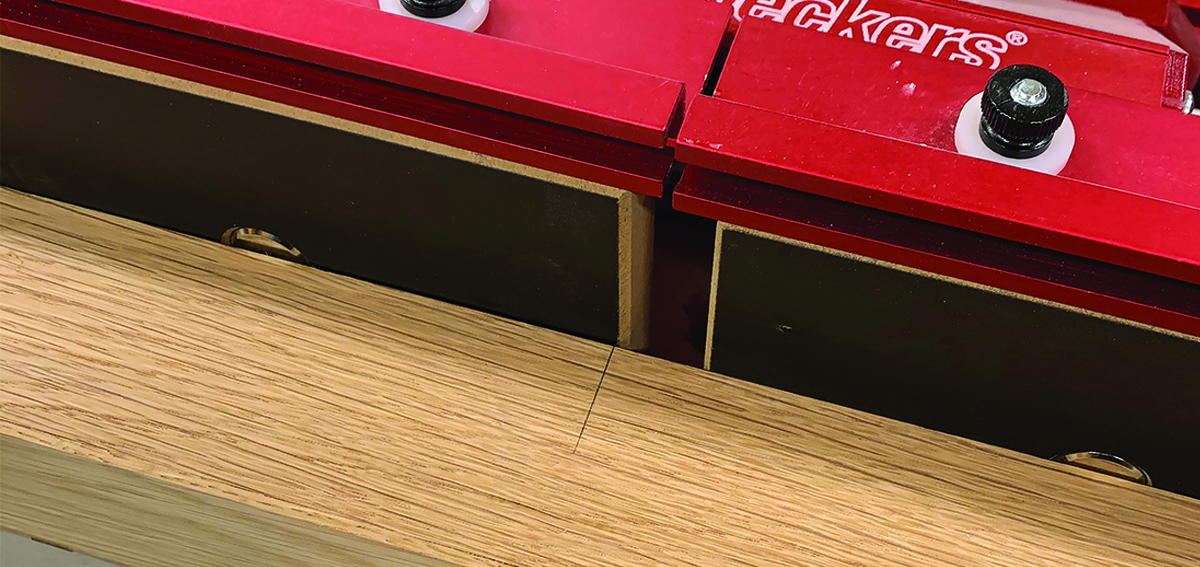
Slot cutter that just matches the thickness of joinery biscuits lets me slide dividers in place after sides are glues in. Simplifies the assembly process.
The horizontal dividers and the microwave shelf were put in after the vertical dividers had been glued in place. I decided that I would glue biscuits into the vertical dividers and cut a “biscuit-sized” slot in the ends of the horizontal dividers and the shelf. This allowed me to slide the horizontal elements into place without stressing the vertical elements. I would later install edge banding over the front edges, covering the slots. I used a 4mm slot cutter in the router table to cut the perfect groove for the biscuits. I laid out the location of the biscuits with the Story Stick keeping everything lined up so the horizontal elements could slide perfectly into place.
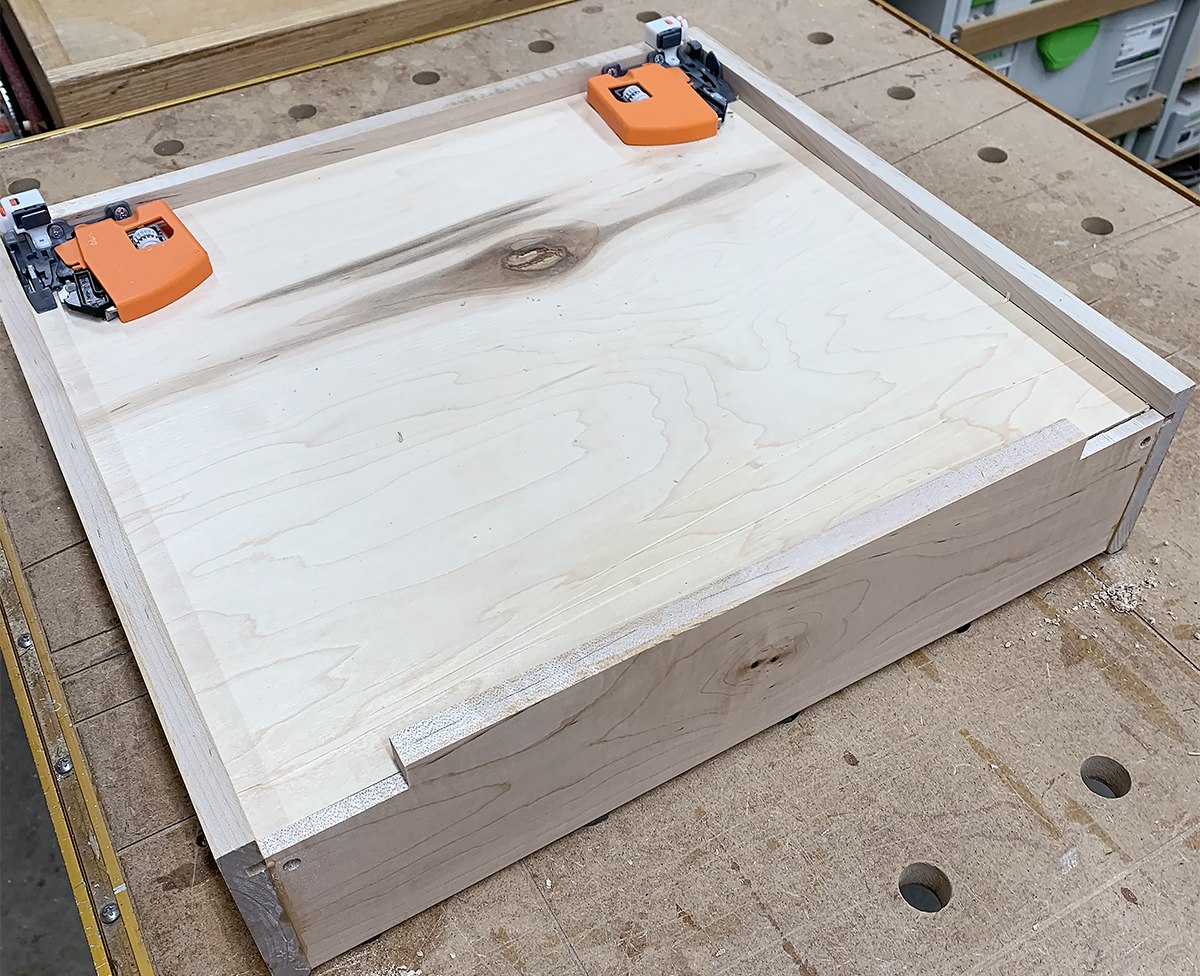
Clamping Square Plus and SPS Clamps keep the cabinet square while I get the clamps in position.
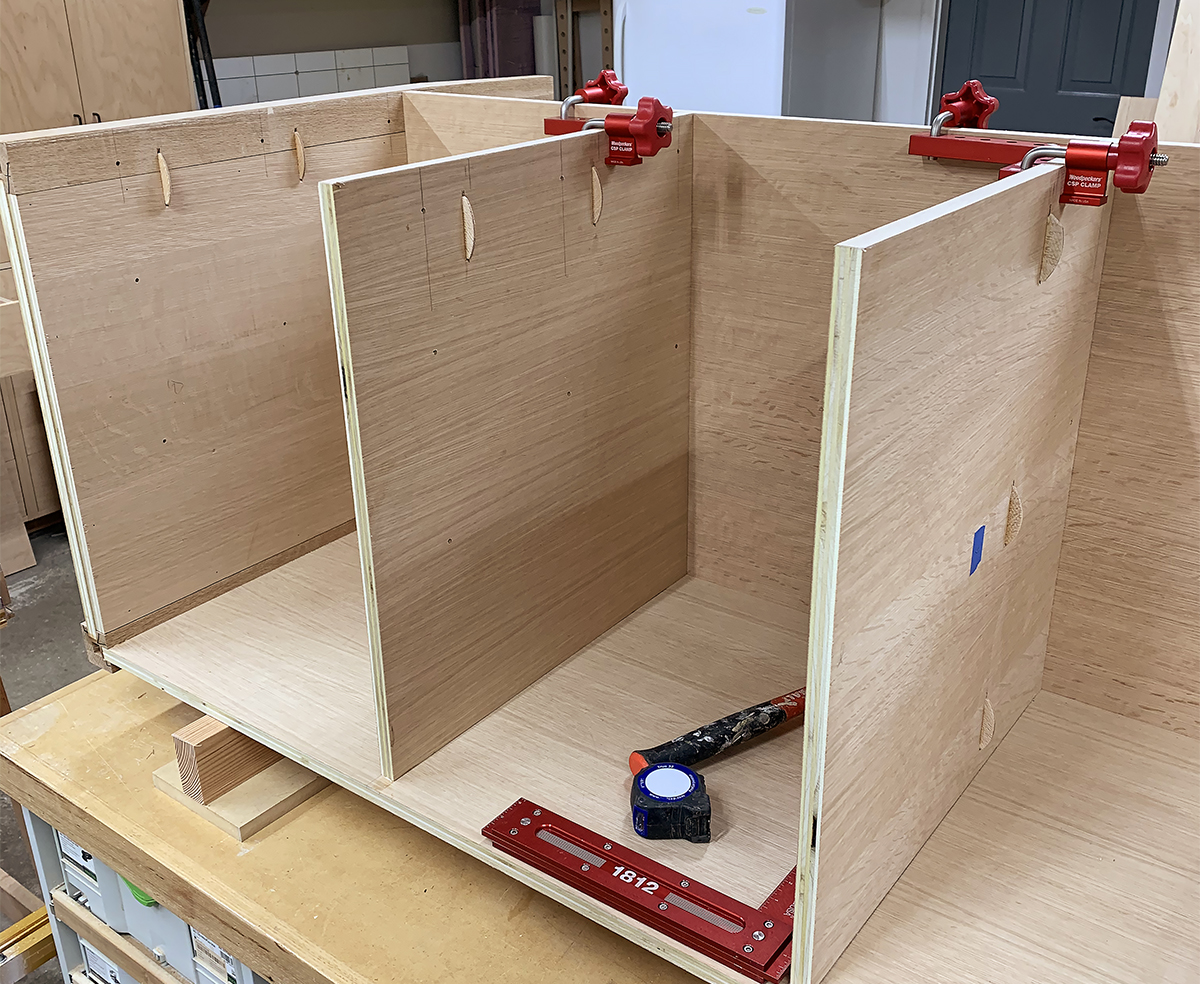
Interior panels glued in after outside joints have cured.
The next step in assembly was to attach the back to the end assemblies. I used Woodpeckers Clamping Squares Plus and CSP Clamps to keep the everything aligned while I clamped the back into the stopped dadoes in the legs. Next, I attached the bottom, driving in the pocket screws. The horizontal dividers were next, using Dominos and glue to attach to the back and driving screws through the bottom.
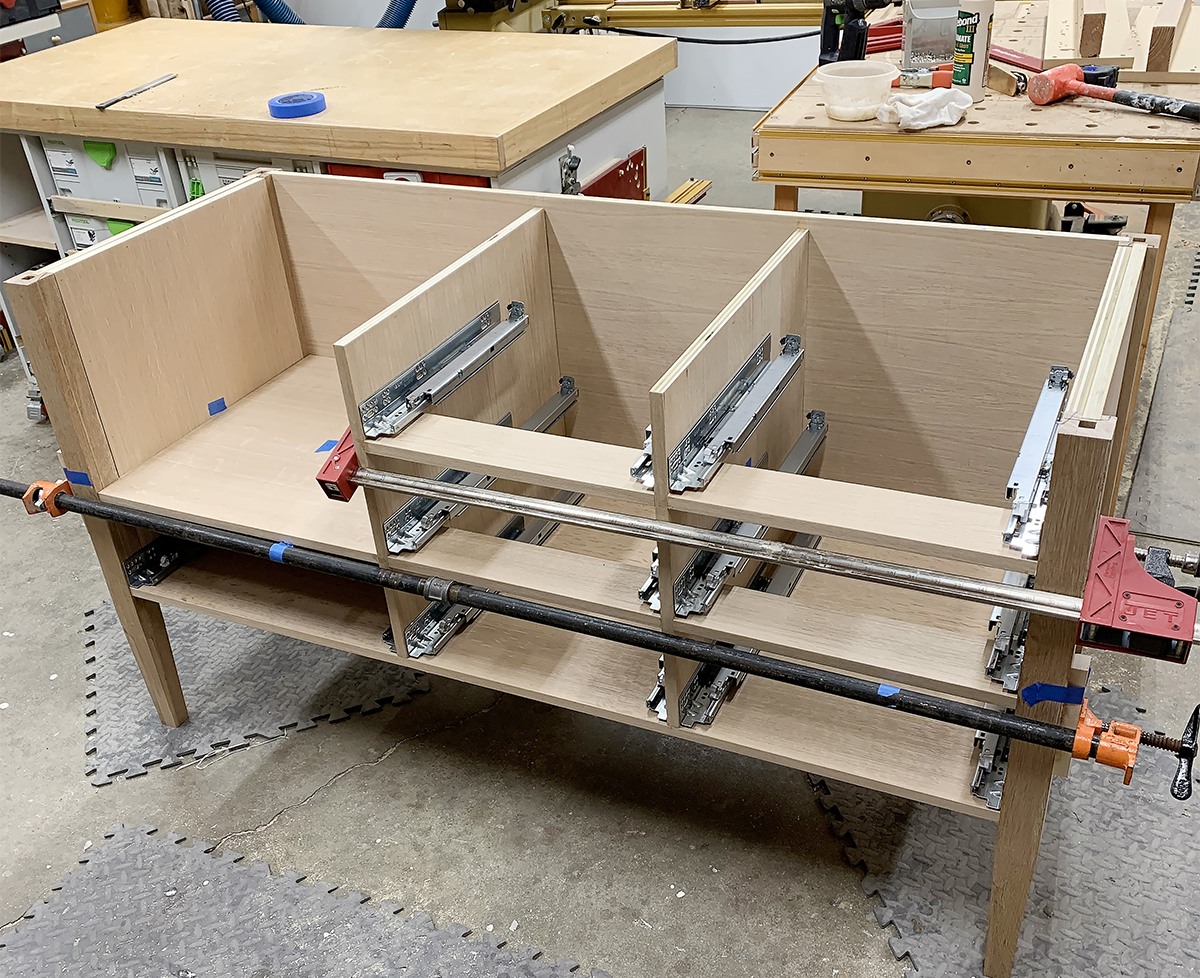
Horizontal members slide into place over the biscuits without stressing the vertical panels.
Once the glue was cured, I attached the drawer slides and glued the horizontal dividers and the microwave shelf into place, sliding them over the biscuits glued into the vertical dividers.
Groove cut for drawer bottom using ¼” bit in the router table.
I cut a full bullnose on the top edge of all drawer stock.
With island assembled, I moved on to the drawers. I did some calculations on how many linear feet at the different widths I needed and started milling the lumber. I used 6/4 soft maple re-sawn and milled to 1/2" final dimension.
Using a 1/4" bit on my router table, I cut the groove on for the drawer bottoms. I also used a 1/2" beading bit to give me a nice bullnose on the top of the drawer parts. Every time I use my Woodpeckers Router Table I am amazed at how fast I can precisely dial in the depth of cut and how efficient the Downdraft Dust Cabinet is. With all those grooves to rout, it was nice not to have to spend an afternoon sweeping up and I know I’m breathing easier now that I am more conscientious about dust collection.
The instructions that came with my drawer slides are very specific to how the drawers are dimensioned to fit a certain size opening. Using the recommended dimensions, I cut all the drawer fronts, backs and sides to their correct length and cut the drawer bottoms to match. I assembled the drawers with 4mm Dominoes Then it was time to make the drawer fronts.
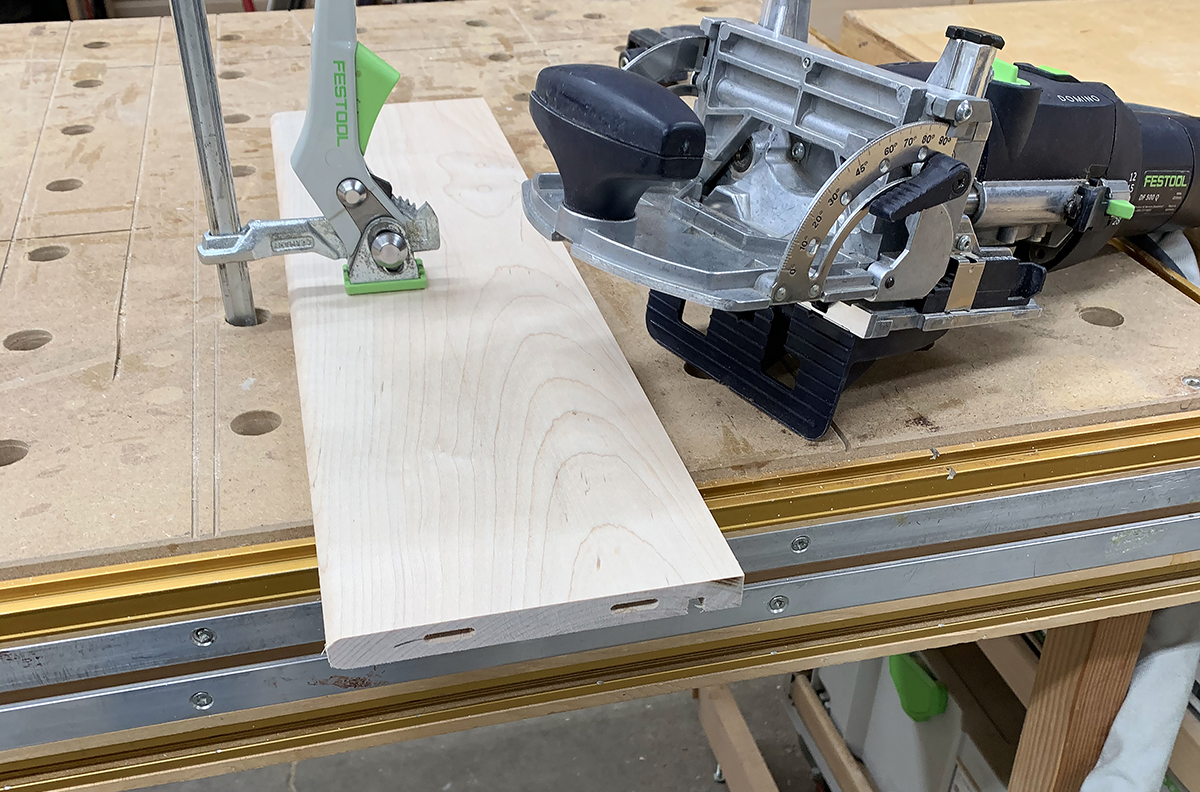
4mm Dominoes join the drawer sides, front and back.
Follow instructions on soft-close drawer slides.
I made the drawer fronts from 3/4" white oak. I used one plank for each row of drawers so I would have a continuous grain pattern Using a 1/2" round over bit in the router table, I added a bead to the drawer fronts with about a 1/16” filet.

I cut the drawer fronts to have the grain running continuously across each row.
I used an alcohol-based aniline dye and applied it to the island and all the drawer fronts. This gave everything a nice light brown tone. Then I wiped on a 50/50 mixture of satin polyurethane and naptha. It took 5 coats to build up before I was happy with the end result.
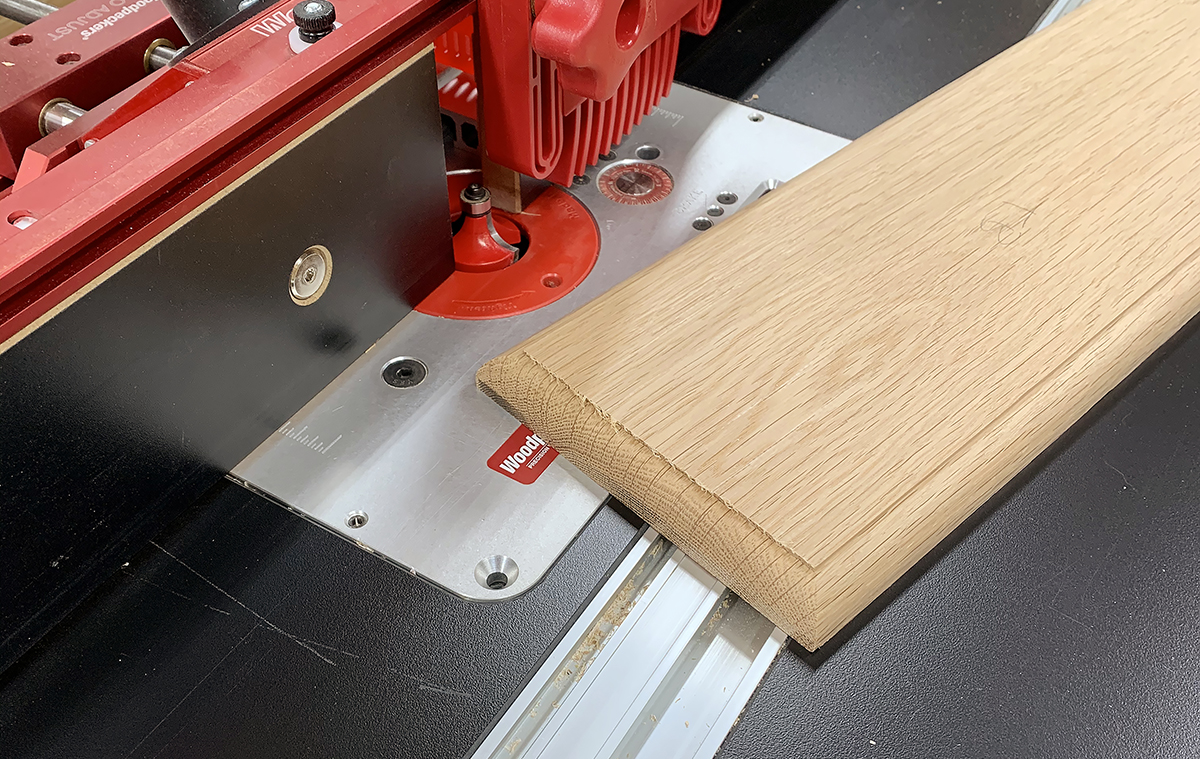
Bead with 1/16” fillet completes the drawer front.
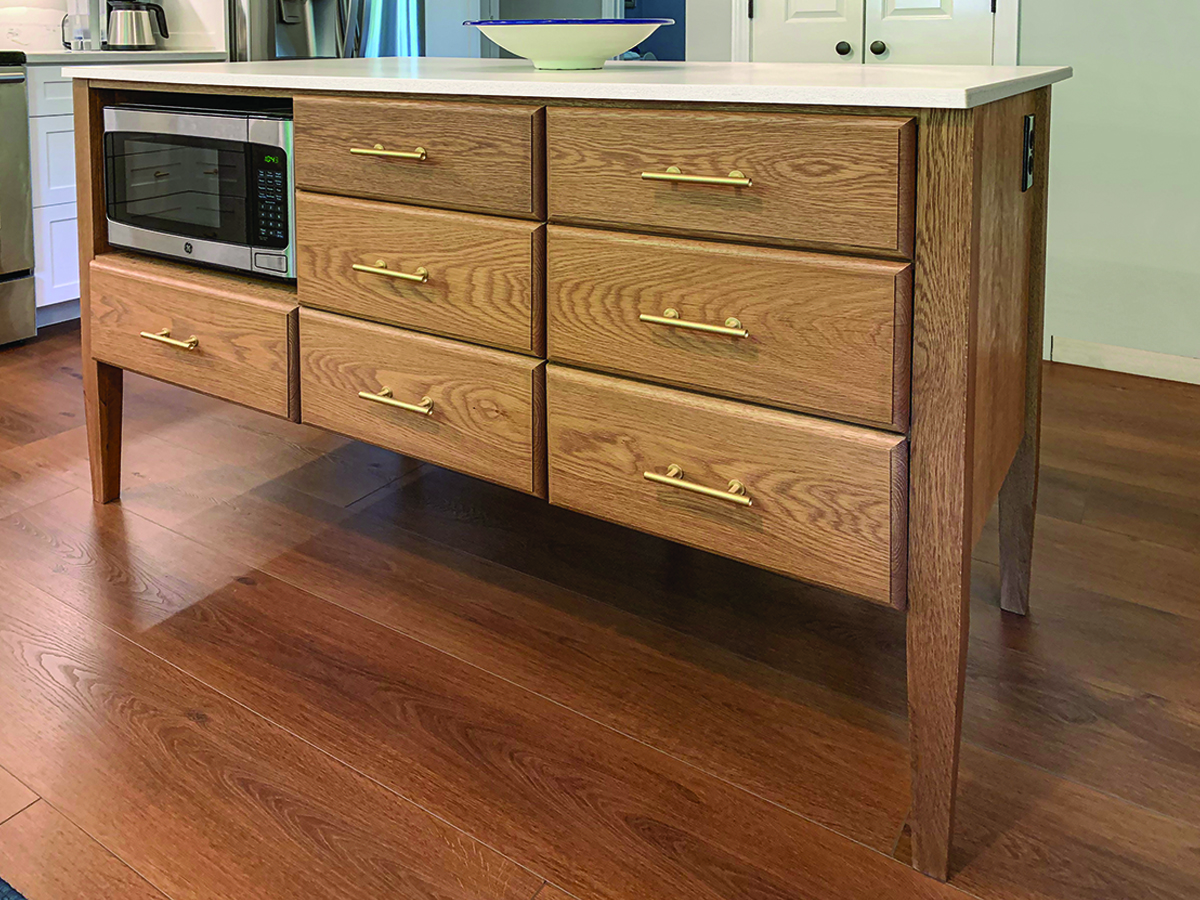
Sadly, I was installing the island in the kitchen just as the Coronavirus pandemic was getting in full swing. We had to use a piece of plywood as the counter-top for 3-1/2 months, waiting for the granite company to get back to work and get to us in their backlog. They just made it in time for me to take the final pictures before this article had to go to print. My wife and I both love the island and I get a kick out of watching friends try to figure out where the power is coming from.
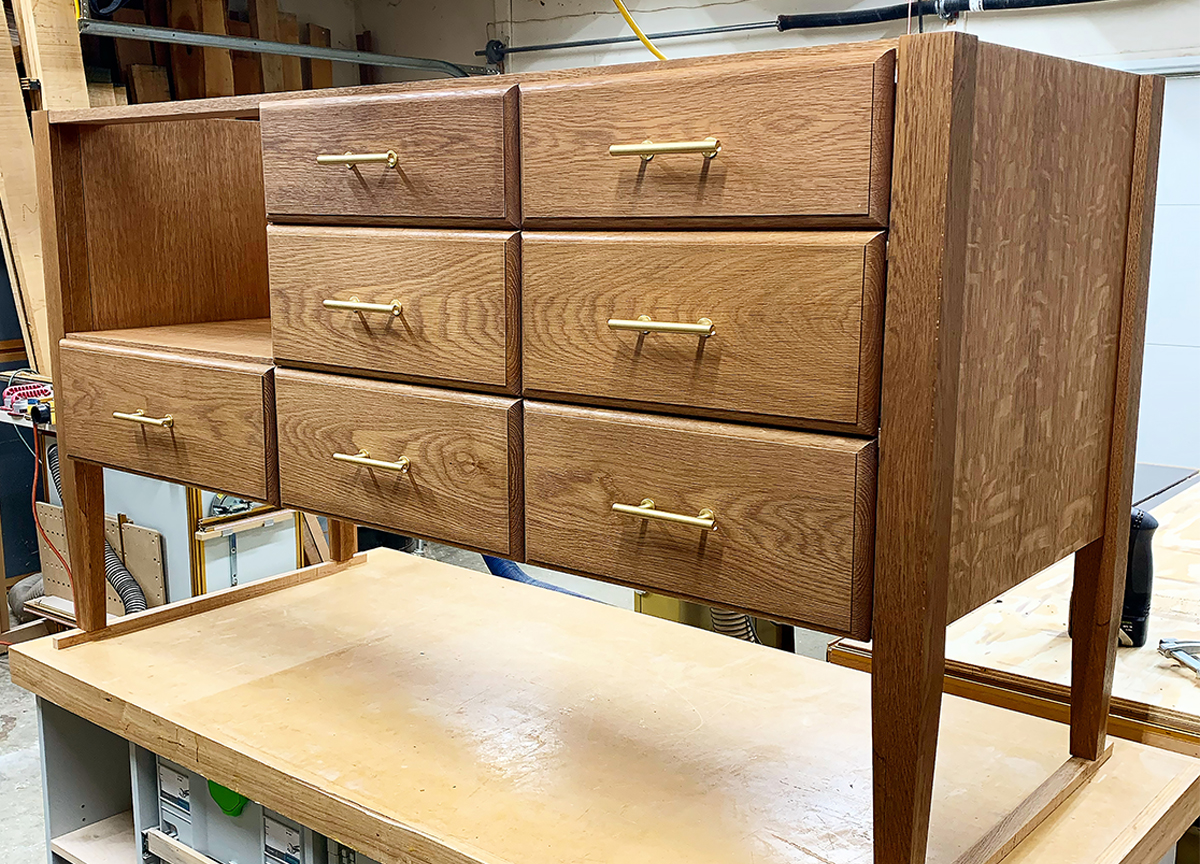
Island fully assembled and waiting for the granite counter top. Turned out to be a long wait, but we used it with a plywood top in the meantime.