Follow These 9 Steps to Make Large Panels from Solid Lumber
Large wood panels used for tabletops, cabinet doors and tops, and countertops provide the perfect display for showing off the beauty hardwood lumber. Follow this guide to prepare stock for gluing up your lumber into magnificent, large panels.
1. Crosscut rough lumber to the approximate length your finished panel requires by leaving at least a couple extra for final trimming after the panel is glued together.
2. Carefully inspect your pieces and set aside any that are genuinely flat. Pieces with cups or twists will need to be face jointed. Cut them to the width that matches the capacity of your jointer, usually 6” to 8” for most home woodworkers. The safest way to do this is using a bandsaw. While Woodpeckers does not carry band saws currently, we do feature some band saw accessories that can prove helpful for your woodworking projects.
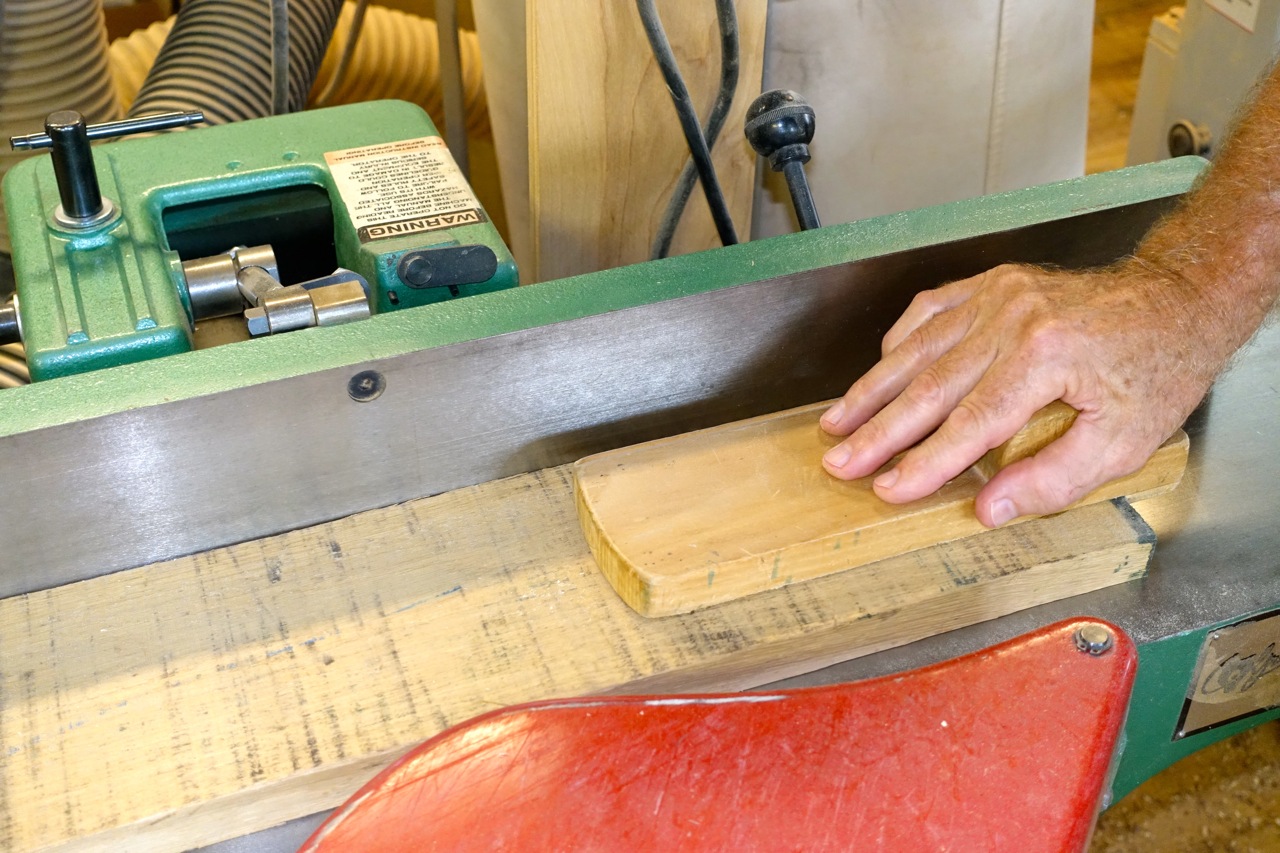
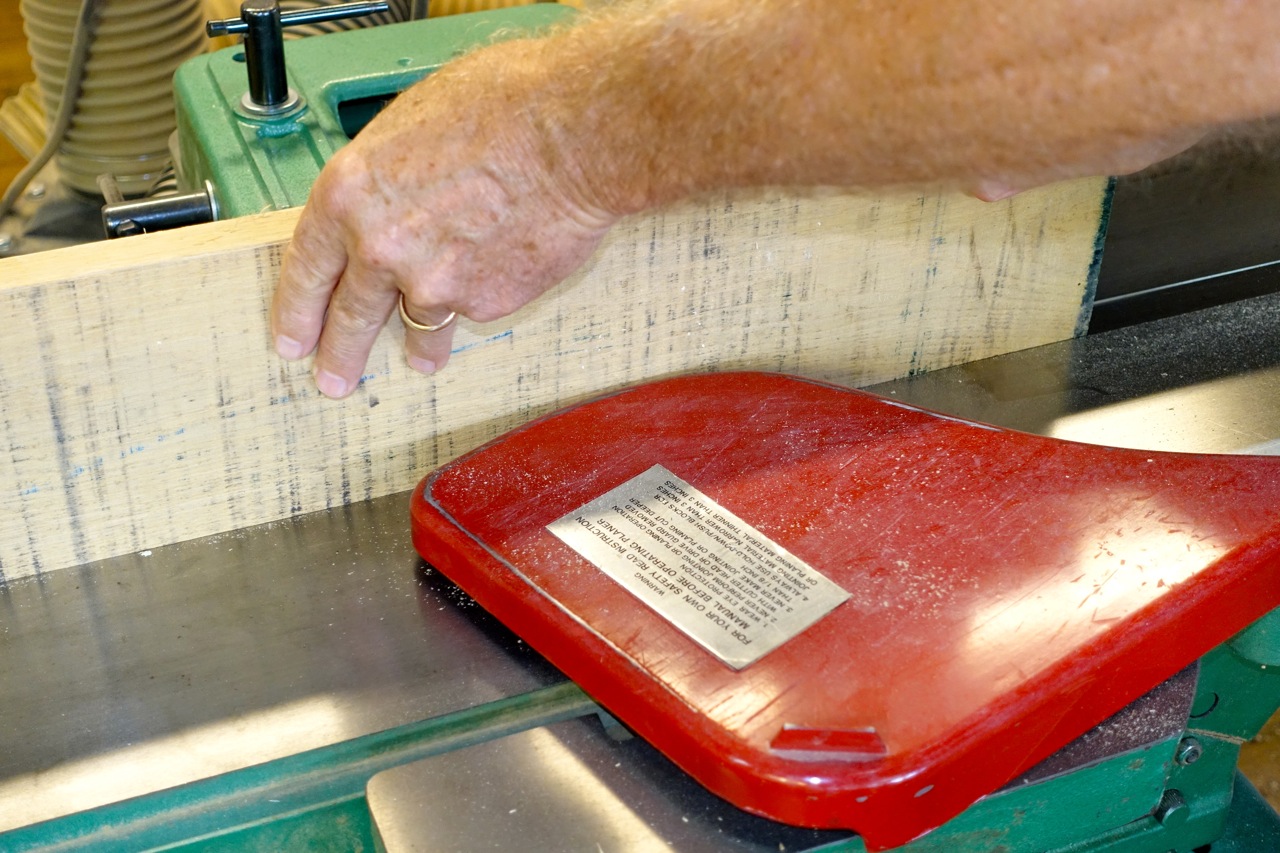
3. Using your jointer, face joint one side. Its best to face joint with a cup side down. When that side is flat, check your jointer fence and set it absolutely square. Now edge joint one edge until it is perfectly straight. Do the same with any pieces you set aside that were flat. Mark the jointed faces and edges with a pencil.
4. Next use your thickness planer to begin smoothing and flattening the second face. This usually requires several passes removing about 1/16” on each pass. Repeat until you have reached your desired material thickness.
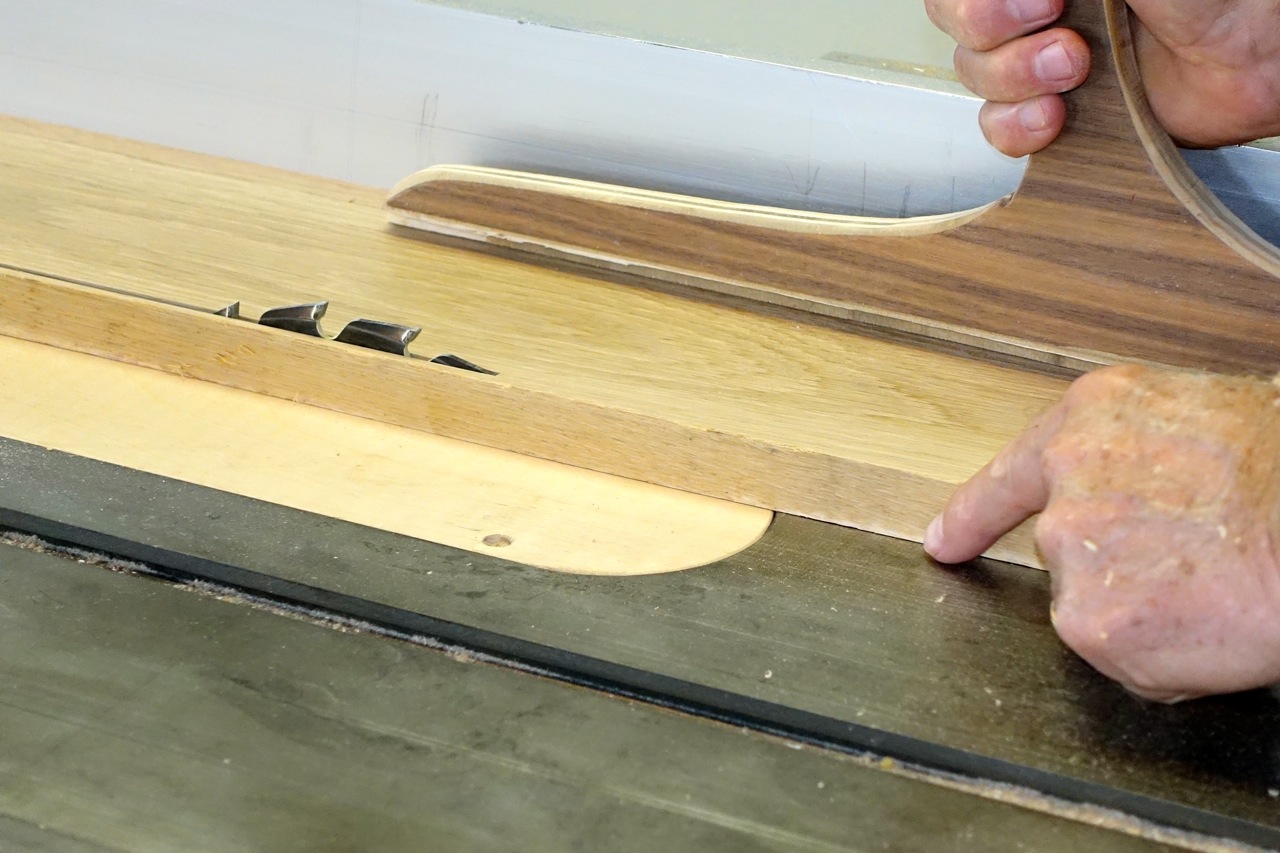
5. At the table saw, rip each piece to remove the remaining rough edge. This step will produce stock with two parallel edges, essential to the glue up process. Take as little material as needed. Contrary to some advice, wide boards are good!
6. Now go back to the jointer and edge joint the edges you just ripped on the table saw.
7. Next place all your pieces to be glued on a flat surface. Arrange the boards to present their most attractive appearance. This usually means putting straight grain edges next to similar edges and flat grain boards beside each other. Board color is another important consideration. Contrasting colors are not as attractive as colors that blend together.
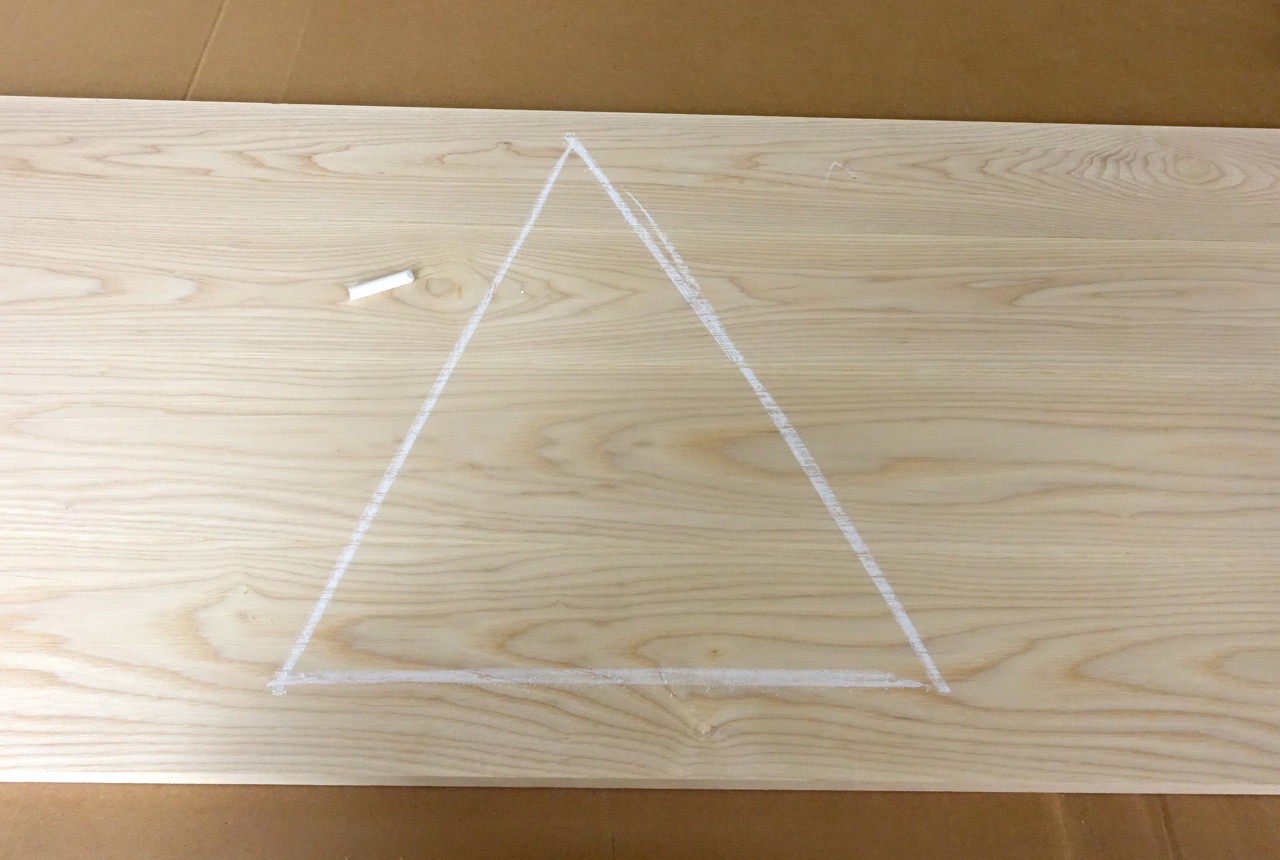
8. With your boards arranged for best appearance and placed side by side, use a piece of chalk and mark a triangle across them so that every board has part of the triangle mark on it. This trick makes it easy put the arrangement back together as intended.
9. Now it’s time to carefully inspect the quality of joint between each mating board’s edge. If gaps are found, check to be certain there’s no debris between them that’s keeping them from closing up. Mating board edges that don’t close up completely need to be edge jointed until no gap remains. Another way to inspect mating edges is to set the two boards on edge, one atop the other. If light shows through anywhere along the length at least one board will need a second jointer run.
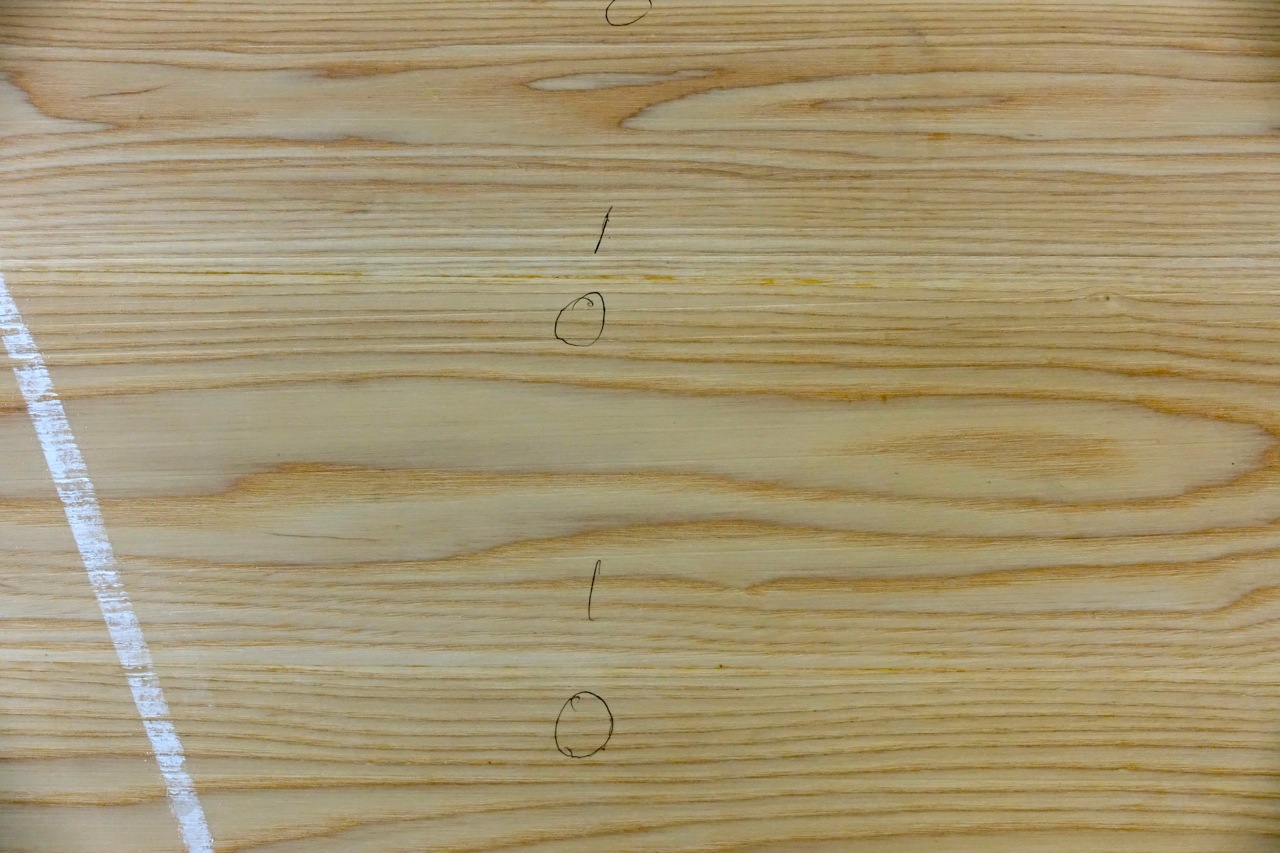
Bonus Edge Jointing Trick. Edge joints sometimes appear open because one or both of the edges are not square to their adjoining face. This is likely because your jointer fence was not set square. And some jointer fences have a slight twist in them making it nearly impossible to achieve a square edge. Here’s the workaround. Go back to step 8 with the boards arranged as they will be glued up. At all mating edges chalk or pencil mark an “I” (for inside) on one board and “O” for outside) on the other. At the jointer, run the edges again. Boards marked “I” are jointed with the face toward the fence and ones marked “O” away from the fence. This process with produce complimentary angles and compensate for slight out of square fence adjustment.
About the Author: Steve Shanesy was editor and publisher of Popular Woodworking magazine for 19 years. Prior to that he spent 15 years working in and managing high-end furniture and cabinet shops in Los Angeles and Cincinnati.
Once your panels are ready for glue-up, you’ll of course need strong, precision clamps to hold them in-place as they dry. We offer many woodworking clamps and clamping systems to complete your panel project! Thanks for reading.

